

Mount the main wagon ( implement ) loom on the hose holder as pictured.

Temporarily mount the monitor on the wagon hose holder

Connect monitor plugs as pictured

Connect auxiliary power

Turn on wagon stand by button as pictured

Set up 'Stand By' time on main wagon Charge/Status circuit board as pictured.
20 minutes is factory setting. Click switch 3 up to select.

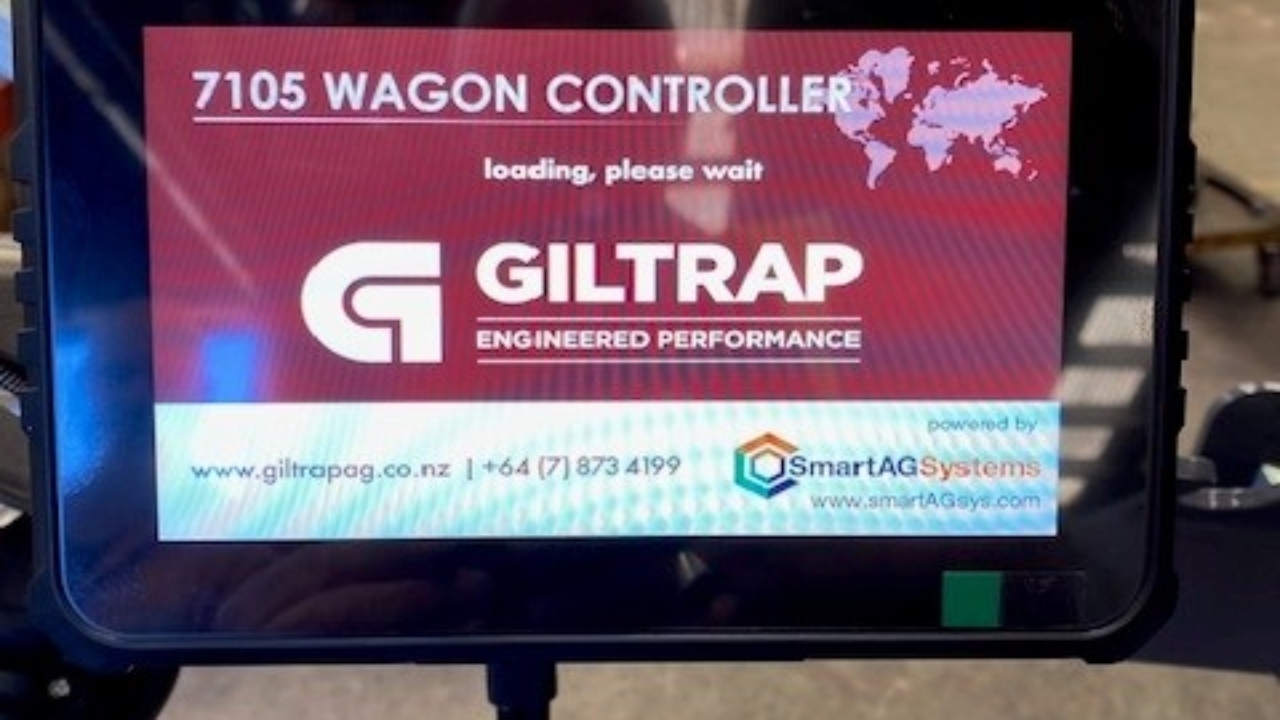
Turn on monitor

Tap screen 2'. Tap cog to 'Select Wagon'.

Tap on the wifi ID to match the wagon ( WAG-0010 ) - see step 10.

Find wagon ID on load cell junction board Wifi module as pictured ( WAG 0010 )

Tick ( FarmscanAG ). Tap home screen.

Check home screen 2 for 'Monitoring Wagon <WAG-0010> '

Now plug the main tractor loom into wagon loom as pictured.

Plug in 'Bin file' USB as pictured

Tap the 'spanner screwdriver' icon.

Tap 'Tool box' icon

Tap 'System' icon

Tap 'Reset' icon.

Select line 4 'Import settings from USB' and tick 'OK'.

The new bin file screen will appear in this configuration as pictured.

Set up load cells in 'BIN 1'
Add number of load cells
Set 'Calibrate' to 2mV/V
Set Max 5000 for all cells.

Set up 'Master Cluch' in 'Machine' tab. Tap 'Auxiliary'.

Select each POD, one at a time - make all Master Clutch.

Use 'Master Clutch' tab as pictured and the green tick to save.

'Normal Run Mode Only' Remains unticked.
Tap big green tick.

Set up wheel sensor in 'Machine' tab on 'Speed Source' setting

Enter correct code in 'm/Pulse'. Tap big green tick. Then tap home screen.

For a second monitor and loom connect the loom and monitor. Repeat all steps 1 - 27.

Electronics set up is complete.
Connect the hydraulics and work through the physical run up process.