Knowby FTI Group
Knowby
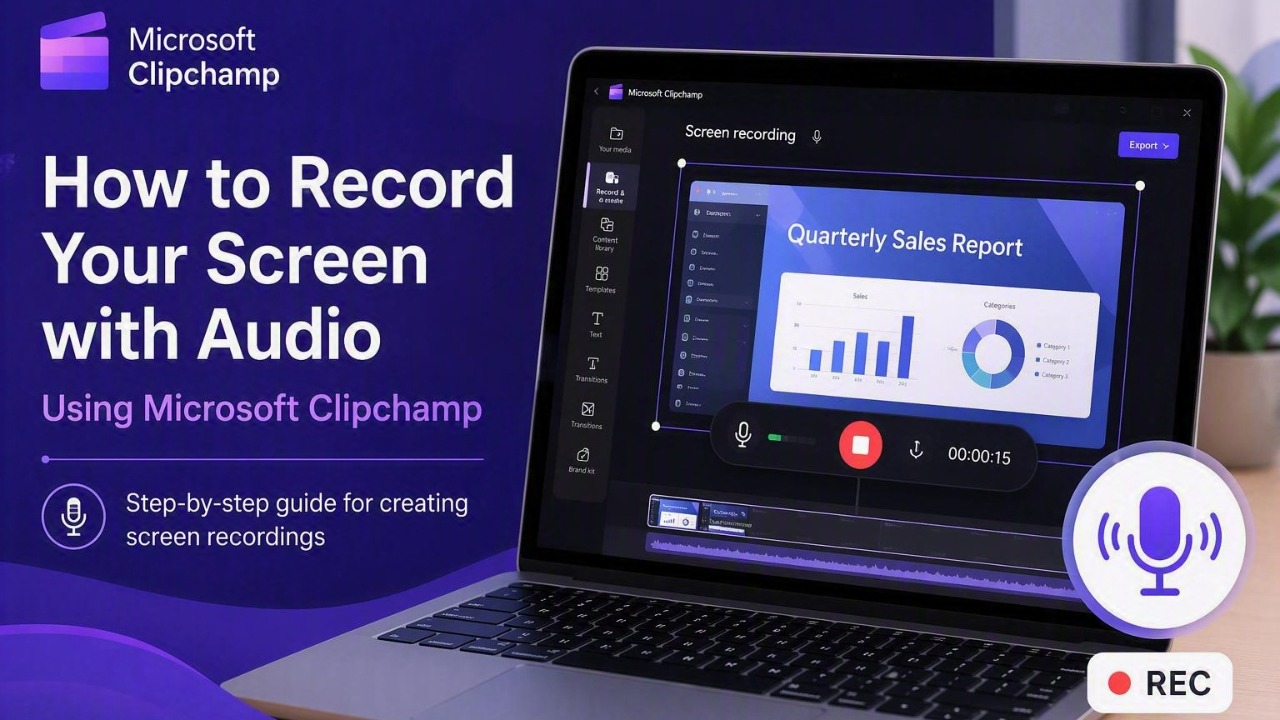
Screen Recording with Audio in Microsoft Clipchamp
User guide for creating training videos and screen recordings
1
Step 1 of 12
<p><span style="font-size: 24px; line-height: 1.4;"><strong>Step 1: Open Microsoft Clipchamp</strong></span></p><p></p><ol><li><p><span style="font-size: 16px; line-height: 1.4;">Press <strong>Windows Key</strong>.</span></p></li><li><p><span style="font-size: 16px; line-height: 1.4;">Type <strong>Clipchamp</strong>.</span></p></li><li><p><span style="font-size: 16px; line-height: 1.4;">Press <strong>Enter</strong> to open the application.</span></p></li></ol><p><span style="font-size: 14px; line-height: 1.4;"><strong>Before you begin, ensure:</strong></span></p><ul><li><p><span style="font-size: 14px; line-height: 1.4;">A microphone is connected and working.</span></p></li><li><p><span style="font-size: 14px; line-height: 1.4;">Any applications or files you want to record are already open.</span></p></li></ul><p></p>

Step 1: Open Microsoft Clipchamp

  1. Press Windows Key.

  2. Type Clipchamp.

  3. Press Enter to open the application.

Before you begin, ensure:

  • A microphone is connected and working.

  • Any applications or files you want to record are already open.

2
Step 2 of 12
<h5>Step 2: Create a New Video Project</h5><p></p><ol><li><p><span style="font-size: 16px; line-height: 1.4;">Open Clipchamp.</span></p></li><li><p><span style="font-size: 16px; line-height: 1.4;">Click <strong>Blank Video</strong> under <strong>Create New</strong>.</span></p></li></ol><p></p><p></p>
Step 2: Create a New Video Project

  1. Open Clipchamp.

  2. Click Blank Video under Create New.

3
Step 3 of 12
<h5>Step 3: Start Screen Recording</h5><p></p><ol><li><p><span style="font-size: 16px; line-height: 1.4;">Select <strong>Record &amp; Create</strong> from the left menu.</span></p></li><li><p><span style="font-size: 16px; line-height: 1.4;">Choose <strong>Screen</strong> to record your screen only.</span></p><ul><li><p><span style="font-size: 16px; line-height: 1.4;">Alternatively, select <strong>Screen and Camera</strong> if you would like to include your webcam.</span></p></li></ul></li></ol><p></p>
Step 3: Start Screen Recording

  1. Select Record & Create from the left menu.

  2. Choose Screen to record your screen only.

    • Alternatively, select Screen and Camera if you would like to include your webcam.

4
Step 4 of 12
<h5>Step 4: Select Your Microphone</h5><p></p><ol><li><p><span style="font-size: 16px; line-height: 1.4;">In the Screen Recording window, click the <strong>Microphone dropdown</strong>.</span></p></li><li><p><span style="font-size: 16px; line-height: 1.4;">Select the microphone you want to use.</span></p></li><li><p><span style="font-size: 16px; line-height: 1.4;">Confirm the correct microphone is selected.</span></p></li><li><p><span style="font-size: 16px; line-height: 1.4;">Click <strong>Start Screen Recording</strong>.</span></p></li></ol><h5></h5><p></p>
Step 4: Select Your Microphone

  1. In the Screen Recording window, click the Microphone dropdown.

  2. Select the microphone you want to use.

  3. Confirm the correct microphone is selected.

  4. Click Start Screen Recording.

5
Step 5 of 12
<h5>Step 5: Choose What to Record</h5><p></p><ol><li><p><span style="font-size: 16px; line-height: 1.4;">Select the application window, browser tab, or screen you want to record.</span></p></li><li><p><span style="font-size: 16px; line-height: 1.4;">Click <strong>Share</strong>.</span></p></li></ol><p><span style="font-size: 14px; line-height: 1.4;"><strong>Tip:</strong> Ensure the application or website you want to demonstrate is already open before starting.</span></p><p></p>
Step 5: Choose What to Record

  1. Select the application window, browser tab, or screen you want to record.

  2. Click Share.

Tip: Ensure the application or website you want to demonstrate is already open before starting.

6
Step 6 of 12
<h5>Step 6: Record Your Screen</h5><p></p><ol><li><p><span style="font-size: 16px; line-height: 1.4;">Clipchamp will begin recording.</span></p></li><li><p><span style="font-size: 16px; line-height: 1.4;">Carry out the steps you wish to demonstrate.</span></p></li><li><p><span style="font-size: 16px; line-height: 1.4;">Speak clearly into your microphone while recording.</span></p></li><li><p><span style="font-size: 16px; line-height: 1.4;">When finished, click the <strong>Stop</strong> button on the recording toolbar.</span></p></li></ol><p></p>
Step 6: Record Your Screen

  1. Clipchamp will begin recording.

  2. Carry out the steps you wish to demonstrate.

  3. Speak clearly into your microphone while recording.

  4. When finished, click the Stop button on the recording toolbar.

7
Step 7 of 12
<h5>Step 7: Process the Recording</h5><p></p><ol><li><p><span style="font-size: 16px; line-height: 1.4;">After stopping the recording, Clipchamp will prepare the video.</span></p></li><li><p><span style="font-size: 16px; line-height: 1.4;">Wait for the recording to finish processing.</span></p></li></ol><p></p>
Step 7: Process the Recording

  1. After stopping the recording, Clipchamp will prepare the video.

  2. Wait for the recording to finish processing.

8
Step 8 of 12
<h5>Step 8: Review and Save</h5><p></p><ol><li><p><span style="font-size: 16px; line-height: 1.4;">Review the recording playback.</span></p></li><li><p><span style="font-size: 16px; line-height: 1.4;">If satisfied, click <strong>Save and Edit</strong>.</span></p></li><li><p><span style="font-size: 16px; line-height: 1.4;">If changes are needed, click <strong>Retake Recording</strong>.</span></p></li></ol><p></p>
Step 8: Review and Save

  1. Review the recording playback.

  2. If satisfied, click Save and Edit.

  3. If changes are needed, click Retake Recording.

9
Step 9 of 12
<h5>Step 11: Edit Your Recording</h5><p></p><ol><li><p><span style="font-size: 16px; line-height: 1.4;">After clicking <strong>Save and Edit</strong>, the recording will be added to the Clipchamp timeline.</span></p></li><li><p><span style="font-size: 16px; line-height: 1.4;">Review your recording using the preview window.</span></p></li><li><p><span style="font-size: 16px; line-height: 1.4;">Drag the start or end of the video clip to trim unwanted sections.</span></p></li><li><p><span style="font-size: 16px; line-height: 1.4;">Use the editing tools on the right-hand side to:</span></p><ul><li><p><span style="font-size: 16px; line-height: 1.4;">Add <strong>Audio</strong></span></p></li><li><p><span style="font-size: 16px; line-height: 1.4;">Apply <strong>Filters</strong></span></p></li><li><p><span style="font-size: 16px; line-height: 1.4;">Add <strong>Effects</strong></span></p></li><li><p><span style="font-size: 16px; line-height: 1.4;">Adjust <strong>Colors</strong></span></p></li><li><p><span style="font-size: 16px; line-height: 1.4;">Change <strong>Playback Speed</strong></span></p></li><li><p><span style="font-size: 16px; line-height: 1.4;">Apply <strong>Fade</strong> effects</span></p></li></ul></li><li><p><span style="font-size: 16px; line-height: 1.4;">Play the recording to confirm everything looks correct.</span></p></li></ol><p></p>
Step 11: Edit Your Recording

  1. After clicking Save and Edit, the recording will be added to the Clipchamp timeline.

  2. Review your recording using the preview window.

  3. Drag the start or end of the video clip to trim unwanted sections.

  4. Use the editing tools on the right-hand side to:

    • Add Audio

    • Apply Filters

    • Add Effects

    • Adjust Colors

    • Change Playback Speed

    • Apply Fade effects

  5. Play the recording to confirm everything looks correct.

10
Step 10 of 12
<h5>Step 12: Export the Video</h5><p></p><ol><li><p><span style="font-size: 16px; line-height: 1.4;">Click <strong>Export</strong>.</span></p></li><li><p><span style="font-size: 16px; line-height: 1.4;">Select <strong>1080p (Recommended)</strong>.</span></p></li><li><p><span style="font-size: 16px; line-height: 1.4;">Change the <strong>filename</strong></span></p></li><li><p><span style="font-size: 16px; line-height: 1.4;">Wait for the export process to complete.</span></p></li><li><p><span style="font-size: 16px; line-height: 1.4;">The video will automatically be saved to OneDrive.</span></p></li></ol><p><span style="color: rgb(36, 36, 36); font-size: 14px; line-height: 1.4;">C:\Users\User\OneDrive - FTI Group Pty Ltd\Videos\Clipchamp</span></p>
Step 12: Export the Video

  1. Click Export.

  2. Select 1080p (Recommended).

  3. Change the filename

  4. Wait for the export process to complete.

  5. The video will automatically be saved to OneDrive.

C:\Users\User\OneDrive - FTI Group Pty Ltd\Videos\Clipchamp

11
Step 11 of 12
12
Step 12 of 12