
Knowby Ascot Pumps Ltd
Knowby
PA302 Pump Upgrade
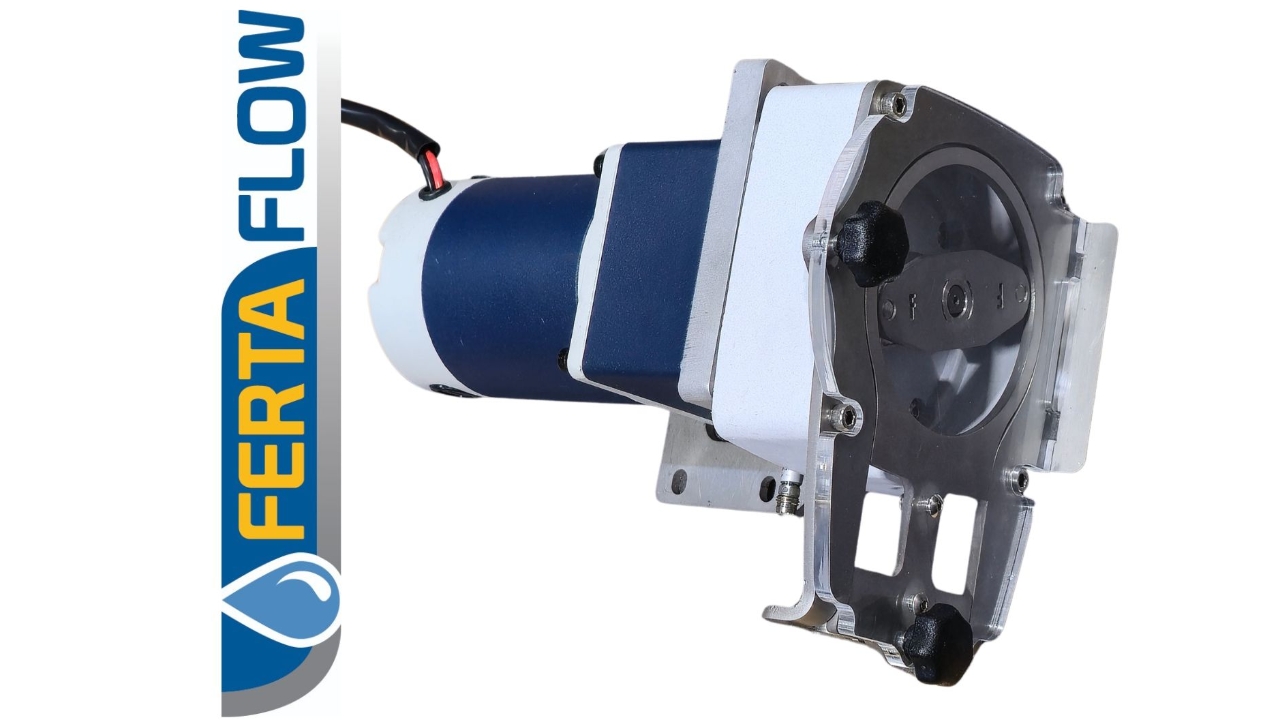
Replace existing pump with the new PMP PA302-12E-105 (Larger Motor with High Torque)
1
Step 1 of 24
<p><strong>Kit and Parts Required for PMP PA302 Pump Upgrade</strong></p><p>1x PMP PA302-2-12E-105 (New High Torque Pump)</p><p>1x PF PA300.PHR.02 (PA300 2 Roller Pmp Hd Rotor Fitted)</p><p>1x PF PA302.ADPTR.PLT (1.6mm SS Adaptor Plate)</p><p>3x M6 SS Nyloc Nuts (1 spare)</p><p>4x M5 SS Nyloc Nuts (spares)</p><p>2x Blue Female Bullet Connectors (Crimp Terminals for Motor Power)</p><p>+ Cable Ties required for regrouping the cables</p><p></p>

Kit and Parts Required for PMP PA302 Pump Upgrade

1x PMP PA302-2-12E-105 (New High Torque Pump)

1x PF PA300.PHR.02 (PA300 2 Roller Pmp Hd Rotor Fitted)

1x PF PA302.ADPTR.PLT (1.6mm SS Adaptor Plate)

3x M6 SS Nyloc Nuts (1 spare)

4x M5 SS Nyloc Nuts (spares)

2x Blue Female Bullet Connectors (Crimp Terminals for Motor Power)

+ Cable Ties required for regrouping the cables

2
Step 2 of 24
<p><strong>Tools and Consumables Required:</strong></p><p>Side cutters</p><p>Wire Stripper</p><p>Terminal Crimper</p><p>8mm Socket and Driver</p><p>10mm Socket </p><p>Antiseize or grease for SS threads</p>

Tools and Consumables Required:

Side cutters

Wire Stripper

Terminal Crimper

8mm Socket and Driver

10mm Socket

Antiseize or grease for SS threads

3
Step 3 of 24
<p>Disconnecting the Pump</p><ul><li><p>#1 Ensure the power button is switched off (and in the cab controller as also)</p></li></ul><ul><li><p>#2 Unscrew the RPM Sensor cable from the sensor.</p></li><li><p>#3 Remove the blade terminals from the pump motor. If these prove difficult, cut the cable close to the end by the terminals.</p></li><li><p>#4 Disconnect the fluid lines from the white John Guest pump head tube fittings (press in the lock ring and slide out the tube)</p></li><li><p>#5 Remove the front cover from the pump head and rotate the rollers to remove the pump tube from the head.</p></li></ul><p></p>

Disconnecting the Pump

  • #1 Ensure the power button is switched off (and in the cab controller as also)

  • #2 Unscrew the RPM Sensor cable from the sensor.

  • #3 Remove the blade terminals from the pump motor. If these prove difficult, cut the cable close to the end by the terminals.

  • #4 Disconnect the fluid lines from the white John Guest pump head tube fittings (press in the lock ring and slide out the tube)

  • #5 Remove the front cover from the pump head and rotate the rollers to remove the pump tube from the head.

4
Step 4 of 24

Remove the Tube

Rotate the rotor to verical and unclip the tube and peel out the tube towards the top

Continue to turn the rotor 180 degrees while removing the tube until the other end is free.

Unclip the tube and remove from the pump head.

5
Step 5 of 24
<p><strong>Remove the Pump</strong></p><p>Once the Pump Tube is removed, proceed to undo the 4x M5 Nuts from the mounting studs with the 8mm AF socket</p><p>Lift the whole pump out.</p>

Remove the Pump

Once the Pump Tube is removed, proceed to undo the 4x M5 Nuts from the mounting studs with the 8mm AF socket

Lift the whole pump out.

6
Step 6 of 24
<p><strong>Pump Removed </strong></p>

Pump Removed

7
Step 7 of 24
<p>Free the pump power wires by snipping the cable ties.</p>

Free the pump power wires by snipping the cable ties.

8
Step 8 of 24
<p>Remove blade terminals from pump power wires.</p><p>(cut back red &amp; black wires with side cutters)</p>

Remove blade terminals from pump power wires.

(cut back red & black wires with side cutters)

9
Step 9 of 24
<p>Strip the wires 8mm with the stripping tool</p>

Strip the wires 8mm with the stripping tool

10
Step 10 of 24
<p>Slide on the Blue Female Bullet crimp terminals.</p><p>Crimp them on to the wire with the blue size jaw on the crimping tool</p><p></p>

Slide on the Blue Female Bullet crimp terminals.

Crimp them on to the wire with the blue size jaw on the crimping tool

11
Step 11 of 24
<p><strong>Install the Adaptor Plate</strong></p><p>Use grease or anti seize on the M5 SS threads</p>

Install the Adaptor Plate

Use grease or anti seize on the M5 SS threads

12
Step 12 of 24
<p><strong>Screw up the Adaptor Plate</strong></p><p>Use an 8mm socket to tighten up the M5 SS Nyloc nuts. </p><p></p>

Screw up the Adaptor Plate

Use an 8mm socket to tighten up the M5 SS Nyloc nuts.

13
Step 13 of 24
<p><strong>Install the PA302 Pump</strong></p><p>Carefully insert the pump up into the top of the enclosure.</p><p>Then pivot the base in, just above the pump junction box</p><p>Keep the pump parallel to ensure it will fit in without jamming.</p><p></p>

Install the PA302 Pump

Carefully insert the pump up into the top of the enclosure.

Then pivot the base in, just above the pump junction box

Keep the pump parallel to ensure it will fit in without jamming.

14
Step 14 of 24
<p><strong>Lock the Pump into the Adaptor Plate</strong></p><p>The pump base will need to clear the existing studs (green arrows) to be able to locate correctly.</p><p>Then the tongue on the pump base will need to be aligned (laterally) with the slot in the adaptor plate.</p><p>Once located, push the pump onto the M6 studs and start a Nyloc nut to retain it in position.</p>

Lock the Pump into the Adaptor Plate

The pump base will need to clear the existing studs (green arrows) to be able to locate correctly.

Then the tongue on the pump base will need to be aligned (laterally) with the slot in the adaptor plate.

Once located, push the pump onto the M6 studs and start a Nyloc nut to retain it in position.

15
Step 15 of 24
<p>Screw up the Pump Base</p><p></p><p>Use 10mm Socket to tighten both M6 SS Nyloc nuts on to the Adaptor Plate studs.</p>

Screw up the Pump Base

Use 10mm Socket to tighten both M6 SS Nyloc nuts on to the Adaptor Plate studs.

16
Step 16 of 24
<p><strong>Connect the Pump Power Wires</strong></p><p>Push the bullet terminations together, red to black and vice versa.</p><p>This will ensure the correct rotation of the pump head.&nbsp;</p>

Connect the Pump Power Wires

Push the bullet terminations together, red to black and vice versa.

This will ensure the correct rotation of the pump head. 

17
Step 17 of 24
<p><strong>Tidy up the Cables</strong></p><p>Gather the cables together and cable tie. Tuck them up around the pump and down the left hand side of the enclosure.</p><p>Trim off the tie tails with side cutters</p>

Tidy up the Cables

Gather the cables together and cable tie. Tuck them up around the pump and down the left hand side of the enclosure.

Trim off the tie tails with side cutters

18
Step 18 of 24
<p><strong>Reconnect the RPM Sensor cable</strong></p><p>Rotate the 3 pin sensor plug to locate with the sensor pins and screw together until fully home.</p>

Reconnect the RPM Sensor cable

Rotate the 3 pin sensor plug to locate with the sensor pins and screw together until fully home.

19
Step 19 of 24
<p>Pump installed ready for tube to be replaced.</p>

Pump installed ready for tube to be replaced.

20
Step 20 of 24
<p><strong>Remove the front cover</strong></p><p>Unscrew the 2x thumb screws on the front of the pump head and lift out the clear cover</p>

Remove the front cover

Unscrew the 2x thumb screws on the front of the pump head and lift out the clear cover

21
Step 21 of 24

Install the tube

Remove the front cover

Position the rotor vertical and clip in the tube on one side. Feed in the tube to the top.

Turn the rotor while feeding in the tube behind it, until the rotor has done 180 degrees and is vertical again.

NOTE: Ensure the black clips on the end of the tube are facing towards motor (away from the clear cover to allow it to clamp against the flat of the white hex fittings on the ends.)

22
Step 22 of 24

Replace the front cover

Insert the clear cover in to the locking tabs and fold onto the pump head face. 

Ensure the tube is not protruding out from the rotor and the black plastic tube clamps are facing away from the cover.

The white hexagonal fittings should be clipped into the locationg grooves and the flats sitting parallel with the cover.

Locate the knob screws in the holes and tighten up the cover onto the stainless frame.

23
Step 23 of 24

Replace the fluid lines

Insert the inlet and outlet tubes into the pump head push-fit connectors as shown.

Ensure they go right in to seal on the internal O-ring.

Failure to seal will cause loss of prime on the inlet or leaks on the outlet, into the enclosure.

24
Step 24 of 24
<p><strong>Test Run the new Pump</strong></p><p>Conduct a volume/time test with the controller on full to establish the Maximum Flow Rate.</p><p>Then do the same at the Minimum Flow Rate.</p><p>Compare this to the rate on the EFM metering display in mLs/min</p><p>If it there is significant variance, proceed to recalibrate the system.</p>

Test Run the new Pump

Conduct a volume/time test with the controller on full to establish the Maximum Flow Rate.

Then do the same at the Minimum Flow Rate.

Compare this to the rate on the EFM metering display in mLs/min

If it there is significant variance, proceed to recalibrate the system.