
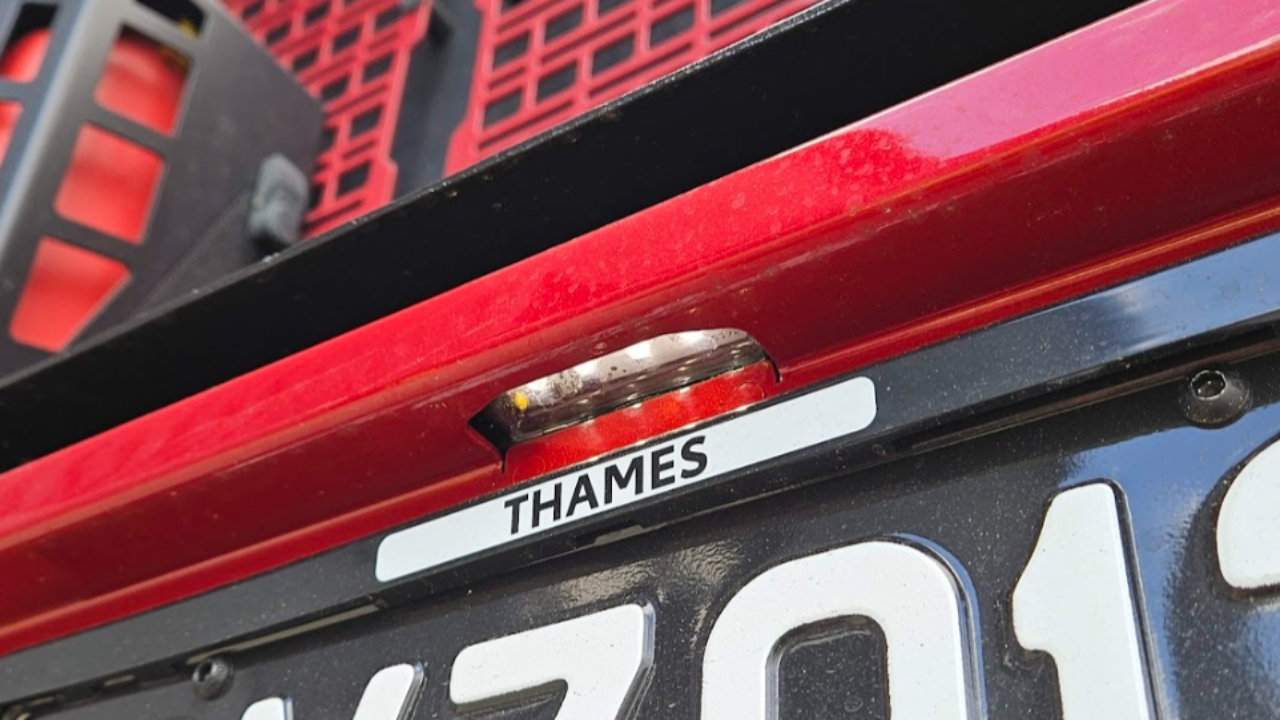
All Trailcore range uses the same method of connection and LED License plate lights. (2 lights for Service body, 1 light for Tray)
License Plate power feed varies model to model so may require checking light operation with vehicle lights on/out of auto.
Reccomend troubleshooting in these steps:
Verify no damage, Drawer to body connection
Verify power feed from vehicle side
Verify light operation, check wire polarity
Replacement Light 50128-01
Replacement Plunger PRT-005194
Verify no there is no damage on the drawer to body connection
Check for any external impact damage to spade connectors, verify plunger movement and alignment of plunger to pad is contacting metal on metal
Note any deformed plungers, missing or loose fasteners or terminals

Verify power feed from vehicle side
Locate vehicle to Trailcore connection at rear of body, typically on passenger side behind rear faceplate.
Remove female spade connectors and verify power feed to this point from Vehicle

Verify light operation
Remove Spade connectors and close drawer/faceplate, Apply 12v onto legs to verify light operation of circuit within - swap polarity to verify this
Swap polarity of vehicle feed if this is the issue

IF needing to open to verify internal wiring
Remove rivets located across top and bottom (and sides if older models)
Slide face plate off from drawer assembly

IF needing to open to verify internal wiring
Inspect wiring points internally to ensure connectors firmly attached and mounted to plunger fixed pad
Check cable feed through points for wear
Check wire connection from light housing for any damage