
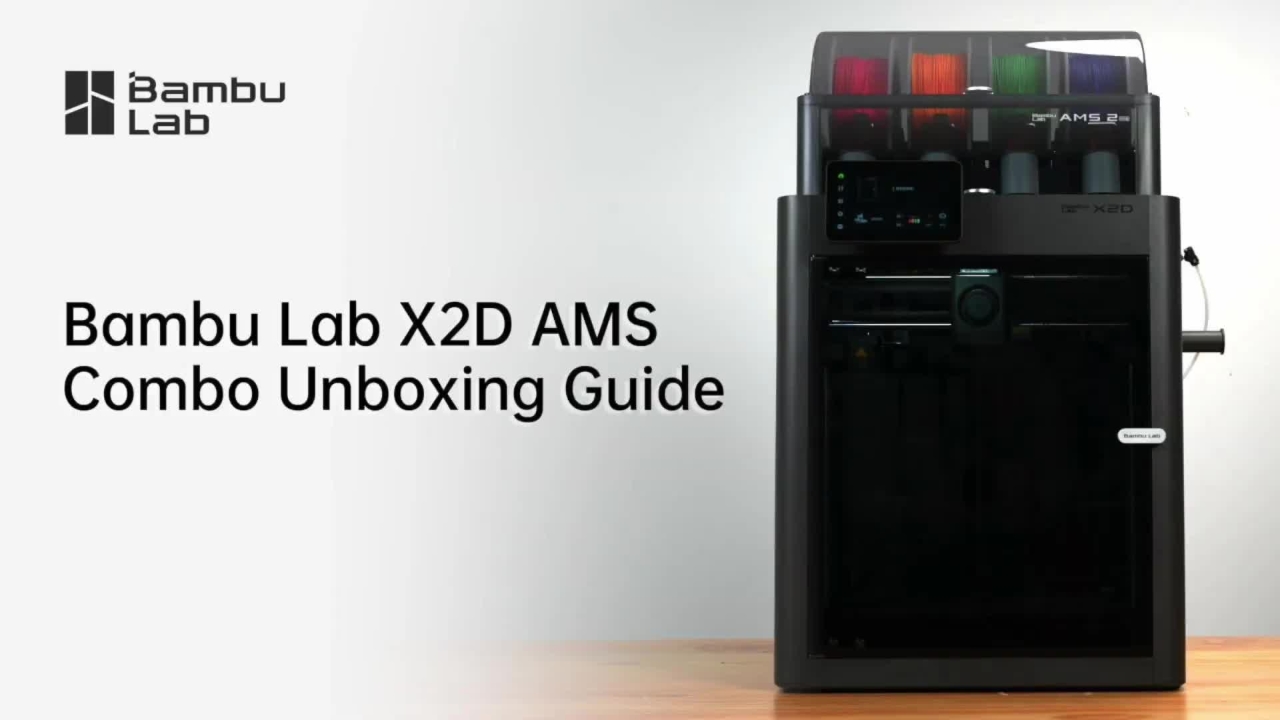
Bambu Lab X2D AMS Combo Unboxing Guide
Bamboo Lab X2D AMS Combo Unboxing Guide To begin, open the outer box.
Bamboo Lab X2D AMS Combo Unboxing Guide To begin, open the outer box.
1
Step 1 of 36Bamboo Lab X2D AMS Combo Unboxing Guide To begin, open the outer box.
2
Step 2 of 36Read the Quick Start Guide carefully and remove the toolbox. Next, remove the cardboard and the top foam pieces.
3
Step 3 of 36Lift out the printer and place it on a stable surface. Remove the moisture proof bag and the spare PTFE tube.
4
Step 4 of 36Remove the tape from around the printer.
5
Step 5 of 36Lift off the glass top cover, then remove the protective bag and handle foam.
6
Step 6 of 36Peel off the protective film from the side window and take out the accessory box.
7
Step 7 of 36Now, remove all remaining top foam pieces.
8
Step 8 of 36Use an H2.0 Allen key to remove the two red marked screws, then lift out the AMS 2 Pro.
9
Step 9 of 36Remove the foam and the other side window.
10
Step 10 of 36Use an H2.0 Allen key to remove the two red marked screws, then lift out the AMS 2 Pro.
11
Step 11 of 36Remove the foam from the inner walls of the printer. Remove the three screws to take off the AMS transport fixture.
12
Step 12 of 36Then remove the heat bed fixing screw and the desiccant from inside the printer.
13
Step 13 of 36Pull down and remove the red plastic protectors from both lead screws.
14
Step 14 of 36Cut and remove the zip ties from the linear rods. Pull the tool head toward the front door and remove its zip tie.
15
Step 15 of 36Place the top glass cover back onto the printer.
16
Step 16 of 36Remove the tape securing the cable and insert it into the screen port. Tuck in the cable, insert the screen, and slide it left to lock it in place.
17
Step 17 of 36Remove the tape and take out the auxiliary extruder from the accessory box.
18
Step 18 of 36Slide out the cover plate, insert the cable, then slide it back.
19
Step 19 of 36Loosen the nut on the auxiliary extruder by hand and insert the PTFE tube fully into the connector.
20
Step 20 of 36Insert the auxiliary extruder and press down to lock.
21
Step 21 of 36Confirm the tube is fully inserted, then tighten the nut with the open end wrench.
22
Step 22 of 36Continue until you hear a continuous clicking sound.
23
Step 23 of 36Remove the tape securing the PTFE tube. Insert the gray tube into the main extruder inlet and the white tube into the auxiliary extruder inlet.
24
Step 24 of 36Remove the protective film and inner cardboard from the AMS2 Pro.
25
Step 25 of 36Remove the foam and take out the external exhaust fan bundle.
26
Step 26 of 36Unpack the desiccant and place it back. Place the AMS2 Pro on top of the printer.
27
Step 27 of 36Connect the gray tube to the AMS2 Pro outlet.
28
Step 28 of 36Connect the 6-pin cable from the accessory box to the 6-pin ports on the buffer and the AMS.
29
Step 29 of 36Take out the spool holder and slide it into the base. Insert the PTFE tube holder downward into the slot on the spool holder, then connect the white PTFE tube.
30
Step 30 of 36Insert the external exhaust fan into the rear panel, press in, and push left to lock.
31
Step 31 of 36Connect the buffer and the external exhaust fan with the short 6-pin cable.
32
Step 32 of 36Check that the voltage matches your local power standard.
33
Step 33 of 36Plug in the power cable and turn on the printer. Follow the on-screen instructions to complete the initial calibration.
34
Step 34 of 36Finally, remove the foam from under the heat bed once the calibration is complete.
35
Step 35 of 36Once the AMS has successfully loaded, you are ready to print.
36
Step 36 of 36Thank you.