
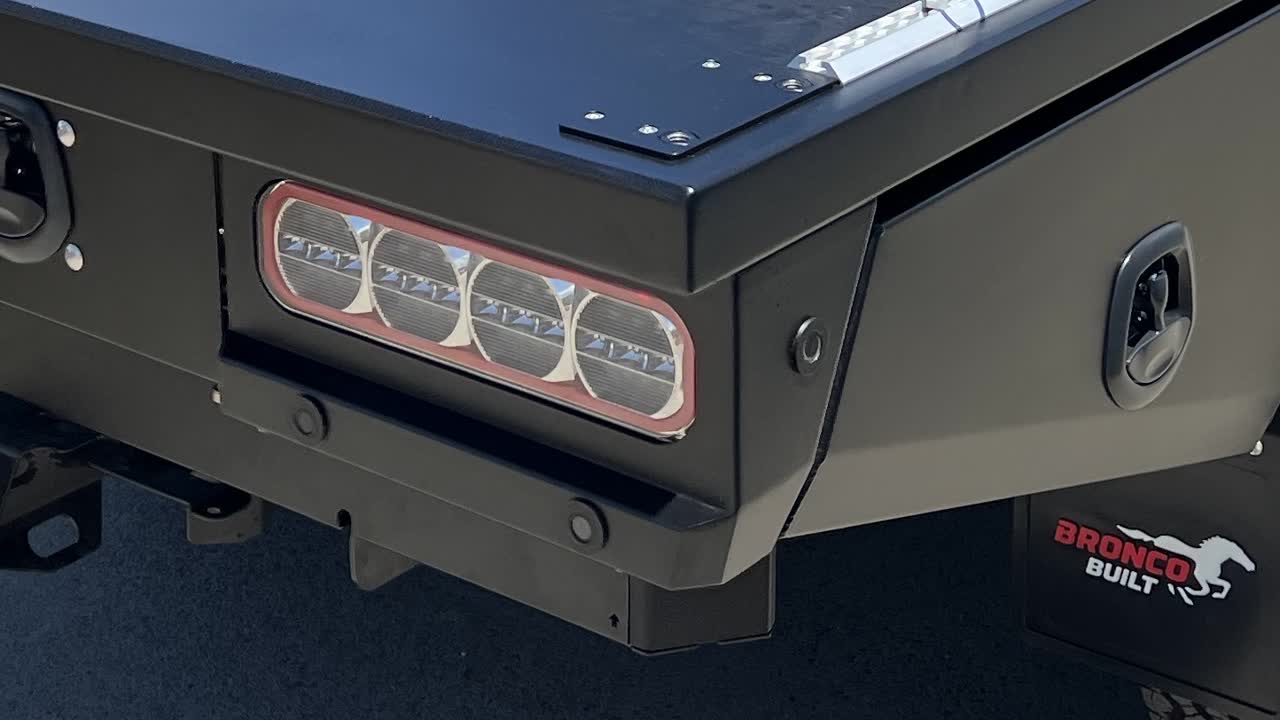
It will look like this when done
You would have earlier removed the bumper from the vehicle as shown above.

Set the bumper down on foam or blanket, so it is not damaged.

Tools Required:
- Wire Cutters
- 10mm Socket on driver
- Zip Ties

Pro Tip The most common mistake when re-fitting sensors is that the sensor is not clipped into the 3D printed bracket correctly. When wrong, the clear plasitic "boot" (around the sensor) is pinched, which causes the sensor to alarm. Please take care to ensure the sensors clip in correctly. It will save you a lot of muck around later.
Pop Sensors out of Bumper Spread the 2 x plastic tabs apart, and push the sensor from the back side. There is NO NEED to unplug the sensor from the harness.
Cat all zip ties/clips holding harness to bumper
Remove harness from the bumper and bring to vehicle

This is where the harness plugs in. It is located on the passenger side.
Cut the clips holding the harness, so it is lengthened. We do this because we need it to reach back further
Plug in the sensor harness. located on the passenger side.
Remove extra zip ties-Clips from the harness. This tidies it up, and makes it easier to fit.
Remove LED Tail lights. Qty 4, 10mm socket. ** will allow better access to plug-in the sensors**
You will have been supplied with a sensor extension harness. It is part number WH024.
If the vehicle is a Wildtrak or "high end" model. It will have the extra sensors as shown here. Push in to the 3D printed holder. The clear plastic boot should sit

You do not want it to look like this! notice that on the left-hand side the clear plastic boot looks pinched. It is necessary to wiggle the sensor until the boot becomes even all the way around the sensor.
Pop in the other sensors.
Refit the LED lights. 4 x M6 bolts. Use a 10mm socket to tighten.
Check it is working correctly When vehicle is put in reverse, the sensors should react as something comes close to them. Have a second person walk slowly around the back of the vehicle to make sure all are working. If a sensor is BEEPING even when nothing is close to it, wiggle the sensor. Usually that fixes it.