
Use same instructions for both Dual Cab and Extra Cab models

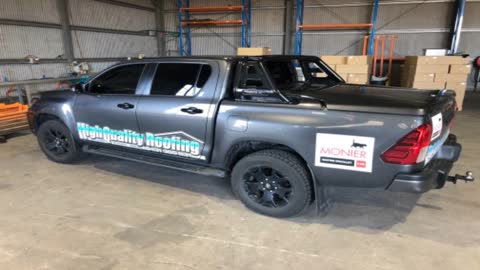
Hilux D-Cab tub looks like this

Tools Required
- Wire cutters
- Phillips head driver
- Sockets: 10mm, 12mm, 17mm
- 17mm ratchet spanner
- Breaker bar
- Small Flat head screwdriver
- Forklift with Tyne Extensions
- 4 x Lifting straps

Remove pallets IF supplied by customer

Release fuel door. Located to right of steering wheel
Remove mud flaps, both sides.( including the small square front flap on passenger side), 10mm socket
Pass side only
Small flat head screwdriver, remove pass inner guard clips. Front half of guard only
Remove inner guard (Passenger side only)
Remove Fuel neck from vehicle chassis, 12mm socket
Dual Cab Only
Front Mounts, 17mm socket and breaker bar.
These are usually TIGHT!
Dual Cab Only
Front Mounts, 17mm ratchet Spanner, completely remove front chassis bolts
Middle mounts, 17mm socket
Rear mounts, 17mm socket

Removing rear “Bumper”
(It may also have reversing sensors)

Remove licence plate (if it has one)

Bumper Bolts
Tight!
Use breaker bar, 17mm

Yellow - Fully remove it Blue - Loosen (no need to completely take it out)
IF vehicle has camera,
Open tailgate
IF it has a tub liner,
Use medium flat head screwdriver to pop off caps
Phillips head driver, Remove screws and peel off tailgate liner
Remove remaining tailgate screws, remove tailgate panel
Cut plastic harness clips from tailgate

***Variants ***
This is how camera looks on thy SR model
Unplug tailgate brake light plug
10mm socket with extension, remove camera bracket from tailgate
Unplug camera from harness
10mm socket, undo tail light
Remove light, pull out
Unplug harness from light. Cut zip ties holding harness to tub
Flat head screwdriver, pop clips between tailgate and tub. Feed harness out of tub
Pop clips off of harness, push harness through tub
Squeeze ends of license plate light together (which releases clip) pull down, unplug light.
Cut clips holding wiring to bottom of tub

With a second person, lift tub slightly
Raise tub, then remove Bumper

Super important!
Refit these bolts
Tighten 17mm Towbar bolts
IF job will have rear Toolboxes, Bend "Tags" down 90 degrees
IF tub model, feed the fuel filler release into the chassis.