
Take the nut retaining bracket and lign up the inboard hole with the factory hole on the front of the wellside, then match drill an 8mm hole for the top bolt .
Heat and Trim wellside Tuff deck to allow
side mounts to be secured.
Align front brackets with hole in front of wellside
Once in place mark new hole in wellside required
Drill hole using 10mm drill bit.
A new hole needs to be drilled at the front of the wellside to hold the side brackets in place
Align side mount so it is level with the wellside
Mark and drill front hole shown using 10mm drill bit
The side holes will will now require drilling
mark the rear hole ensuring the side mount is level with the wellside
Drill using 8mm drill bit
Place front bracket in position and secure the two top M6x25 screws with washers these will be removed before fitting hardlid to wellside.
Secure side mounts using M6x25 spring and flat in the front
M8x20 with nyloc nut along the sides
The remaining two holes can now be drilled
ensure the side mount is level with the vehicle and drill required holes using 8mm drill bit
secure using 2 x M8x20 with nyloc nut
The two screws holding the front bracket can now be removed before fitting hardlid
If required and you have central locking installed
Apply plastic cover to prevent wiring rubbing cab
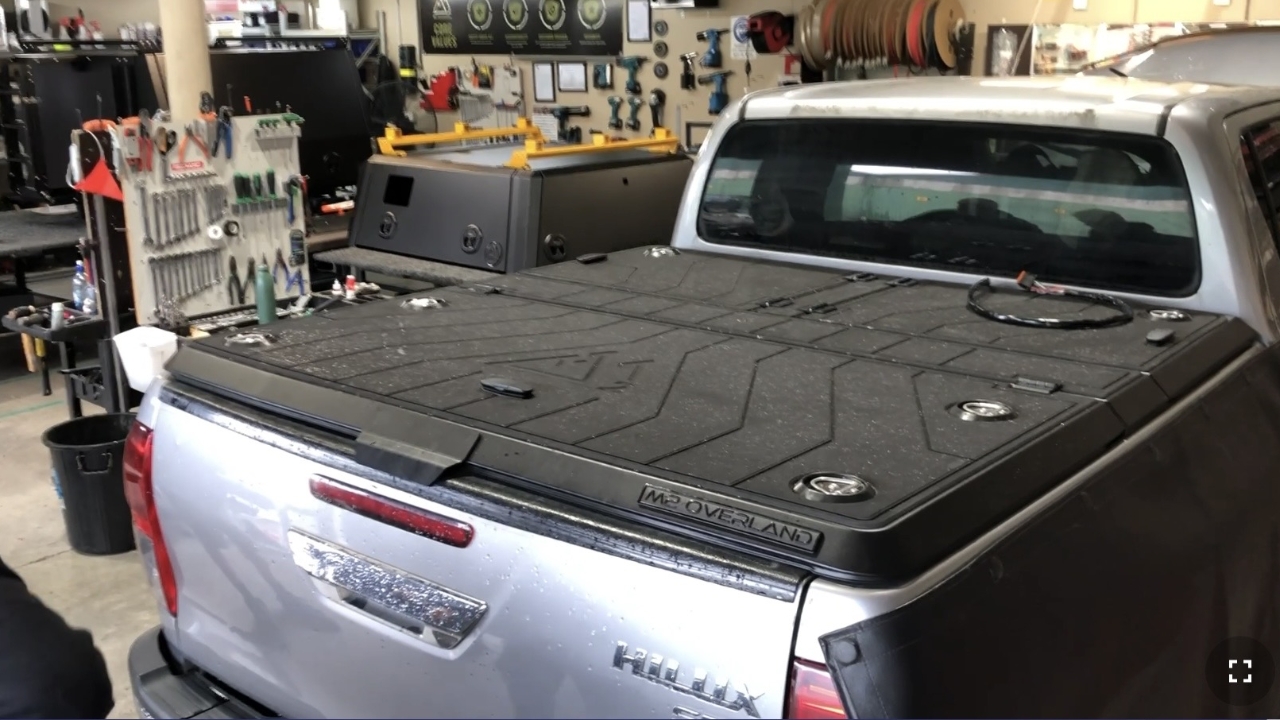
Place the hard lid on the wellside lining up mounting holes
If you have central locking place wiring down the front of the wellside
Align holes in hardlid and side rails
hardlid is secured using M6x20 with flanged nut
Connect bracket to hardlid and side rails
secure two top holes using M6x25 screw with rubber O-Ring and flanged nuts
secure last hole using M6x12 screw and nyloc
Do this for both sides
Secure the hardlid front hold down using M6x20 with rubber O-Ring and flanged nut
Secure the front of the wellside to the bracket using M6x20 screw and washer
Seal along the rear edge of the hardlid
clean excess accordingly