
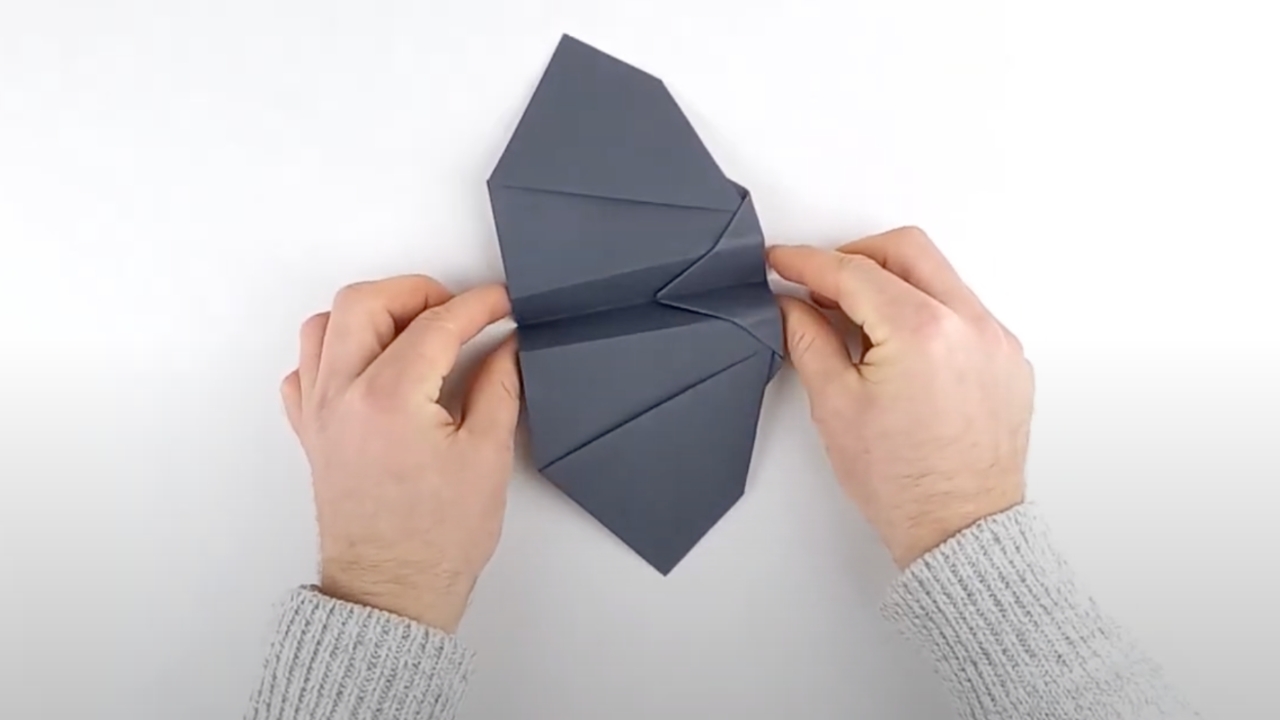
Prepare the Paper
Take a sheet of paper (preferably colored for more fun) and fold it in half horizontally. Press firmly along the crease to make a clear fold.
Fold the Halves
Unfold the paper and fold both sides towards the center crease line you created earlier. Ensure the edges align perfectly.
Create Wing Folds
Fold the paper diagonally from both sides to form two triangular shapes. These will serve as the bird’s wings.
Form the Bird’s Head
From the upper edges of the triangles, fold two symmetrical triangles downward. This creates the head and beak of the bird.
Reverse Fold for the Beak
Flip the paper bird over and fold the top part (the head/beak) vertically in half. Make sure to press the fold gently but firmly.
Smooth the Edges
Bend the lower corners slightly inwards to smooth out any sharp edges and give the bird a more refined shape.
Shape the Beak
Fold the small triangular tip of the beak vertically twice to make the beak more prominent. Flip the bird back and forth to ensure symmetry.
Form the Wings
Fold the paper horizontally to form the bird’s wings. Leave a small section unfolded at the base of the wings to hold and launch the paper bird with your fingers. Ensure the wings are symmetrical for a balanced flight.