
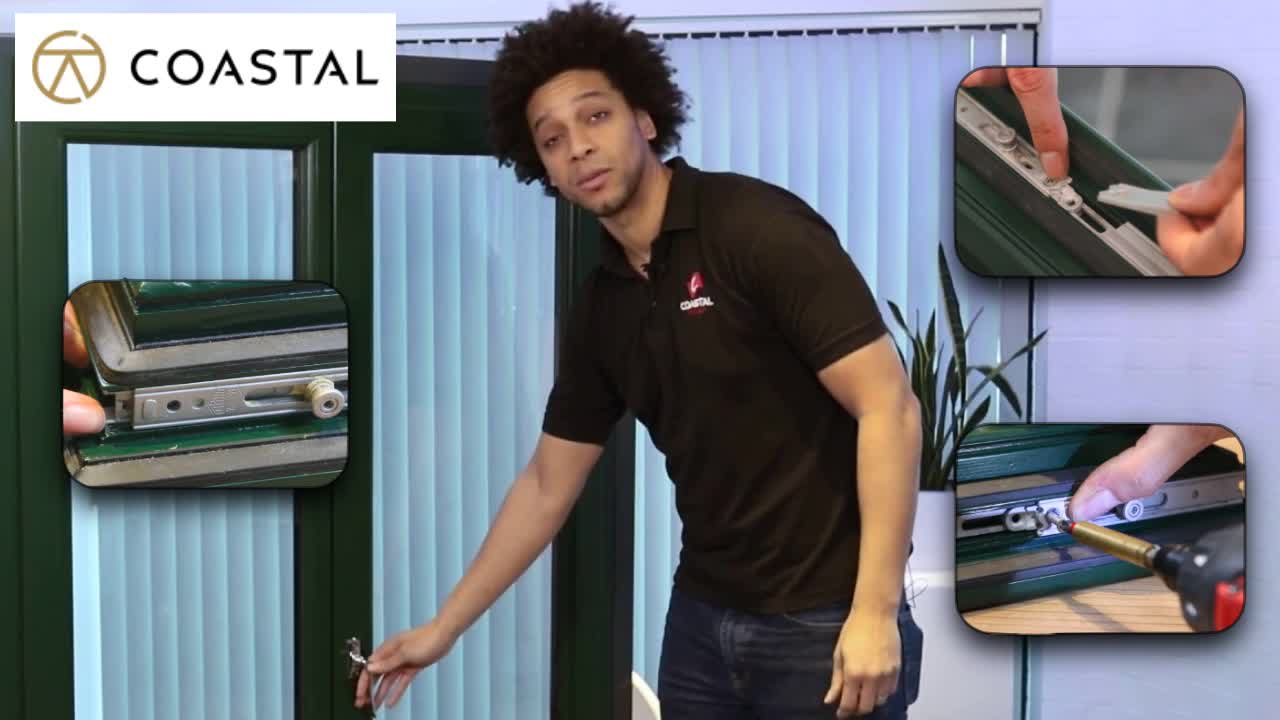
Installation Guide for Inward Open Tilt and Turn Windows
Master the installation of an inward open tilt and turn window system with this concise knowby. Learn all the essential steps, from setup to final adjustments, for a perfect window installation.
Master the installation of an inward open tilt and turn window system with this concise knowby. Learn all the essential steps, from setup to final adjustments, for a perfect window installation.
1
Step 1 of 15Unboxing Components:
- Take all components out of the box.
- Ensure the cam is centrally aligned between the two chevrons on the faceplate.
2
Step 2 of 15Install the Corner Elements:
- Fit the corner element into the top handle side corner of the sash.
Make sure the wings are snugly fitted into the Eurogroove.
- Repeat this for the bottom of the sash below the drive gear, ensuring the cam faces the floor.
3
Step 3 of 15Fit the Corner Support:
- Insert the corner support into the bottom hinge corner of the groove.
- Align the pin with the hole on the corner and snap it into the Eurogroove.
4
Step 4 of 15Install the Center Lock:
- Attach the center lock to the top hinge side corner element ensuring the hole aligns with the pin on the back of the center lock.
5
Step 5 of 15Prepare and Install the Face Plate:
- Measure and crop the tops of the faceplate.
- Click it into place on the top hinge side corner element.
- Fasten it with screws.
Avoid placing a screw in the countersunk screw port on the far side.
6
Step 6 of 15Handle the Drive Gear:
- Turn the sash around so that the drive gear side is facing you and the drive gear is correctly oriented.
Ensure that the cam is facing the floor.
- Measure and crop the drive gear appropriately.
- Fit the cropped drive gear into the Eurogroove.
7
Step 7 of 15Connect the Drive Gear:
- Utilize an adapter plate to securely connect the ends of the drive gear to the corner element, ensuring a stable and functional installation.
8
Step 8 of 15Center Lock Adjustment:
- Cut the teeth off of the adapter plate to connect two center locks together at the back of the sash between the hinges.
9
Step 9 of 15Attach Hinges:
- Pre-drill the holes using a jig.
- Screw in the hinges using special power hinge screws.
10
Step 10 of 15Hang the Sash:
- Position the bottom hinge slightly open and the top hinge closed.
- Hang the sash on the bottom hinge and then move the top scissor into place.
11
Step 11 of 15- Snap the scissor arm into the faceplate and engage the release mechanism to close.
12
Step 12 of 15Adjust and Secure the Sash:
- Stabilize the Sash: Move the sash to the closed position if it tilts when open.
- Adjust Drive Gear: Use the macro multi-tool to set the drive gear for smooth operation.
- Secure the Handle: Fasten the handle with screws using the provided 4 mm Allen key, ensuring proper alignment.
13
Step 13 of 15Install the Handle:
- Rotate the handle to the open position.
- Secure with screws using the 4 mm Allen key from your macro multi-tool.
14
Step 14 of 15Testing, Cleanup, and Final Adjustments:
- Test Functionality: Operate the window to confirm smooth function.
- Cleanup: Remove debris and packaging from the installation area.
- Final Adjustments: Optimize the window's operation by adjusting the sash and hinges as needed.
15
Step 15 of 15Visit Coastal Group Website:
- For further details about the system or services, visit Coastal Group's website.