

Measure your track.
Divide the length of your track by 3.
Example
2370÷3=790.
The length of your track divided by 3 is where you will put your screws from each end.
Different size track will have a different number.

The length of your track divided by 3 is where you will put your screws from each end.
For a 2540 door put a mark at 790 from the top and bottom.
Different size track will have a different number.

Measure 50mil from the bottom and top and put a mark, this is where you'll place your screws.

Open your roller door kit.

Select 4 screws.
Screw Hex 12-14-20 Metal C3
SCHEX121420C3MTL

Using your 5mil spacer, place the spacer flush with the channel and place the track flush with the spacer.

Place one screw to the bottom of the track, where you marked 50mil.
Screw Hex 12-14-20 Metal C3
SCHEX121420C3MTL

Using spacer, place the spacer flush with the channel and place the track flush with the spacer.

Place one screw to the top of the track, where you marked 50mil.
Ensure the screw is not over the edge of track.
Screw Hex 12-14-20 Metal C3
SCHEX121420C3MTL

Place two screw to the inside marks.
Screw Hex 12-14-20 Metal C3
SCHEX121420C3MTL

Repeat steps 6-10 for the other track.

Place the roller door mounting bracket flush with top and side of track, ensure the smooth side is facing the track and the side with the holes is away from the track.

Place screw in the center hole.
Screw Hex 12-14-20 Metal C3
SCHEX121420C3MTL

Place another two screws to the top two holes.
Screw Hex 12-14-20 Metal C3
SCHEX121420C3MTL

Using a 5mil drill, drill a hole in the top small hole.

Using a rivet gun place a rivet into the hole.
Rivet 6-4 SSDMG Dome
RVDOME64SSDMG

Your roller door mounting bracket should look like this when completed.
3x Screw Hex 12-14-20 Metal C3
SCHEX121420C3MTL
1x Rivet 6-4 SSDMG Dome
RVDOME64SSDMG

Repeat steps 12-17 for the other side.

Grab out your U-bolt set out of the roller door kit.

Cut open the roller door.


Remove the end caps.

Ensure the bottom rail is facing up and towards the back of the unit.

Once door is up, using your U-bolt kit, place the cradle under the shaft and the U-bolt over the top of the shaft.
Move the shaft to the front of the holes towards the front of the unit.
Don't tighten yet!

Once the door is on the mounting bracket, ensure the bottom rail is facing down.
On a clock it would be facing 6 o'clock.
Make sure when turning the door to face 6 o'clock, turn the shaft with it to ensure the spring tenson doesn't change.

Centre the door and ensure the gap is equal on both sides.

Once door is in the correct place, using a rattle gun, tighten the nuts.
Make sure to keep the shaft pushed to the front of unit.
Rotate the door 2 full rotations to get the correct spring tenson.

Cut plastic off. Place your blade in the grove of the aluminum bottom rail to ensure you don't scratch the door or cut the rubber.

Remove as much of the plastic from around the first layer of the door so you're able to unroll the door.
Make sure you don't release the door when doing this as it will spin back and the spring tenson will be incorrect.

Feed the bottom rail into the track the top of the track and slowly pull down.
Make sure not to release the door.

While unrolling the door, remove the plastic.

Get your top stop brackets.
Align the top hole on the top stop bracket with the top of the second bottom hole on the mounting bracket.
Then screw the next screw in the bottom hole of the top stop bracket.

The top stop bracket should look like this once its completed.

Repeat steps 34-36 for the other top stop bracket.

Place your warning sticker under the mounting bracket on the left side mullion.

Test the door to see if it goes up and down smoothly.
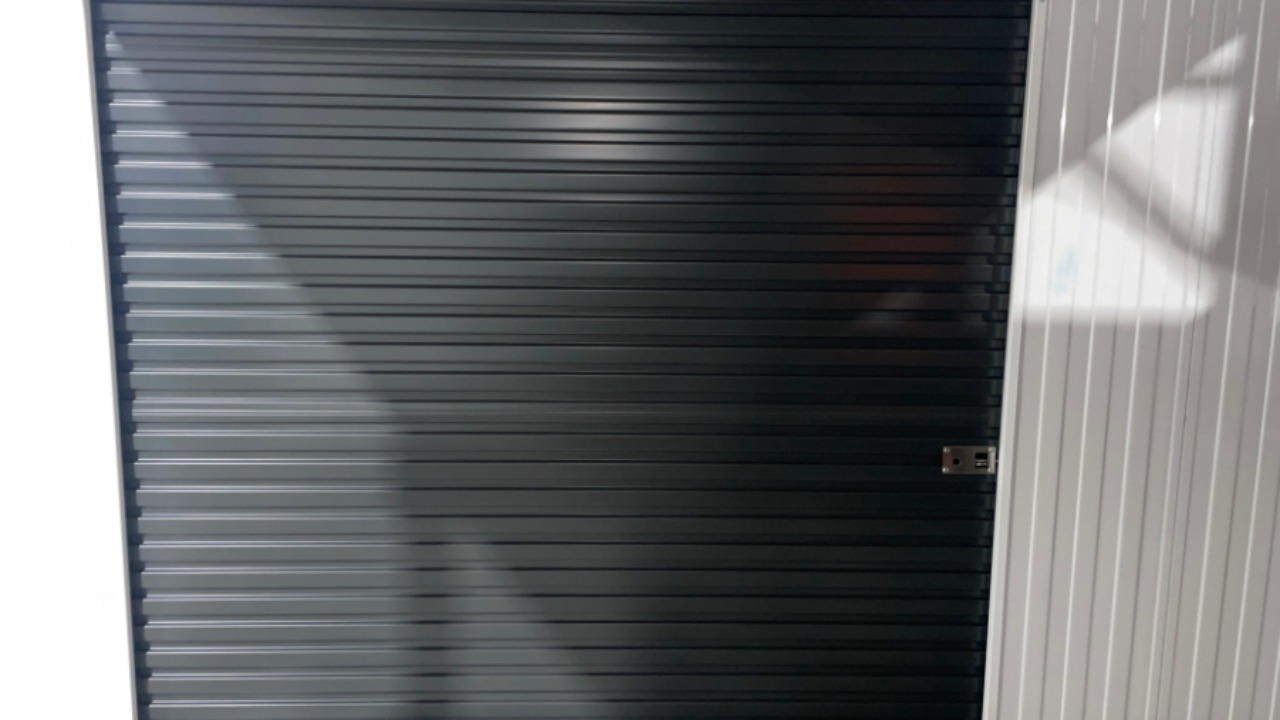
Roller door installation is complete.