

Install extra required drippers/compensators prior to any lowering activities.

Cut back grow gutters at areas where the irrigation valve riser creates an obstruction for lowering. Use a 5” cutting wheel to safely perform the cut and secure the end cap back to the end of the gutter

In a team, carefully lift sections of the grow pipe off the grow pipe bracket. Slowly and gently place the grow pipe on the floor plastic.

Strategically position the required number of staff members on either side of the gutter at the ready to lift the gutter enough to detach from the old support cable. Position extra staff to assist in detaching the gutter at each gutter support cable.

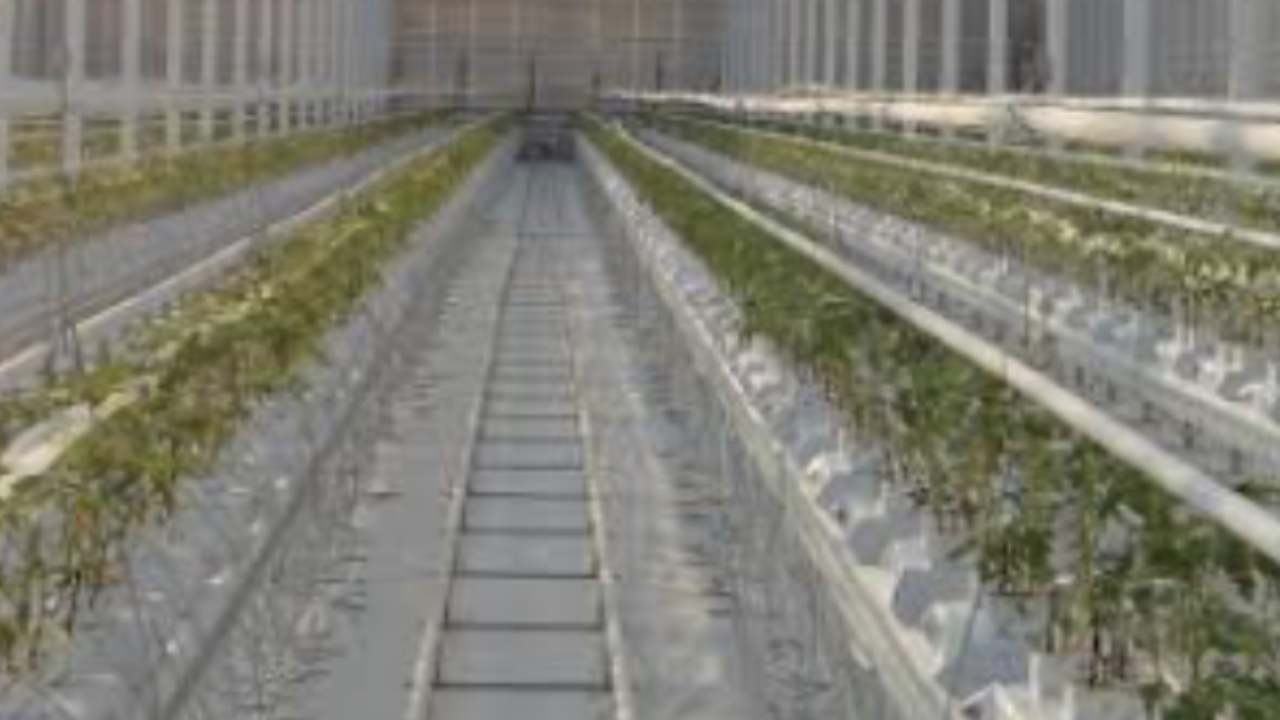
Going from advice from previous similar work it is best that the grow gutter is lowered in 1 single movement from the front to the back of the gutter. With one clear leader calling each step, simultaneously and carefully lift the complete grow gutter and disconnect from the support cable. Slowly and carefully lower the gutter to rest on the floor plastic. It is vital at this time to position the end of the grow gutter correctly on the newly lowered gutter support rail at the back of each row. Repeat for each grow gutter.

Connect a combination of 2 x heavy wire extensions and the turnbuckle to the grow pipe bracket. Simultaneously lift the grow gutter to position and connect to the new support cable. This can be done in small groups and in stages.

Secure the grow gutter to the rear gutter support rail with a tek screw at the angle bracket.

Use a poly cutter or shears to trim down the drain flex and re-plumb.

Use approved equipment to trim down co2 flex and re-plumb.

Use approved equipment to trim down irrigation risers and re-plumb.

Using a scissor lift, remove the old gutter support cable and any offcuts from the job.