
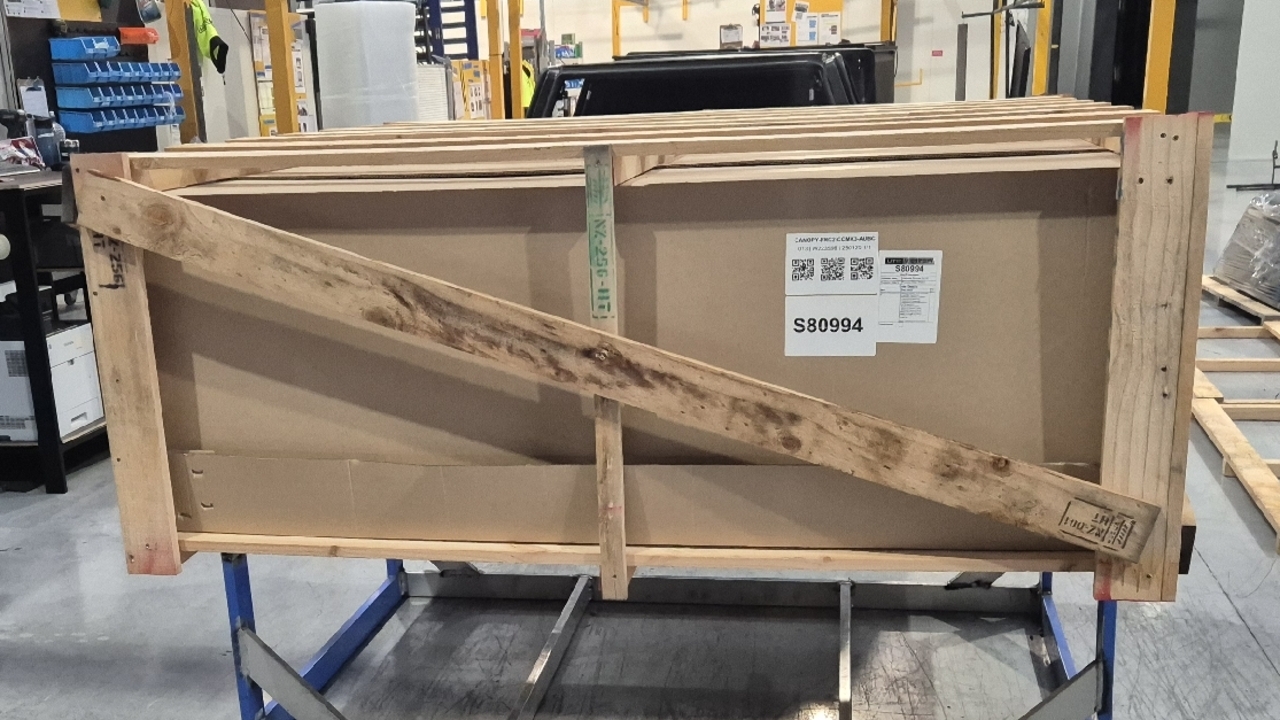

Check sales order - check if it is NZD or AUD.

If it AU then use heat treated pallets which can be identified by the heat treatment stamp on the side of pallet.

Place pallet onto the dispatch frame.
Place cardboard box on to pallet and proceed to staple each corner using 4 staples one at each corner of the fold. Repeat for all four corners of the box.

Place fitting kit and any other accessories to go with the canopy in the center of the box and tape down using clear packing tape.

For FRC2 and THB4/C4 with central locking fitting kit only. Place the fitting kit box on the corner to the right.

Wrap canopy with clear packing wrap.
Carefully lift canopy into the box using the vacuum lifter ensuring the canopy sits evenly in the box
Clean roof with multi purpose clean rag.

Place bubble wrap and polystyrene angle onto the canopy and tape down using the clear packing tape as shown.
CQC Make sure that the polystyrene not exceed to the powdercoated surface and make sure that it is tape properly.And avoid covering the canopy roof seal by buble wrap or extending the polystyrene on the seal specifically when it is still freshly applied.
Get out two sports bar boxes from the rack fold as shown
Place sports bar box's on one at a time as shown.

Place the relevant packing labels onto the rear of the box as shown.

Place the correct pallet onto the top of the box.

Attach corner bracing to each corner of the pallet as shown making sure the are flush and do not hang over the top or bottom.

Apply the cross bracing to the pallet ensuring the packing stickers are not covered.

The packaged canopy is now ready to be taken out and stacked in either AU bay or the NZ bay ready for transport.