
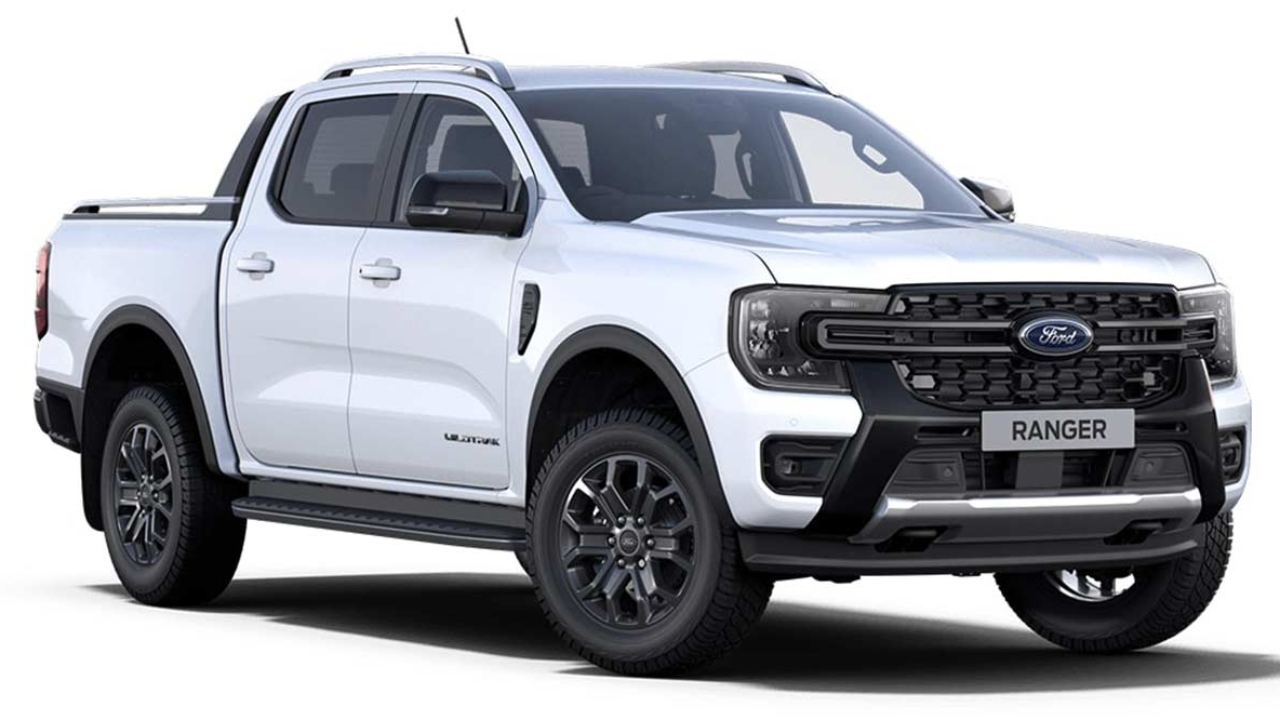

Before starting work under the bonnet, use a fender cover to prevent damage to the cab.

Remove the negative terminal from the battery using a 10mm spanner.
CQC: Do not un-do this sensor circled in red!

Install lock-out equipment to the negative terminal.
CQC: Ensure this stays isolated during all loom fitment processes to ensure system does not fault

Check the supplied wiring harness matches UM-RANG-CH02.

Plug the central locking piggy back feed in at the rear drivers side of the chassis.

Overview of wiring routing pathway from chassis connector on RH rear chassis beam to service body entry point

CQC: Follow OEM harness paths and secure with cable ties at 300mm intervals (maximum). Further detail provided on exact locations over the following steps.

Connect to chassis connector on RH rear chassis beam using the plug-and-play patch harness

Route across the rear cross-member, securing to the factory wiring. Cable tie on the hinge point where this starts routing towards the front of the vehicle.

Cable tie along the factory harness near the points that secure to the chassis so the wire is well supported.

Secure to the plastic housing and route under the diff breather and fuel lines, following the factory harness towards the engine bay.

Secure the branch up to the body at this point.

Follow over a support beam along the factory wiring harness towards the engine bay on the inside of the chassis rail ensuring no contact with vehicle brake or fuel lines.

Transfer from routing along the factory wiring, to securing to the inside of the chassis beam. (cable tie locations indicated by red arrows)
This is to ensure no contact with vehicle brake or fuel lines

Continue routing along the inside of the chassis to the front of the vehicle.

Route all wiring harness branches away from fuel lines, brake lines, hot and/or moving components.

Ensure wiring is cable tied directly to the vehicle chassis, and DOES NOT interfere with fuel or brake lines or other vehicle components.

Feed the wiring through to the engine bay.
Using a hook or a guide wire and some tape, feed the wire up from underneath into the engine bay ensuring no contact with vehicle brake or fuel lines.

Route the wiring up through the engine bay following the factory harness.
Do not secure the AC pipies.


Secure the negative branch of the wiring harness to this earth bolt using a SS M6 flange nut.
CQC: DO NOT USE nyloc as this may melt under high load conditions

CQC: Critical Torque Specs for Ford Ranger 2022+ Vehicles.
Do not remove #3 for the Battery sensor as this is a highly sensitive component and can get damaged easily.

Secure the positive branch of the wiring harness to the battery using a SS M6 Flange Nut. (Non-Nyloc) Torque to manufacturers spec specified in the vehicle manual, and Mark with paint pen once torqued.
Critical: Ensure nut is torqued to the manufacturers torque spec.
Ford torque spec on next page.

Secure the positive power feed down from the positive terminal.

Cut this plug off the wiring harness (located near the fuel filler).

Install a male 4 pin deutsch connector following
CQC: Pin out =
1 - Green (Unlock)
2 - Blue (Lock)
3 - Red (Positive)
4 - Black (Ground)

Reconnect the negative terminal to the battery.