
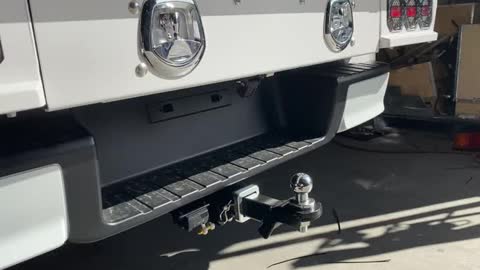
Looks like this when complete

Identify rear light bar (it would have been removed from vehicle)

Camera is to the left of where the lic plate would go
T25 tool to remove bracket from the back side
Looks like this.
White text on camera is on the top- this will help with orientation

Use a fine Phillips Head screwdriver to remove 4 x screws

Unplug and discard the original bracket

Re-fit the camera plug and tighten. Re-use the original screws
Identify the supplied 3D printed camera bracket.
It will be marked with "CB003"

The sticker is on the TOP of the camera. Fit it to the bracket this way up.

Tighten camera to bracket using the original screws.
Fit to Bracket to Tray
Shown here mounted to the underside of a Drawer.

Tighten, 10mm
Plug in camera harness, on the Drivers side (inside of chassis rail)

Zip tie the harness neatly up out of the way. Trim zip ties.
Put vehicle in reverse, adjust angle of bracket if required.
Looks like this when complete

Done