Knowby
Grants
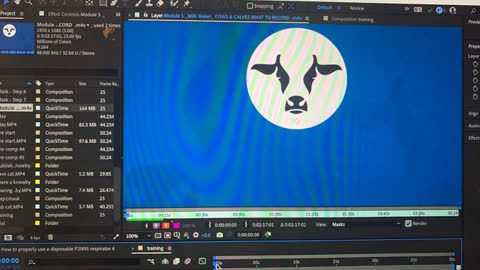
Cutting video
1
Step 1 of 14
Drag the timeline to where you want to start. Shift command D
2
Step 2 of 14
Highlight the bit you don’t want and delete
3
Step 3 of 14
Drag the timeline to where you want the clip to end. Shift command D
4
Step 4 of 14
Now highlight the clip you want to use.
5
Step 5 of 14
Right click and pre compose
6
Step 6 of 14
Rename it so you can find it like milk 1 as step 1 in milk knowby. Press OK.
7
Step 7 of 14
Cut your next clip and precompose it.
8
Step 8 of 14
If you want a still photo go to where you want it and cut with shift command D. Go to the bottom cut. Right click and choose time and freeze frame. Now precompose it.
9
Step 9 of 14To send to phone. Highlight in menu then file export add to render que.
10
Step 10 of 14
Find in render que and click on output.
11
Step 11 of 14
Check name and save to downloads
12
Step 12 of 14
Choose render
13
Step 13 of 14
Right click in download and share
14
Step 14 of 14
Share via airdrop