
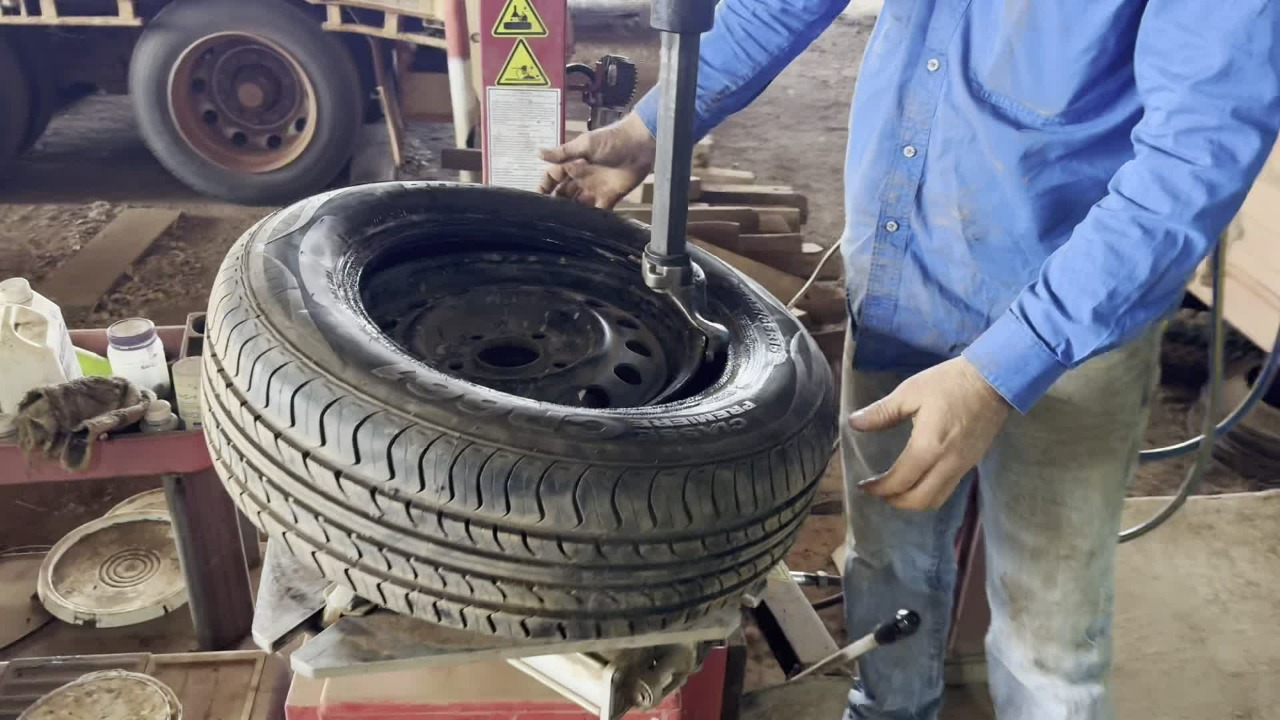
Wear appropriate hearing and eye protection when operating equipment.
Run tyre lubricant around the bead on both sides.
Bring the arm in and make the necessary adjustments depending on the size of the rim.
Lift the tyre up and put it on a 45-degree angle. Place it so that the tyre is on the wing and under the knuckle.
Then you can apply a small amount of pressure with your hands and at the same time use the left-hand foot pedal to mount the tyre half on.
Note: some newer tyres have a yellow and/or red dot. If so, please ensure that the yellow dot is lined up with the valve stem.
This dot marks the lightest point of the tyre, and aligning it with the valve stem (usually the heaviest part of the wheel) helps balance the assembly using fewer weights. However, if your tyre has both a red and a yellow dot, the red dot takes priority.
To get the bead back on the other side, prepare by having the bead on the top side of the wing but underneath the other side of the arm.
Use your knuckles to push down on the tyre (that way your fingers aren't in an unsafe position).
At the same time push the left pedal to pass the tyre back on.
Once the tyre is on, pull the lever to release the arm and push out of the way.
Put your valve back in.
Inflate the tyre to the correct pressure.
Do not put your fingers in between the tyre and the rim.
Put the valve cap back on.
Use the centre foot pedal to release from the equipment. Take the tyre off.
Turn the air to the tyre machine off.

Navigate to Resolution to view a copy of this procedure - tag: STANDARD OPERATING PROCEDURE.
Then, navigate to the Staff Training Acknowledgement Declaration form to confirm your understanding of this course.