
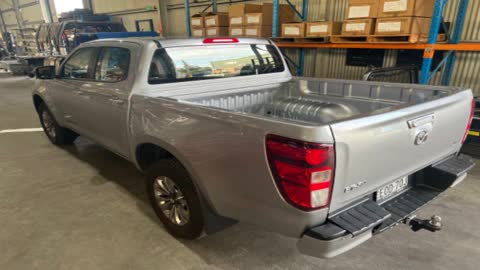

BT50 vehicle will look like this
Use same instruction for both Dual Cab and Extra Cabs

Tools Required
- Sockets: 8, 10, 12, 14, 17, 18mm
- T25 Torx Bit
- Phillips Head screwdriver
- Wire cutters
- Marking pen
- Forklift with tyne extensions
- 4 x Lifting straps

Remove Licence plate (if registered)

Release the Fuel door, located under the steering wheel
Remove Fuel Cap
Partially remove "Inner Guard". Use Phillips head bit. Fold it back so it is out of the way. 8mm & 10mm
Remove Fuel door release cable from Tub.
"Twist and Pull" from inside
Remove plastic shroud. Push up on the bottom side
12mm socked (with extension) to remove fuel neck from Tub
Open Tailgate
Remove Tailgate cover panel.
Phillips head bit
Remove camera from tailgate.
10mm socket (with extension)
Remove camera harness from tailgate
Front Mount: 17mm socket

Repeat for Driver Side, 17mm
Note: Not necessary to remove the plastic "Inner Guard" on the drivers side.

Mid Mount: 17mm
Repeat for opposite side

Rear Mount: 17mm
Repeat for opposite side

Unplug Tail Lights Access from Underside
Unplug the "Radar and Reverse Sensors Harness", located on drivers side

Remove the plastic
14mm Socket, 2 bolts on each side of bumper

Mark the sensors. "P" is for Passenger side, "D" for Drivers side
T25 to unscrew sensor from bracket KEEP the screws, they are reused
Unplug the radar

Put them in a safe place they will be reused later
Cut all of the clips which hold the harness to the rear bumper
The wiring harness should now be loose
Remove the bumper, do not scrap it
Remove the Tub from the vehicle.

Load onto customers Trailer (if they are keeping Tub)
We now need to remove the steel brackets which were holding the rear bumper

identify these 2 bolts
Remove the bolts, 18mm
wiggle the steel bracket to remove it
Re fit the bolts. Tighten, 18mm
Looks like this when Tub has been removed