Knowby
Tyre Doctor
Ariba Training - SES (Service Entry Sheet) Submission
How to create/ process Service Entry Sheet and Invoices in ARIBA.
How to create/ process Service Entry Sheet and Invoices in ARIBA.
1
Step 1 of 9Finding PO & Logging into to Ariba💻 - Step 1
- All Labour/Hire documents will be downloaded in the selected folder for each month.
- Click on a quote to locate Customer/PO.
2
Step 2 of 9Finding PO & Logging into to Ariba💻 - Step 2
- Go to Netsuite and enter in the Quote and copy PO.
3
Step 3 of 9Finding PO & Logging into to Ariba💻 - Step 3
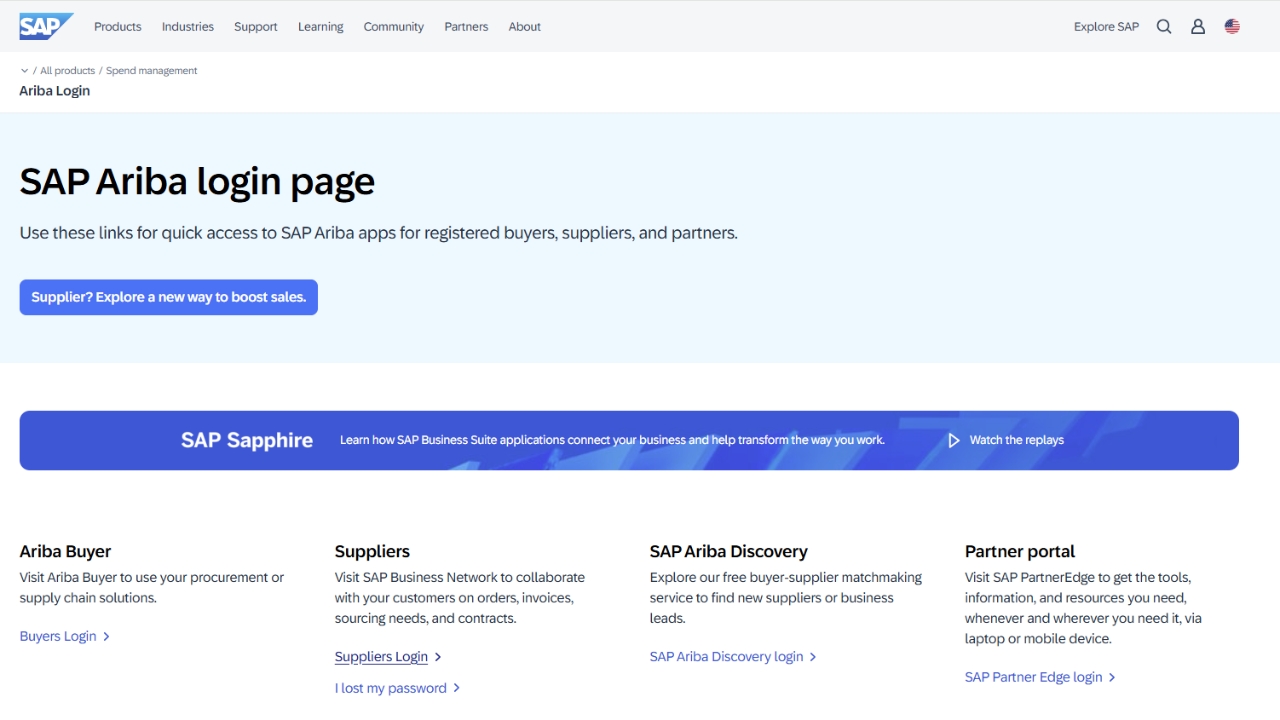
- Login to Ariba and paste the PO.
- Open up the Purchase Order.
4
Step 4 of 9Entering SES📝 - Step 1
1. You can find the SES (Service Entry Sheet) button on the Top Bar.
Note - Click on the below if the SES button is locked:
5
Step 5 of 9Entering SES📝 - Step 2
1. SES's may have multiple sections - The E.G. Provided has two sections;
Tyre Handler
Labour and Vehicle Hire
6
Step 6 of 9Entering SES📝 - Step 3
Enter in all the details that are accomponied by a (*).
Examples:
SES = Invoice i.e (401987)
Start Date = 01/06/2025
End Date = 30/06/2025
7
Step 7 of 9Entering SES📝 - Step 4
- Adding attachment (i.e. Invoice in PDF Form)
- Ensure you Click "Add Attachment" to upload.
8
Step 8 of 9Entering SES📝 - Step 5
- Selecting correct lines.
- Each section is relative of Month and/or Group.
- De-Select the lines that are irrelevant by clicking on the 'Blue' Button's.
- Match up ($) Values between SES and Invoice.
9
Step 9 of 9Finalising and Submitting📥
- Click Next and Submit for Site Approval.