
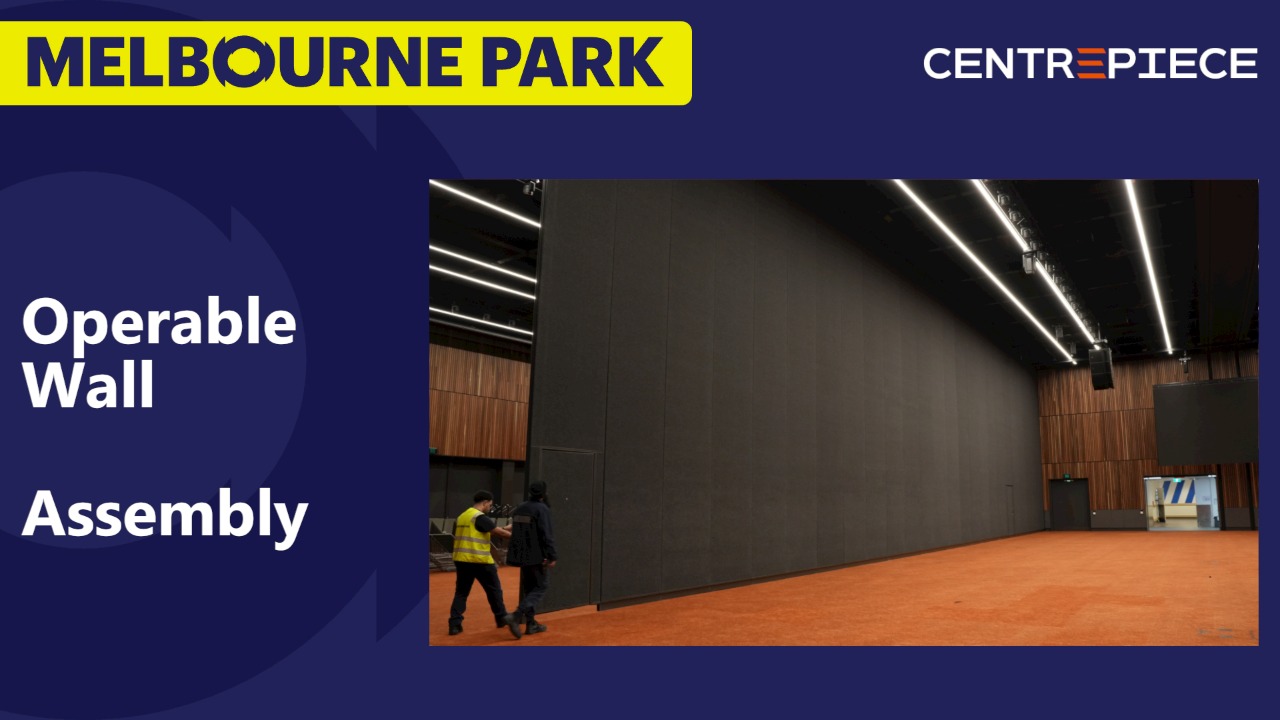
Setup
Requirements
2 people (minimum)
Equipment
Wall Panel Tool
PPE
Steel Cap Boots
Hi-Vis Vest
Check Track Setup
Ensure the operations supervisor has set up the track correctly.

Pro Tip: Check for Obstructions
Ensure their are no obstructions in the path of the wall (e.g. Bomac Track, Speaker/Lighting Rigging)
Place First Piece
Retrieve the first wall piece, push it to the far end and slot it in place within the wall cavity.
Lower Extension Seal
Use the tool to lower the extension seal of the first wall piece.

Pro Tip: Lowering and Raising Extension Seal
Lower the extension seal by moving the bar to the top.
Raise the extension seal by moving the bar to the bottom.
Add Wall Pieces Up to Door
Add wall pieces by sliding them into place, keeping them pushed together with your foot, then dropping the extension seal.
Do this up to the first door piece.
Lower Door Edge Extension Seals
Lower the extension seals on both edge of the door piece using the small square socket on the tool.
Pro Tip: Spring Loaded Extension Seals
The extension seals are spring loaded and can cause the tool to spin rapidly.
Be sure to grasp the tool firmly and slowly turn it.
Lower Door Extension Seal
Lower the extension seal on the door itself using the lever on the door frame.
Add Wall Pieces Up to Door
Keep adding wall pieces up to the second door.
Make sure you push them firmly together and drop the extension seal on every one.
Lower Extension Seals on Second Door
Lower the extension seals on the second door the same as the first.
Extending Section Pieces
Add both extending section pieces to the wall and lower their extension seals.
Important: Be sure to turn the correct shaft (the bottom one) to lower the extension seal. The top one will be used in a future step.
Position Folding Section Pieces
Position the two folding section pieces. Ensure the last piece does a u-turn and slots into the wall cavity.
Drop End Wall Piece Seal
Drop the extension seal on the last wall piece. (i.e. the one slotted into the wall cavity)
Note: the second last wall piece's extension seal should still be raised at this point.
Close Folding Section Flaps
Unhook the flaps on the folding section pieces and swing them closed.
Seal Folding Section Gap
With one person on the floor guiding the flaps, and another expanding the extension section, slowly seal the remaining gap in the wall.

Pro Tip: Pinch Point
Keep hands clear of the gap between the folding section flaps.
Lower Final Extension Seals
Lower the remaining extension seals on the folding section.