

Recommended PPE
- Eye protection
- Hearing protection

Tools Required
- Sockets (mm): 10,13
- Torx: T27, T50
- Wire Cutters
- Forklift with Tyne Extensions
- 4 x Lifting Slings
Open tailgate.
Note: Vehicle needs to be unlocked for this.

Get T50 Torx bit
Because of the spray in tub liner, it is best to tap the torque bit into place with a hammer so it fits firmly.
If the Rubber is too thick and it doesn’t tap into place nicely, please skip to step #7
Remove the (Qty 6) bolts with a power tool
Use a fine flathead screwdriver to pick the plastic tub liner out of the bolt head
Note: On the vehicle this instruction was made on this was required on two of the six bolt heads
Keep all Fasteners in a box
Remove tailgate plastic cover panel:
- T27 Torx
Fold out the tailgate step
Open the fuel filler door
From underside of Fuel Neck
10mm. Remove bolt which fixes the fuel filler pipe to the underside of Tub
Unclip Diff Breather
Identify the diff breather hose. It is located on the passenger side, behind wheel. Cut the (Qty 3) zip ties which fix it to the underside of the tub.
Disconnect this main plug which has the white retaining clasp
Note: This harness runs to the tail lights and bling spot monitor system

Disconnect this plug
- It goes to the tailgate

Disconnect the camera plug
Disconnect this earth cable
- 10mm, which is located on the driver side rear, inside of chassis rail
Connect lifting slings
Lift off
- When partially up doublecheck that no wires are still connected.
- No need to remove rear bumper - Tub can lift directly vertical without hitting it.
Lower Tub onto a trolley or stack of pallets. If a customer is keeping their Tub, they have been asked to bring qty 5 pallets.
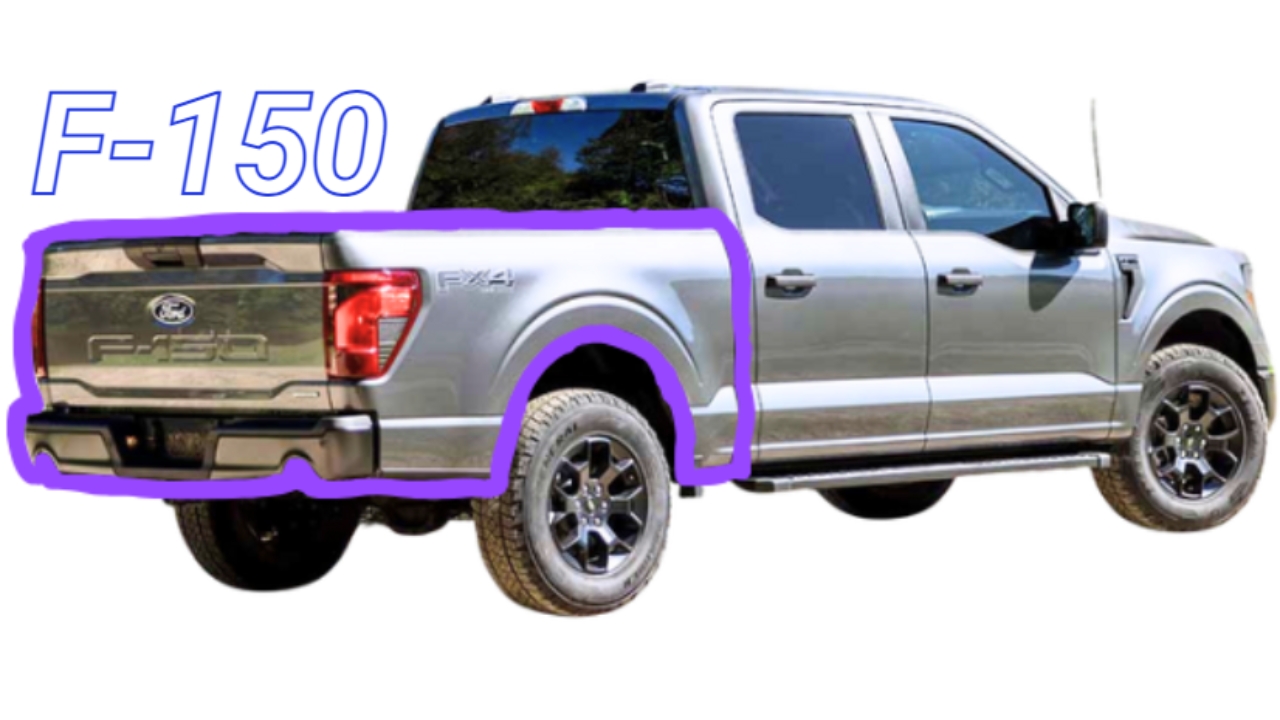
It should now look like this