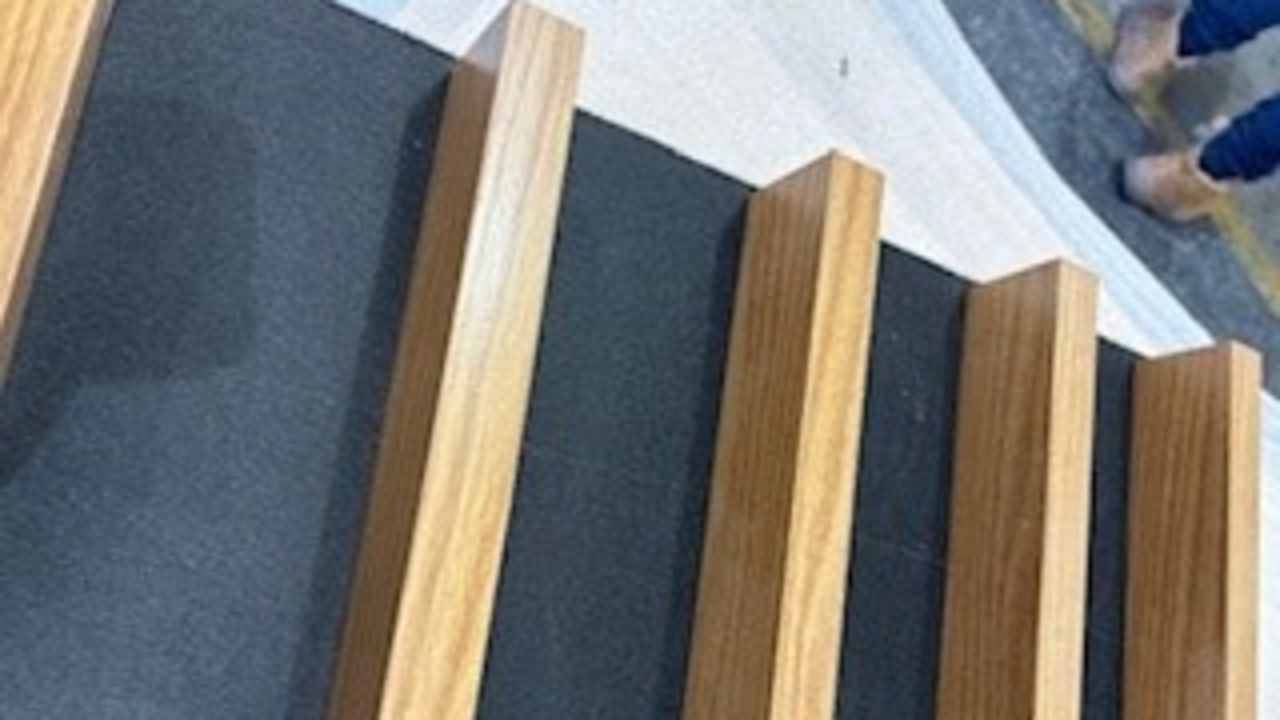

Have new jigs manufactured on the CNC enough for the team working on the project

Blow down the jig to ensure no swarf or shavings are present. This needs to be done for every panel.

Set up "up stand" or "comb" to ensure extrusion stays as upright as possible when assembling

Place cut lengths into jig & lock in with board secured at end to stop movement

Identify Supabab overhang & secure board to jig to ensure consistent supabab spacing (important for install)

Check supabab overhang is correct when jig is in place. Do not secure bab seperately

Identify spacers required & cut what is needed

Ensure all battens are pre-cut & pre- drilled. This ensures no excess swarf can get between the batten & slat.

Use spacers to ensure correct alignment of battens. Come in from both ends rather than installing all from one direction.

Use a clutch drill. It is important to not use an impact driver as it over drives the screws & makes the battens loose

Ensure Drill is set to speed 2 & 10 on the clutch setting.

Use Zinc Yellow Button Head self drilling screws 8g x 20mm. Only use galvanised screws when it is an external application.

Screw batten to the slats until clutch engages on the drill

Screw batten in a staggered pattern to ensure even pressure

Add screws to all pre drilled holes

Turn panel over & use a straight edge to check all slats are even & the face of the panel is fee from defects

Check slats with a square. these need to be within + or - 0.5mm variance to meet standard.

Pack completed panel onto pallet