
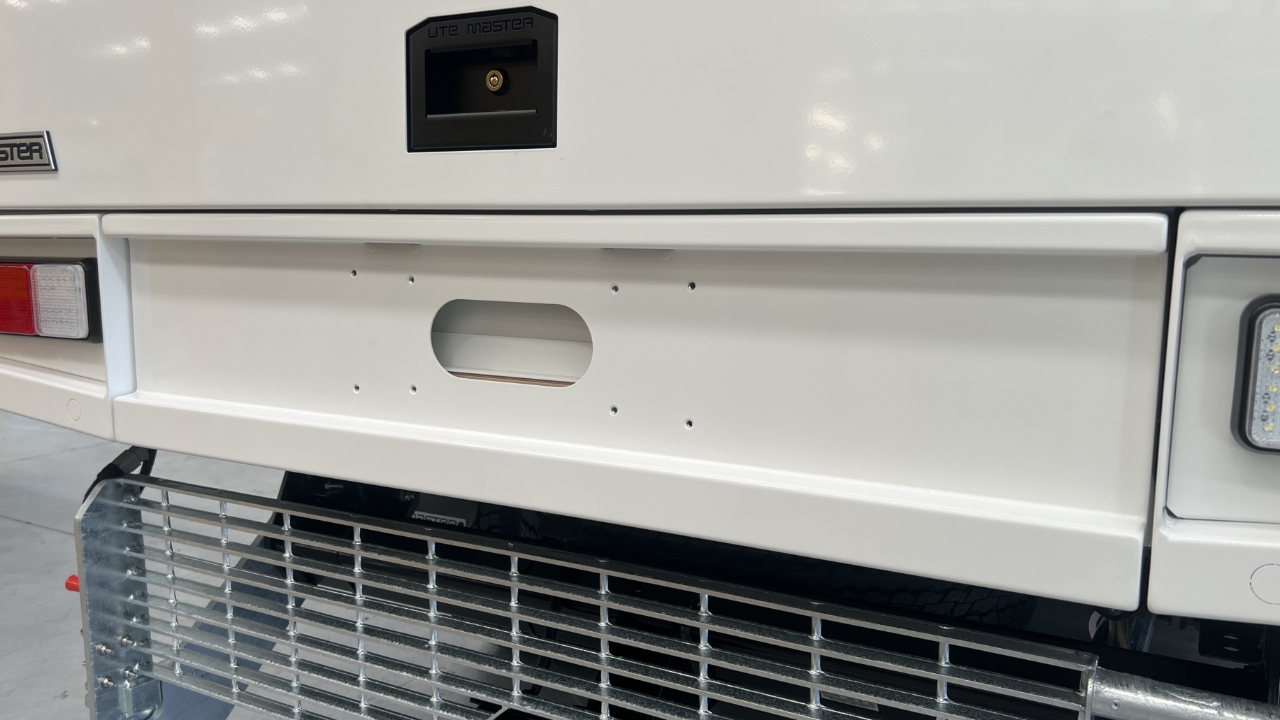
This shows how to access a Trailcore service body internal drawer if the mechanism has failed to release.
Remove the faceplate by drilling out the rivets along the top and bottom of the drawer using a 4.9mm drill bit.

This will expose inside the drawer assembly. If the locking rods have come loose, reconnect these to the handle or gripped grip and pull these using a pair of pliers to release the drawer latch.

If this doesn't release the latch mechanism, disconnect the locking rods on both sides of the drawer handle.

If you need to remove the drawer backing plate (i.e. to remove the internal floor)
Undo the 2 x M8 hex bolts from each side of the faceplate/extrusion using a 13mm socket.

Undo the 4 bolts clamping the drawer to the ply.
You can now remove the drawer backing plate and access the drawer.
This will allow you to remove the false floor (if needed) and access the front of the latch assembly for further troubleshooting.

Check that the 'Dog Bone' lock strike tabs are fully secure.

To replace the locking rods, undo the M8 bolts covering the latching mechanism.
Unhook the locking rod and feed this out the front of the drawer.

Remove the 2 x Hex bolts retaining the runner rails
Once the new locking rods are installed, test the function of the latching.
When closing both latches should click into the latched state with minimal force

If the locking rod tension is correct, however the latches are still struggling to release, the 'Dog Bone' lock strikes can be ground down slightly using a die grinder.