
Knowby
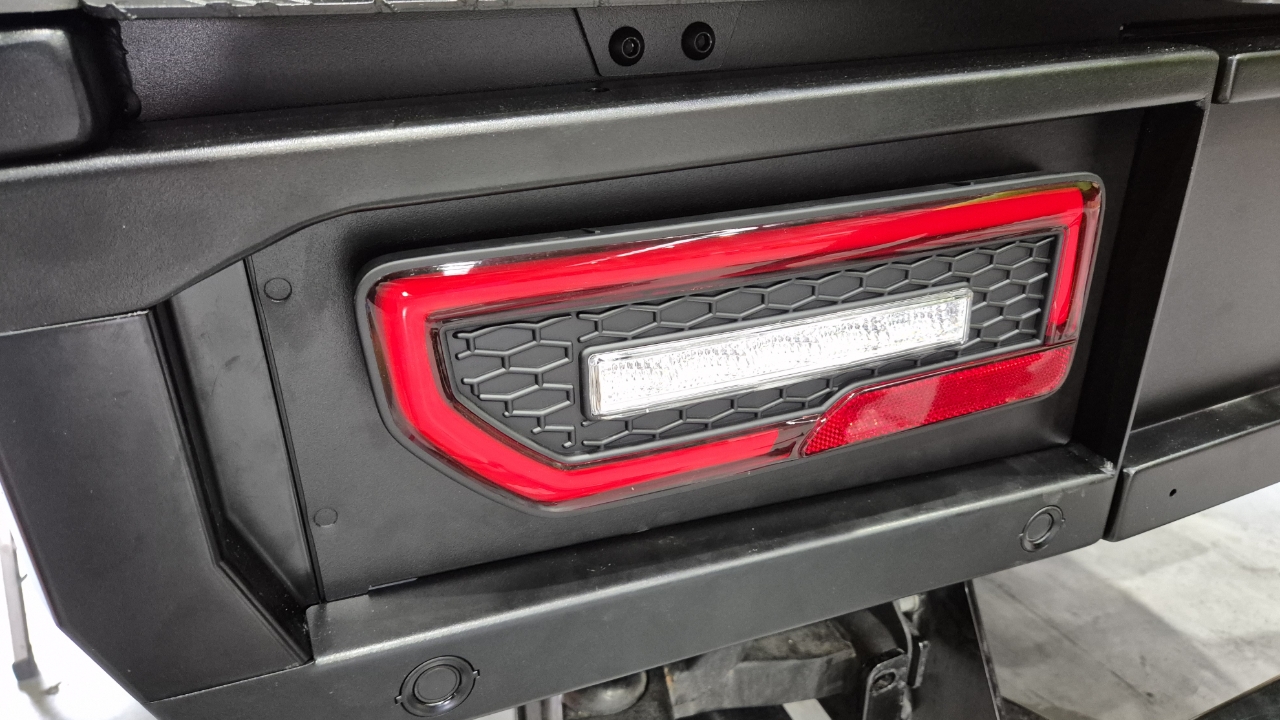
Replacing Trailcore Tail Lights
1
Step 1 of 9
<p>Note, to complete this process when an underbody step is installed, first lower the step to allow access to the back of the bumper.</p>

Note, to complete this process when an underbody step is installed, first lower the step to allow access to the back of the bumper.

2
Step 2 of 9
<p>Remove the 2 x M6 nyloc nuts securing the rear radar housing.</p>

Remove the 2 x M6 nyloc nuts securing the rear radar housing.

3
Step 3 of 9
<p>Undo the 2 x M6 bolts securing the base of the light plate.&nbsp;</p>

Undo the 2 x M6 bolts securing the base of the light plate. 

4
Step 4 of 9
<p>Remove the light plate from the bumper and by sliding this out of the bumper and locator grooves on the top.</p>

Remove the light plate from the bumper and by sliding this out of the bumper and locator grooves on the top.
5
Step 5 of 9
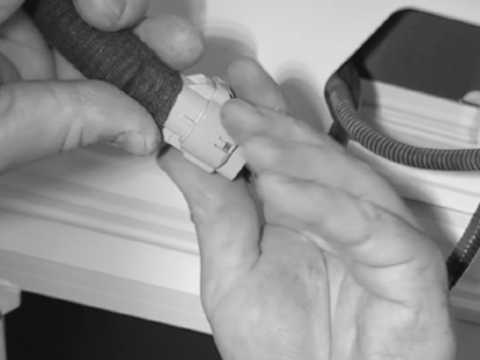
<p>Unclip the plug from the light.</p>

Unclip the plug from the light.

6
Step 6 of 9

Repeat the above process in reverse to re-install the light.

7
Step 7 of 9
<p>Angle in the taillight plate to the rear bumper. The notches in the plate should slot up into the bumper first, then press the studs in through the holes.<br></p>

Angle in the taillight plate to the rear bumper. The notches in the plate should slot up into the bumper first, then press the studs in through the holes.

8
Step 8 of 9
<p>Bolt the taillight plate to the bumper using the following fasteners:<br>2 x M6x20 Bolt<br>4 x M6 Nyloc Nut<br></p>

Bolt the taillight plate to the bumper using the following fasteners:
2 x M6x20 Bolt
4 x M6 Nyloc Nut

9
Step 9 of 9
<p>Plug in the light and test all the functions work correctly.&nbsp;<br>- Reverse Light<br>- Break Light<br>- Indicators</p><p><br></p><p>Secure any loose wires using cable ties.</p>

Plug in the light and test all the functions work correctly. 
- Reverse Light
- Break Light
- Indicators


Secure any loose wires using cable ties.