
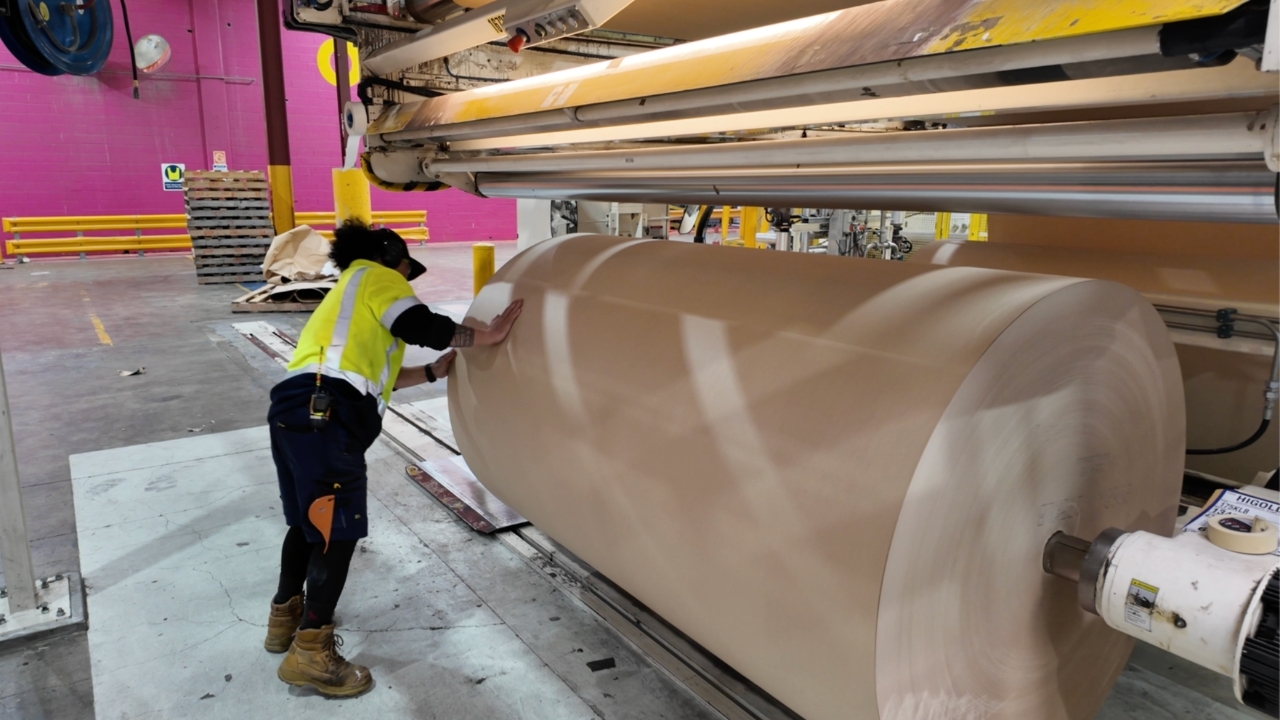

Ensure that Clamp Operator has correctly placed paper reel on the infeed cradle to allow the reel to be inserted into the corrugator BHS splicing area.
After the paper reel has been correctly positioned on the infeed cradle by the forkhoist. The Corrugator Operator uses the 'insert feed toggle' to automatically feed the paper reel into position in between the splice reel arms.

The reel infeed toggle has arrows indicating the direction of travel for the reel cradle - select 'right arrow' to draw reel toward corrugator and 'left arrow' to revert reel away from machine. (Depending on machine setup these directions may be in reverse)
Once the paper reel has been correctly positioned between the splicing arms, they can be lowered into place using the 'arm lower toggle'.

The 'splicer arm toggle' is located on the same side as the reel infeed and can be identified by the arm icon. Similar to the infeed toggle - the arrows indicate the direction of travel for the reel arms. Select 'downwards arrow' to lower splicer arms and 'upwards arrow' to raise them.
Once the 'splicer arms' are lowered down to the correct height (being the centre of the paper reel). Use the two alignment toggles to move the arms into the paper reel to successfully lock the reel into the arms.

As in the above video - use these two buttons to align the slicer arms so that they successfully lock the paper reel into place on the BHS so the reel can be elevate for splicing.
Once the splicing arms are locked into position - test that the splicing arms have successfully locked the reel into place. Be careful not to damage the reel and ensure all persons are clear of the reel area beforehand. Use the same toggle as in Step 2&3.
Once you have confirmed that the splicer arms have successfully locked the reel into place. Lift the paper reel from the infeed line so that the reel is elevated to body height so that the splicing preperation can commence.
In preperation remove the paper reel barcode and cross reference on the inventory system to ensure the correct reel is recorded. Retain the barcode for filing or auditing purposes.
Once the barcode is removed take the paper sheet and feed it through the splicing unit as seen in this video - ensure that you take your time, operate safely and do not crease the sheet. If you have unravelled too much paper simply re-roll the reel to the write length.
Once you have a suitable length from the reel and it is inserted into splicer correctly (should be around 20cm of overhanging paper) - crease it off so that the paper can have masking tape applied. Utilise the reel button overhead to help control the unravel speed of the reel.

The following buttons are located overhead and are used at the stage of the process - the reel speed is used to control the unravelling as seen in Step 12 and the other buttons will be used later in the process.
As stated in Step 12 - use masking tape to fix the paper to the splicing unit - be sure to take your time, ensure the paper is aligned, even and free from creases.
Use an approved bladed instrument to remove excessive paper underneath the masking tape. Be sure to use safe practices, take your time and wear gloves where appropriate. Then peel the masking tape from the paper leaving an aligned sheet of paper ready for splicing to commence.
De-activate the 'reel speed' button to allow you to slowly and carefully rewind the reel so that the paper sits flush with the start of the splicing unit. Take your time, use safe tachniques and ensure you dont damage the product.
Once satisifed activate the splicer draw button to start placing the paper into the splicing maching, be sure to rewind the reel at the same time to keep the paper tight and prevent damage, creasing or bellies in the paper sheet.
Once this process is complete re activate the reel speed button to lock the reel ready for splicing. When satisifed the paper is tight, straight and without creases and if all other processes are ready. You can then press the GREEN button to commence the splicing.

SAFETY IS OUR NUMBER ONE PRIORITY - If at anytime during the process something unsafe occurs - use the multiple STOP and/or E-STOP buttons indicated here. They will de-power the splicing unit. In addition always ensure correct PPE is worn and you use safe practices.