
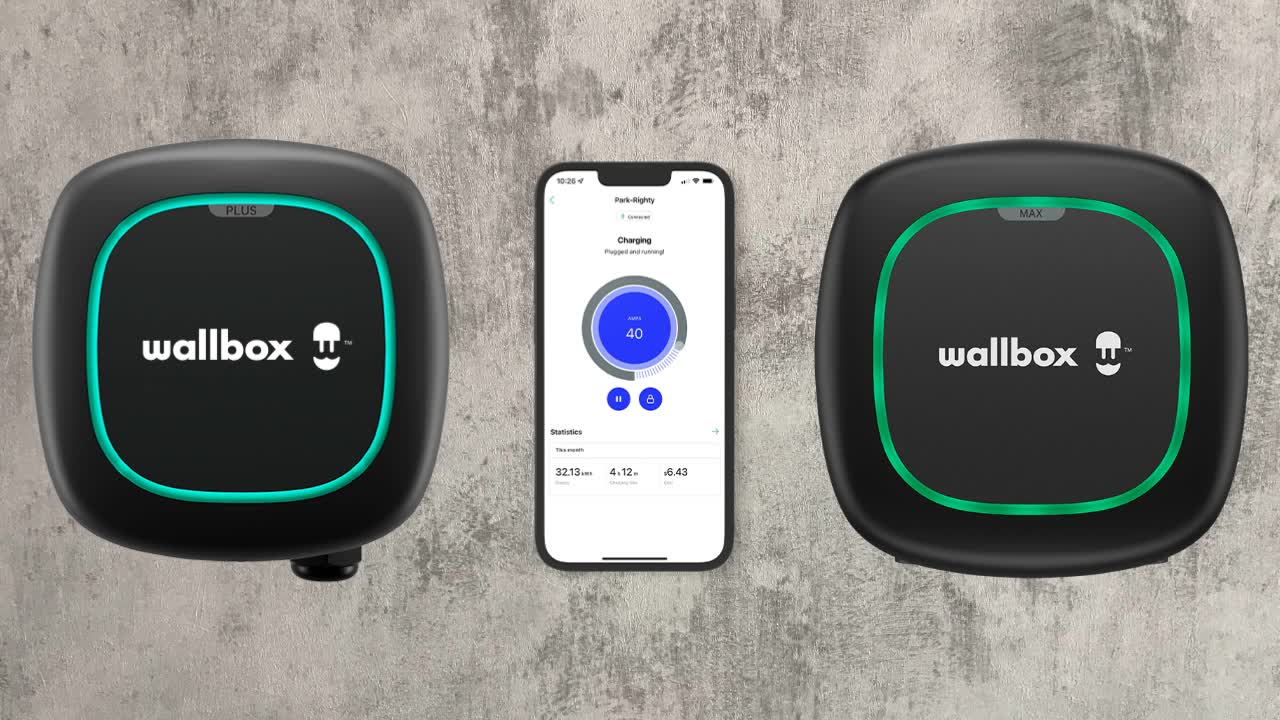

⚠️ This knowby is intended as a reference for licensed installers and electricians who are fully trained in the handling, care, and operation of electrical equipment only.
⚠️ Do not attempt to install the Wallbox product shown if you are not a licensed professional.
Unbox the Pulsar Max or Pulsar Pro charger.
Prepare for installation by gathering necessary tools and equipment.
Position the backplate against the wall and use a bubble level to ensure alignment.
Mark the spot where the hole needs to be drilled.
Note: Only mark and drill the larger circle (as shown) if you are performing rear connection.
Drill the holes and place wall anchors in them.
Note: Before you start wiring, make sure you've turned the power off.
Screw the backplate into place.
Disassemble the charger layers and disconnect the control board from the power unit.
Insert the power cable through the hole and slide the charger onto the backplate.
Secure the charger using screws.
Identify the connection options:
- On the right: bottom entry connection
- On the left: rear entry connection
Ensure adherence to local protections for safety.
Take a screenshot for reference.
We'll now guide you through connecting power cables for all configurations, single-phase, and three-phase grids globally.
Note: Regardless of setup, ensure voltage between N and L input terminals never exceeds 264V.
Set the current selector on the charger, keeping it below your installation's maximum allowance.
Note: Most support over 32 Amps, often leaving the rotary switch at factory settings.
Connect the control board to the power unit using the flat cable.
Close the charger and secure screws tightly with a screwdriver.
Place the cover frame and secure the screw.
Install the cable holder for a neat finish.
Activate the charger:
- Trigger the protections.
- Observe as the charger LED ring illuminates, indicating activation.
Download the app, create an account, and sign in.
Add the charger manually or by scanning the QR code.
Connect to the charger via Bluetooth and, if available, to a Wi-Fi network.
Check for and run any software updates.
Reboot the charger and unlink it from your account.
Verify charger functionality using an EV tester or EV.
You've completed the installation of Pulsar Max or Pulsar Pro! Congratulations!