
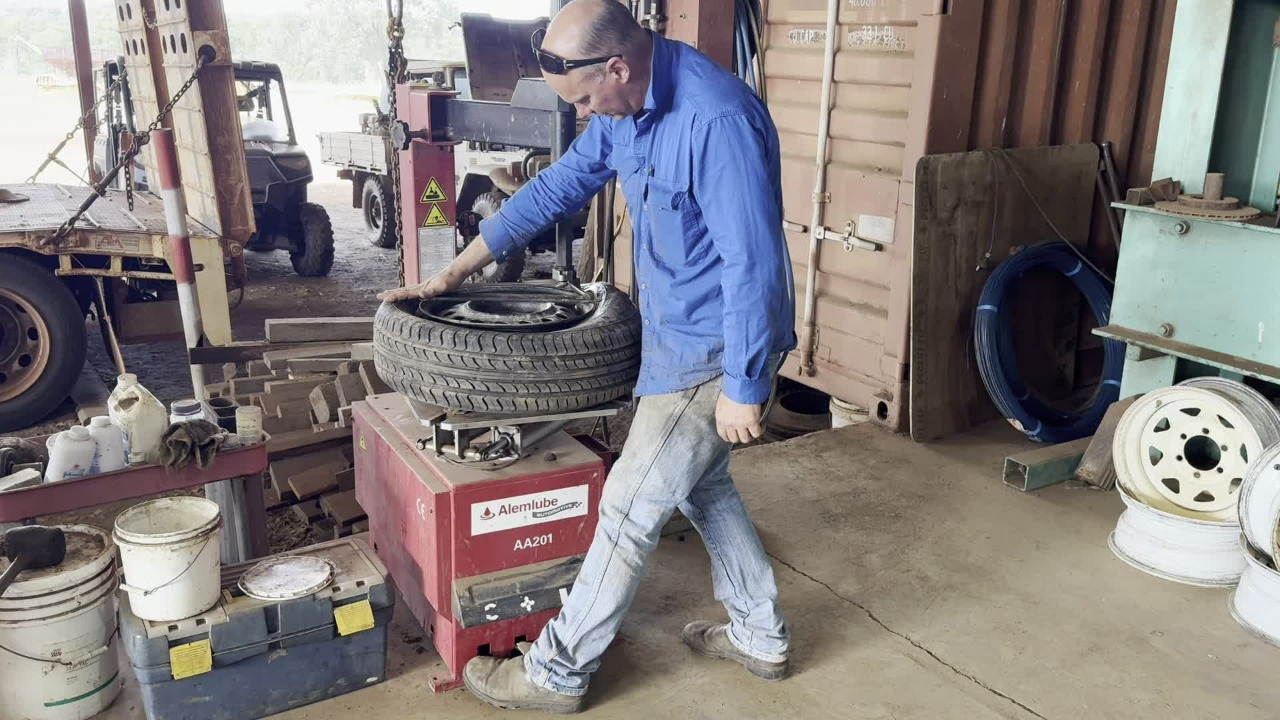
Wear appropriate hearing and eye protection when operating equipment.

Turn the air to the tyre machine on.
Familiarise yourself with the pedals on the machine.
The right pedal is for the bead breaker.
Familiarise yourself with the pedals on the machine.
The centre pedal is to expand and contract the tyre lock.
Familiarise yourself with the pedals on the machine.
The left pedal is to rotate the table.
Remove the valve and valve cap.
Put this in a safe place to ensure you don't lose it.
Once you have no air in the tyre, put your tyre in against your tyre machine.
Make sure that your table is not sticking out like this.
Ensure the table is flat with the machine.
Position your bead breaker against your rim, not on the rim.
Take your hand off that lever and do not put your hands between the tyre and the table (hazard).
Place one hand on the top of the tyre for support.
Use one foot to push down on the right pedal and pop the bead.
Repeat in a few different positions as required to break the bead.
Turn the tyre around and repeat on the other side.
Once the bead is broken on both sides, run tyre lubricant around the bead on both sides.
Place the tyre on the machine, on the base plate.
Use your foot to press and release the centre pedal - this will lock the tyre in place.
Bring your arm in.
Note: you will need to adjust this for different size rims.
Position the arm so that it touches the rim, then bring out slightly.
With one hand, put downwards pressure on the top of the arm and with the other hand, push the lever up - this will lock the position of the arm in place.
Use the tyre lever (pointing downwards) to go in and down one side.
This process should start at the valve stem - this ensures that we do not damage the valve stem.
To get the tyre off, push the bead on the other side down and into the valley.
Use the level now to bring the tyre up and over the rim.
Do not let go of the tyre lever otherwise it will come back (hazard).
Ensure your fingers are out of the way and push down on the left foot pedal. Lift the lever and your hands out of the way once the tyre is a third of the way around.
The tyre will come off on one side.
Lift the tyre up.
Repeat by putting the lever down through the top onto the underneath of the bottom side bead. Ensure that the bead on the other side is positioned up and into the valley.
Push the lever down.
Ensure your fingers are out of the way and push down on the left foot pedal. Lift the lever and your hands out of the way once the tyre is a third of the way around.
The tyre will come off completely and you can lift off the machine.

Navigate to Resolution to view a copy of this procedure - tag: STANDARD OPERATING PROCEDURE.
Then, navigate to the Staff Training Acknowledgement Declaration form to confirm your understanding of this course.