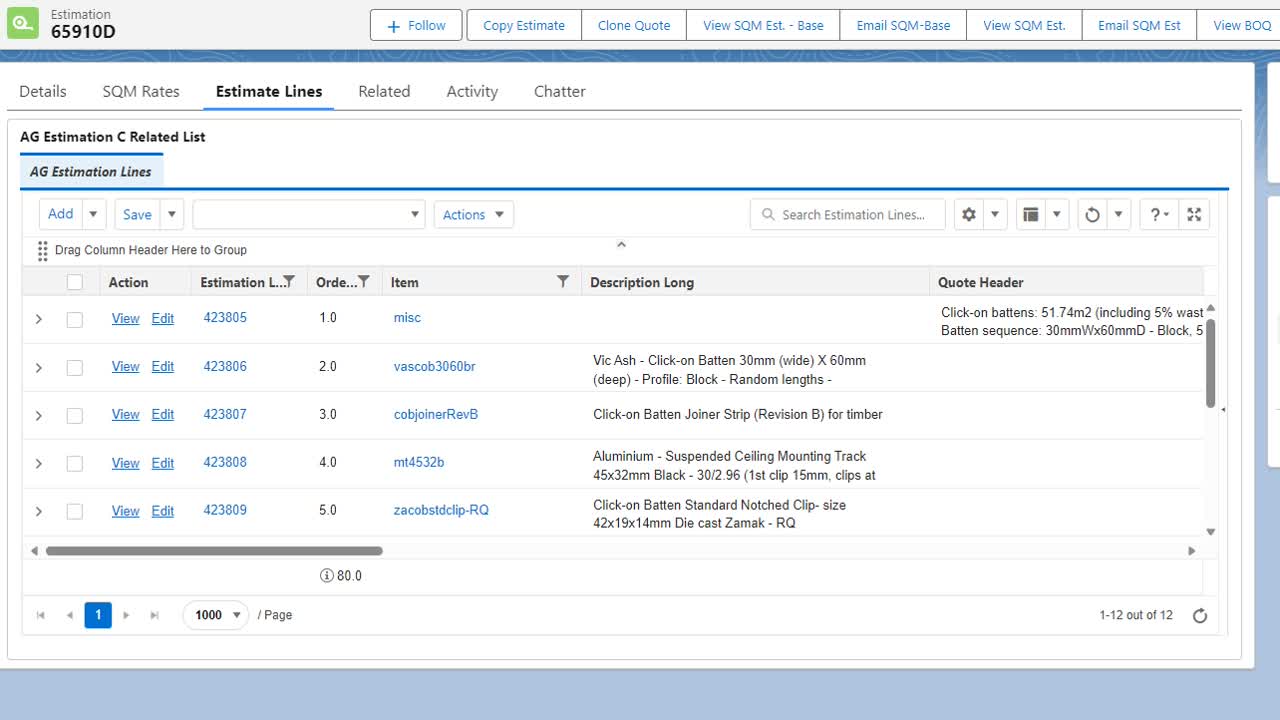
Once all required components have been considered & noted somewhere on the itemised portal, we can begin preparing an estimation to import this data to. Open up the relevent m2 estimation & hit copy estimate. Load in the correct revision & contact name and hit save.
We can then work from this estimation to begin uploading the data. Click on the estimate lines, choose the full screen view & to allow the system to copy in the data, insert a new line.
In the itemised portal, go to the Salesforce Input tab and select to show only the codes required.
Copy the cells under the first product (Product 1) from the Ordering # to the Product Group. We'd recommend only working on 1 product at a time, and paste these into the prepared estimate on Salesforce under the Order Number field.
We then review the codes we have imported before we save. In this case we are actually supplying random lengths of timber even though we worked from the set lengths side of the portal so we need to adjust that. And we need to add in lines for the corner profile component codes.
Any codes not automatically generated by the portal e.g. corner profiles, access hatches etc can be located on the BOQ codes document.
Referring to the BOQ codes we can type in the required codes for the corner profile and we can then save our work. If a new product is required, ensure the code is created and set up (refer to 'creating items and boms' knowby.'
The codes will have generated descriptions that will be visible to the customer along with prices. There will be a number of adjustments to make e.g. removing the first description and zeroing out the costs for items already included in the base rates.
We can then review the quoted/agreed m2 rate referred to in the BOQ request and charge this against the first line we imported. Any costs of items not included in the base rate should be reviewed against the pricing component list (most will be correctly entered in the system).
Review the descriptions & quantities. For this quote I'll be rounding the random lengths up to the nearest 10LM & adding in the batten joiner qtys. I've also just realised from the portal that I've missed including the certified timber. So this adjustment will need to be made.
If, for some reason, the description doesn't update after updating the code you can tick an update description box & then save which will refresh that particular line. This will also bring back in the costs so you will may to zero these out again.
We then need to copy in the mounting track specifications and round the sliding clips down to the nearest 50. These track specification outline the clip centres to ensure the sequence will work onsite.
Not all products require tracks, e.g. tongue & groove cladding. And click-on cladding has custom clip spacing that the portal can't bring in which is noted on the BOQ codes document. The portal also isn't set up to bring in facade blade components, this must all be done manually.
We then need to note the lengths required for the trims and also put in the corner clip quantity. As we didn't import these lines the product group hasn't been chosen so we'll need to do that too.
Complete the above steps for any remaining products until all products & required components have been allowed for.
Finally we need to add in the last set of codes which are generally 1 of each of the relevant product removal tools, touch up tins (if we're supplying coated timber), install manuals & freight to site. These codes can be found at the bottom of each product on the BOQ codes.
After saving the above, we can change the last component qtys to 1, include the correct coating description, update the Product Group field.
After saving your final changes we can then download the estimate & send to the PC or directly to the client if it is a CHS project along with our mark-ups.