
Knowby
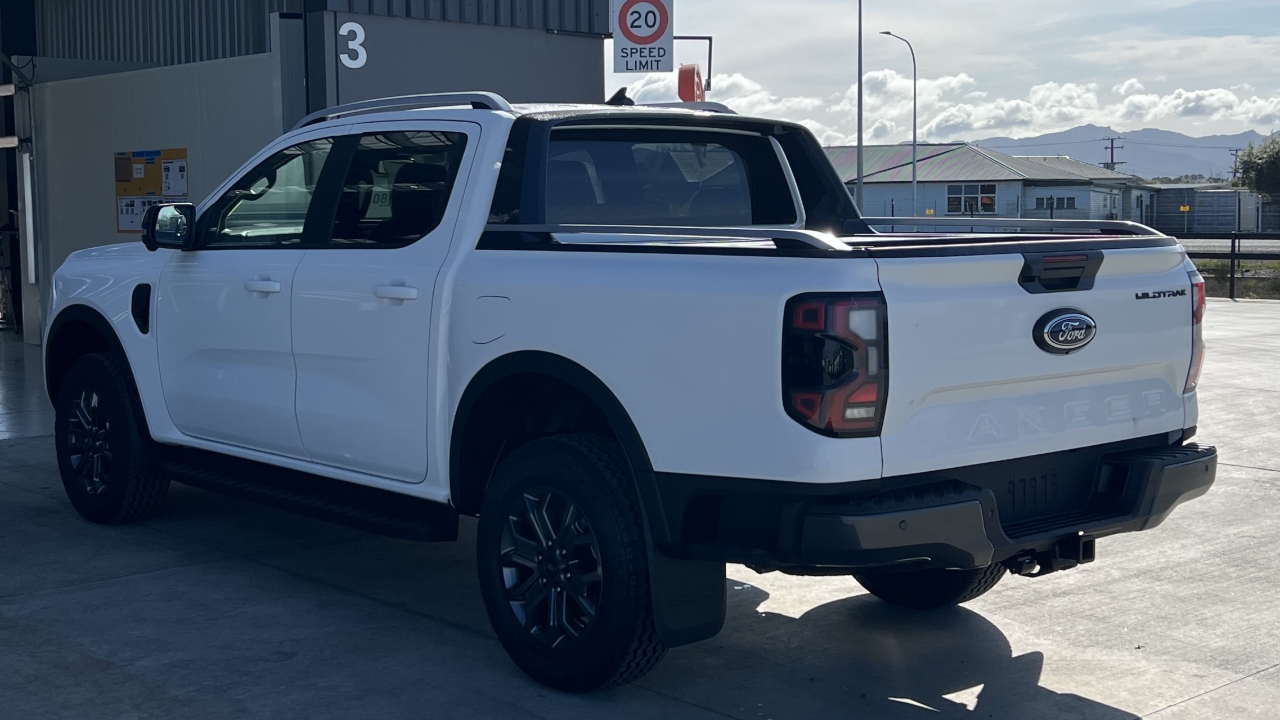
TC - FRC2 Wellside Tub Removal
1
Step 1 of 45
<p>Remove the negative terminal from the battery.</p><blockquote><p><strong>CQC: Ensure this stays isolated.</strong></p></blockquote><p></p>

Remove the negative terminal from the battery.

CQC: Ensure this stays isolated.

2
Step 2 of 45
<p>Remove the tailgate liner using a T20 torx screwdriver.</p>

Remove the tailgate liner using a T20 torx screwdriver.

3
Step 3 of 45
<p>Remove the tailgate backing plate using a T20 torx screwdriver.</p>

Remove the tailgate backing plate using a T20 torx screwdriver.

4
Step 4 of 45
<p>Remove the camera housing screw using a T20 torx screwdriver.</p>

Remove the camera housing screw using a T20 torx screwdriver.

5
Step 5 of 45
<p>Unplug the camera and store in a plastic bag in the centre console of the cab.</p>

Unplug the camera and store in a plastic bag in the centre console of the cab.

6
Step 6 of 45
<p>Unplug the central locking &amp; high stop light inside the tailgate.</p>

Unplug the central locking & high stop light inside the tailgate.

7
Step 7 of 45
<p>Remove fir tree cable ties.</p>

Remove fir tree cable ties.

8
Step 8 of 45
<p>Remove the wiring harness from the tailgate through the exit point on the RHS.</p>

Remove the wiring harness from the tailgate through the exit point on the RHS.

9
Step 9 of 45
<p>Unplug the camera and plastic housing.</p>

Unplug the camera and plastic housing.

10
Step 10 of 45
<p>Store the wiring harness in the cab.</p>

Store the wiring harness in the cab.

11
Step 11 of 45

Reinstall the tailgate backing plate using a T20 torx screwdriver.

12
Step 12 of 45

Reinstall the tailgate liner using a T20 torx screwdriver.

13
Step 13 of 45
<p>Unplug the reverse sensors &amp; taillights.</p>

Unplug the reverse sensors & taillights.

14
Step 14 of 45
<p>Remove the 2 13mm bumper bolts from 1 side of the bumper.</p>

Remove the 2 13mm bumper bolts from 1 side of the bumper.

15
Step 15 of 45
<p>Remove the 18mm bumper bolt from 1 side of the bumper.</p>

Remove the 18mm bumper bolt from 1 side of the bumper.

16
Step 16 of 45
<p>Repeat steps 14 and 15 on the other side of the bumper.</p>

Repeat steps 14 and 15 on the other side of the bumper.

17
Step 17 of 45
<p>Remove the bumper and place on a clean table.</p>

Remove the bumper and place on a clean table.

18
Step 18 of 45
<p>Remove all fir tree cable ties &amp; harness mounting points.</p>

Remove all fir tree cable ties & harness mounting points.

19
Step 19 of 45
<p>Unclip all sensors and number plate lights on both sides to remove the wiring harness.</p>

Unclip all sensors and number plate lights on both sides to remove the wiring harness.

20
Step 20 of 45
<p>Store the wiring harness in the cab.</p>

Store the wiring harness in the cab.

21
Step 21 of 45
<p>Wrap both sides of the bumper and place in the tub.</p>

Wrap both sides of the bumper and place in the tub.

22
Step 22 of 45
<p>Remove both mudflaps using a Phillips screwdriver.</p>

Remove both mudflaps using a Phillips screwdriver.

23
Step 23 of 45
<p>Wrap the mudflaps with all removed fasteners and place in the tub.</p>

Wrap the mudflaps with all removed fasteners and place in the tub.

24
Step 24 of 45
<p>Remove the passenger's side wheel arch liner using a Phillips screwdriver.</p>

Remove the passenger's side wheel arch liner using a Phillips screwdriver.

25
Step 25 of 45
<p>Place the liner and all clips in the tub.</p>

Place the liner and all clips in the tub.

26
Step 26 of 45
<p>If Raptor, carefully remove fender liner using a plastic pry tool. Remove Phillips liner clips and place into plastic bag. </p>

If Raptor, carefully remove fender liner using a plastic pry tool. Remove Phillips liner clips and place into plastic bag.

27
Step 27 of 45
<p>Remove the fuel filler cap.</p>

Remove the fuel filler cap.

28
Step 28 of 45
<p>Using an 8mm socket, remove the fuel filler mounting bolt.</p>

Using an 8mm socket, remove the fuel filler mounting bolt.

29
Step 29 of 45
<p>Unplug the fuel filler central locking.</p>

Unplug the fuel filler central locking.

30
Step 30 of 45
<p>Remove 1 taillight using a T30 torx screwdriver.</p>

Remove 1 taillight using a T30 torx screwdriver.

31
Step 31 of 45
<p>Remove the blind spot sensor using a Phillips screwdriver.</p>

Remove the blind spot sensor using a Phillips screwdriver.

32
Step 32 of 45

CQC: Do not drop or knock the blind spot sensors as these are very sensitive and fragile.

33
Step 33 of 45
<blockquote><p><strong>CQC: Clearly label which sensor has been removed (L or R)</strong></p></blockquote><p></p>

CQC: Clearly label which sensor has been removed (L or R)

34
Step 34 of 45
<p>Place the sensor in a plastic bag and store in the cab.</p>

Place the sensor in a plastic bag and store in the cab.

35
Step 35 of 45
<p>Reinstall the taillight using a T30 torx screwdriver.</p>

Reinstall the taillight using a T30 torx screwdriver.

36
Step 36 of 45
<p>Repeat steps 29-33 on the other taillight.</p>

Repeat steps 29-33 on the other taillight.

37
Step 37 of 45
<p>Using a 15mm socket and the impact wrench, remove the 6 chassis bolts.</p>

Using a 15mm socket and the impact wrench, remove the 6 chassis bolts.

38
Step 38 of 45
<p>Put the chassis mounting bolts in a plastic bag and place in the tub.</p>

Put the chassis mounting bolts in a plastic bag and place in the tub.

39
Step 39 of 45
<p>Remove the 230V housing using a T30 key.</p>

Remove the 230V housing using a T30 key.

40
Step 40 of 45
<p>Place the 230V plug in the cab.</p>

Place the 230V plug in the cab.

41
Step 41 of 45
<p>Put the protective liner between the tub and cab.</p>

Put the protective liner between the tub and cab.

42
Step 42 of 45
<p>4-person lift the tub on to a stack of 4 pallets.</p>

4-person lift the tub on to a stack of 4 pallets.

43
Step 43 of 45
<p>Identify the wellside instruction on the sales order on NetSuite.</p>

Identify the wellside instruction on the sales order on NetSuite.

44
Step 44 of 45
<p>Write the sales order number and wellside instruction on the front of the tub.</p>

Write the sales order number and wellside instruction on the front of the tub.

45
Step 45 of 45
<p>Using a forklift, put the tub in the yard.</p>

Using a forklift, put the tub in the yard.