
Knowby
Zone Master Jet Replacement Instructions
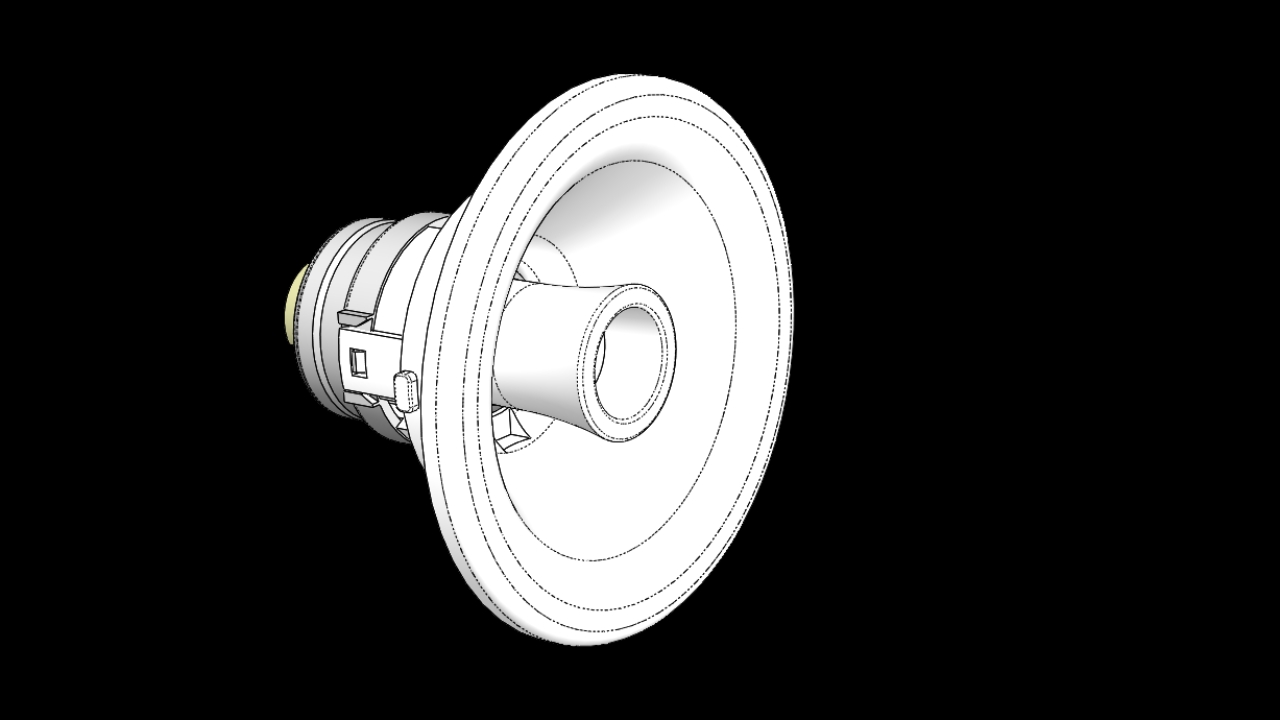
Step-by-step instructions for replacing the Zone Master Jet. Part No Description FZ8PLJ2-11 JETFACE ZONE-MASTER III 8CM
1
Step 1 of 10
<p>Part No: </p><p><strong>FZ8PLJ2-11</strong></p><p></p><p>Description: </p><p><strong>JET BODY ZONEMAS 3/8" X 1" STR 8CM</strong></p><p></p><p></p><p>Note: It might be possible to remove this jet without the use of the installation tool, by placing your palm of your hand over the face of the jet, pushing hard against the jet and rotating it as described below</p>

Part No:

FZ8PLJ2-11

Description:

JET BODY ZONEMAS 3/8" X 1" STR 8CM

Note: It might be possible to remove this jet without the use of the installation tool, by placing your palm of your hand over the face of the jet, pushing hard against the jet and rotating it as described below

2
Step 2 of 10
<h1>Tools Required</h1><p></p><p>Installation Tool - Part No 500109.</p><p></p><p></p><blockquote><p>If you are unable to remove the jet by hand you will require this installation tool.</p></blockquote><p></p>

Tools Required

Installation Tool - Part No 500109.

If you are unable to remove the jet by hand you will require this installation tool.

3
Step 3 of 10
<h1>STEP 1</h1><p></p><p>Remove the head off the Installation Tool</p><p></p><p>Engage the 4 larger lugs on the handle into the 4 drive slots in the jet.</p><p></p><p></p><p></p><blockquote><p>Installation Handle passes over the nozzle of the jet</p></blockquote><p></p>

STEP 1

Remove the head off the Installation Tool

Engage the 4 larger lugs on the handle into the 4 drive slots in the jet.

Installation Handle passes over the nozzle of the jet

4
Step 4 of 10
<h1>STEP 2</h1><p></p><p>Turn the installation tool anti clockwise to unclip the jet from the wall.</p>

STEP 2

Turn the installation tool anti clockwise to unclip the jet from the wall.

5
Step 5 of 10
<h1>STEP 3</h1><p></p><p>Remove the old jet and replace it with the new one. (Pt No FZ8PLJ2-11)</p>

STEP 3

Remove the old jet and replace it with the new one. (Pt No FZ8PLJ2-11)

6
Step 6 of 10
<h1>STEP 4</h1><p></p><p>Engage the installation tool as previously described.</p><p></p><p> Turn in clockwise direction until you feel a small click.</p><p></p><p></p><blockquote><p>Check the jet is sitting hard against the tub wall</p></blockquote><p></p>

STEP 4

Engage the installation tool as previously described.

Turn in clockwise direction until you feel a small click.

Check the jet is sitting hard against the tub wall

7
Step 7 of 10
<h1><strong>Use of Jet</strong></h1><p></p><p>To increase the jet flow, rotate the nozzle clockwise</p><p></p>

Use of Jet

To increase the jet flow, rotate the nozzle clockwise

8
Step 8 of 10
<h1><strong>Use of Jet</strong></h1><p></p><p>To reduce the jet flow, rotate the nozzle anticlockwise.</p>

Use of Jet

To reduce the jet flow, rotate the nozzle anticlockwise.

9
Step 9 of 10
<h1><strong>Use of Jet</strong></h1><p></p><p>To change direction of the jet, pivot the nozzle to desired position</p>

Use of Jet

To change direction of the jet, pivot the nozzle to desired position

10
Step 10 of 10
<h1>CARE</h1><p></p><p></p><p>Using a soft cloth and mild detergent clean the surface of the jet.</p><p></p><p>Do not use an abrasive material as this will scratch the surface of the product</p><p></p><p></p><blockquote><h2>NOTE</h2><p>On chrome plated products do not use cleaners that contain chlorine as this can attack the surface of the chrome</p></blockquote><p></p><p></p><p></p>

CARE

Using a soft cloth and mild detergent clean the surface of the jet.

Do not use an abrasive material as this will scratch the surface of the product

NOTE

On chrome plated products do not use cleaners that contain chlorine as this can attack the surface of the chrome