
image picker 0A54EB00 E9AF 466E B853 F65C2527E772 1464
Hey, I'm Josh. These are the tips, tricks and techniques you need to paint a room.
Hey, I'm Josh. These are the tips, tricks and techniques you need to paint a room.
1
Step 1 of 23Hey, I'm Josh. These are the tips, tricks and techniques you need to paint a room. So let's get into it. To begin, you'll need to select the right paint for your wall, as different paints are suited for different applications.
2
Step 2 of 23As a general guideline, opt for water-based paints when painting walls and ceilings, and choose an oil or water-based enamel for trims, architraves and doors.
3
Step 3 of 23These paints are resilient and easy to clean, making them perfect for high traffic areas.
4
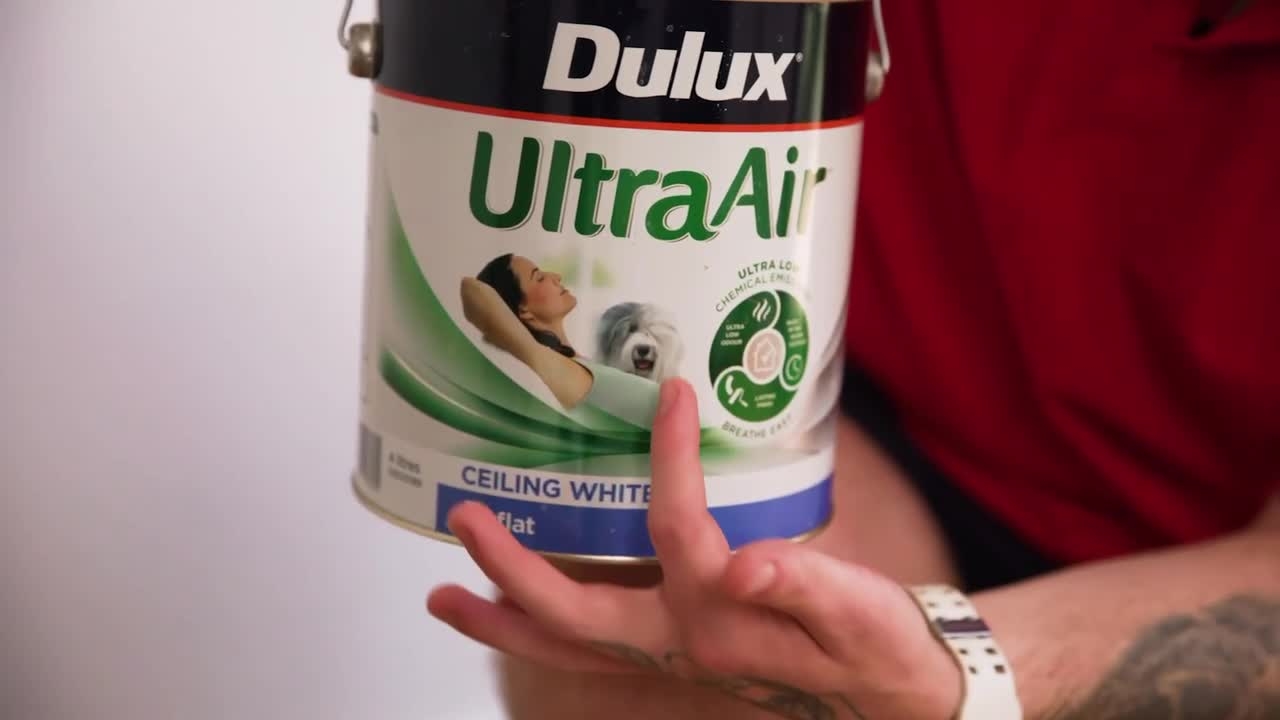
Step 4 of 23For ceilings, it's recommended to use specialized ceiling paint. This formula is thicker to prevent dripping and typically has a flat finish that doesn't reflect light.
5
Step 5 of 23This minimizes the visibility of any imperfections.
6
Step 6 of 23Once you've chosen your colour, you'll need to measure your wall to calculate how much paint you'll need.
7
Step 7 of 23To do this, measure the length and the width, then check the paint coverage rate.
8
Step 8 of 23Divide the total square metres by the coverage rate to determine the number of litres needed.
9
Step 9 of 23Round up to the nearest whole number, as it's better to have a bit more than to run out.
10
Step 10 of 23Use painter's tape to protect any gaps around the floor edges, window sills or outlets.
11
Step 11 of 23Generally, you'll want to apply an undercoat when working on new walls or repairing scuffs and marks, or if you're painting colour or timber.
12
Step 12 of 23In these instances, use a 3-in-1 primer, sealer and undercoat on the walls.
13
Step 13 of 23Once your undercoat is dry, it's time to get into painting your wall. Give your paint tin a quick shake before opening with a paint opener and use your paint stirrer to ensure the pigment is mixed through.
14
Step 14 of 23Then pour your paint into your paint tray.
15
Step 15 of 23Select an area you will need to cut in and apply paint to the brush. Dip the brush in about halfway along your bristles, then use the side of the paint pot to wipe any excess paint.
16
Step 16 of 23Too much paint on your brush can lead to drips or uneven coverage.
17
Step 17 of 23Use an angled brush to paint around power points, switches, doors, window frames, around the edges of the wall and cornices.
18
Step 18 of 23Then, using a roller, place your roller in your paint tray, moving the roller back and forth on the grate until the paint is spread evenly on the paint roller.
19
Step 19 of 23Start from the top of the wall and work your way downwards.
20
Step 20 of 23Re-load your roller as needed, but avoid overloading with paint. Let the first coat dry completely before applying the second coat.
21
Step 21 of 23Remove the painter's tape straight away at a 45 degree angle. If you wait until it's dry, this can cause the paint to lift.
22
Step 22 of 23And there you have it, a coat of paint can freshen up any room of the house.
23
Step 23 of 23If you liked this video, don't forget to like and subscribe for more tips and tricks.