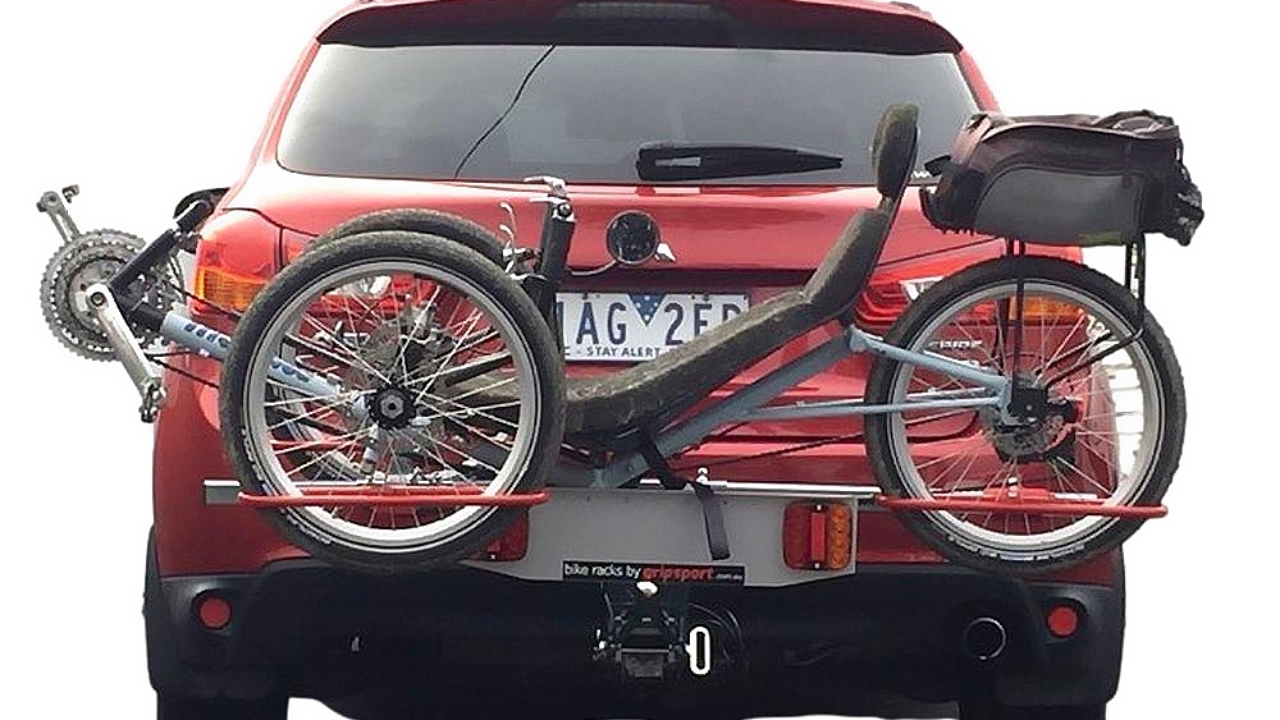
STEP 1: Installation of the Bike Carrier
Remove pin from the tow bar
1.1 Adjust the height of the bike carrier trolley to align with the vehicle's tow bar receiver.
1.2 Carefully slide the bike carrier hitch into the vehicle's tow bar receiver until the marked line on the hitch aligns with the edge of the receiver. (Usually, this is just past the middle of the last hole on the hitch.)
1.3 Insert the Toyota pull pin, hand-tighten the nut, and secure it with the R-clip.
1.4 Connect the 7 pin to Vehicle.
1.5 Remove the bike carrier trolley and store it away.
STEP 2: Loading the Bike
2.1 Loosen and remove the three ramps from the bike carrier. (Keep the straps for later use.)
2.2 Install the top (narrow) ramp to the tyre hoop located closest to the vehicle's tailgate.
2.3 Install the middle ramp to the tyre hoop positioned furthest from the tailgate.
2.4 Install the bottom (wide) ramp to the center frame of the bike carrier.
2.5 Unscrew the knob to adjust the ramp.
2.6 Use the stoppers to prevent the ramps from popping out.
2.7 Reattach and tighten the knob.
2.8 Align and keep all three ramps parallel.
2.9 Push the bike up the ramps and into the carrier so that the tyres sit securely in the hoops.
2.10 Remove the stoppers and return them to their original positions. Tighten the knob.
2.11 Collect all three ramps in order and reattach them to their original positions. Tighten securely.
2.12 Use the bike straps to tightly secure the bike in place.
STEP 3: Unloading the Bike
3.1 Follow the same procedure as Loading the Bike, in reverse order.
STEP 4: Removing the Bike Carrier
4.1 Ensure the bike has been removed before starting this process.
4.2 Remove the 7 Pin from the vehicle.
4.3 Place the bike carrier trolley under the bike carrier for support.
4.4 Slightly lift the bike carrier to release its weight.
4.5 Remove the 7-pin from the vehicle. Remove the R-clip, loosen and remove the nut, and pull out the pull pin.
4.6 Carefully remove the bike carrier from the vehicle.

Thanks for watching! Ride easy knowing your gear's in good hands. For more tips and tough gear, stick with TJM—Take the Lead.