
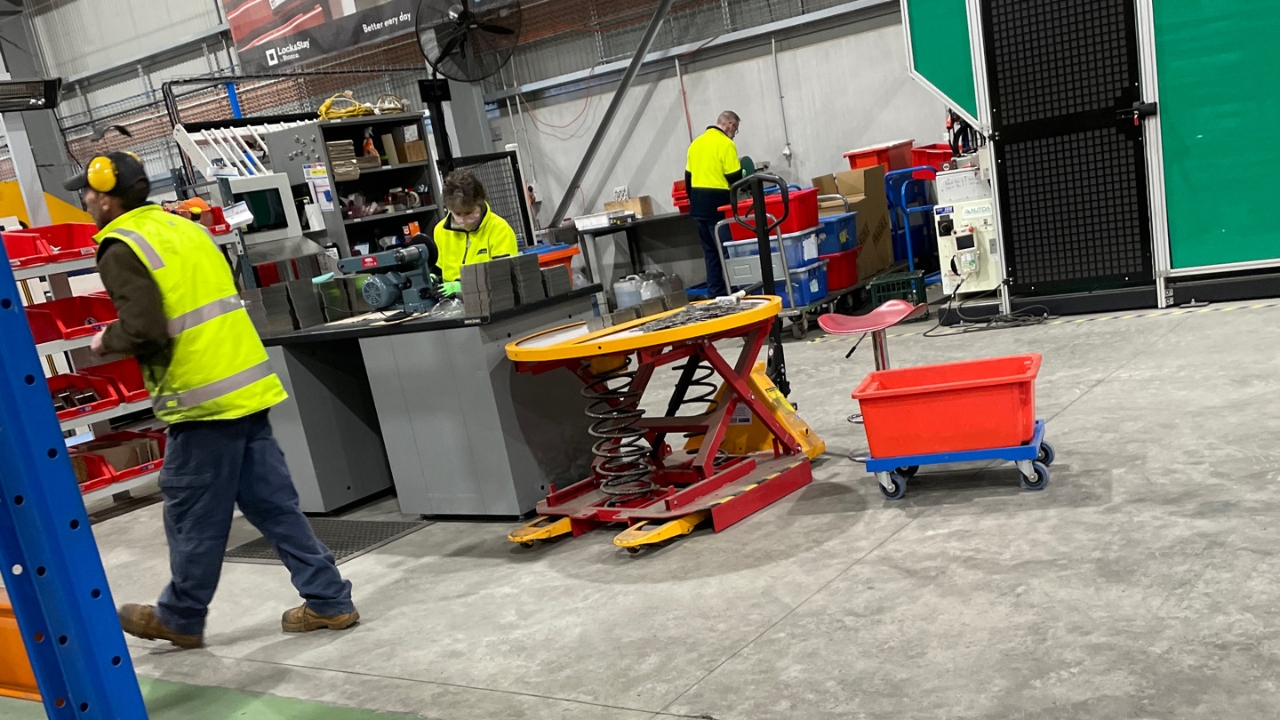

Personal Protective Equipment (PPE). Gloves and Safety Glasses. If you don’t already have a pair of gloves or safety glasses, please see the store person.

Other forms of Personal Protective Equipment (PPE), include a face mask and black nitrile gloves when using the acid.

QA Sheet. You will find a QA sheet at the machine, if there is no QA sheet there see the team leader or production. A QA sheet will need to be completed at the start, through out and at the end of the day.

Sample Tub (Control pieces): When you need to quality check locks or any componant items, there is a sample tub for you to use.
Tools required: Linishing machine, Welder and sandpaper.

There are different tubs for storing and sorting items.
Peeling the plastic off of a lock: Ensure you Peel the entire plastic off, make sure to peel the plastic off of the folds as the plastic will break off on the folded parts. All locks come with plastic, Roller Door locks are peeled 'before folding' and Swing Doors are peeled 'after folding'.
After the plastic has been peeled place the part in a tub. Put a cloth on the bottom, then put the shiny face side down, put the next one on top shiny side up, make rows, then place a cardboard strip over the top and repeat the process until the tub is full.
[In the larger plastic tubs, make sure not to fill it past the internal corner supports, because another tub will be placed on top.]

Left; Roller door lock after it has been folded, welded, linished and cleaned. Right; Roller Door Latch tab in a row and folded, ready for welding.
Different types of linishing. You could use the machine or use sandpaper and linish the item by hand. All items get linished, The shiney [polished] front of a roller door lock does not get linished .

Cutting Rods: Rods come strapped in a pack, use a forklift to load the rod pack into the wooden crate, cut the straps and remove all rubbish.

Bring the rod up to the stop and make sure the mark is at 163mm.

Place one rod onto the rollers.
Cut the rod. Apply a decent amount of pressure but don’t force it down too hard.

Find the control piece.

After cutting the first piece, measure it against your control piece to make sure they are the same size. Approve on the QA sheet.
Roller Door rods need to be linished to remove the rough edges and give the rod a clean round edge. [Image shows an Un-linished cut edge vs Linished rounded edge.]
Roller door rod tabs come in row's, break the row's into rows of five [this is because it is easier to fold 5]. After the row of 5 is folded, break the tabs apart and place them into the tub.

Swing Door Rods: Left; Welded and cleaned. Right; Linished.
![<p>Roller Door Latch: After Rods and Tabs have been welded, they need to be cleaned in the Acid bath. [photo; Latches before an acid bath.]</p>](https://knowby.show/media/storco/knowbys/3ae6606f-7eac-4a8d-b76e-babba9bd8a6d/steps/993a6366-a24d-4b81-8513-7b6eb62f4c73/hd720.jpg)
Roller Door Latch: After Rods and Tabs have been welded, they need to be cleaned in the Acid bath. [photo; Latches before an acid bath.]

Acid bath section: Personal Protective Equipment (PPE). Mask, Nitrile Gloves and Safety Glasses. If you don’t already have a pair of gloves or safety glasses, please see the store person.
Gently run the brush over the welded parts of the latch so it cleans, don’t press to0 hard as it will damage the brush.
After the bath, dip it into the water tub.

Roller Door rod and tab after is has been folded, linished, welded and cleaned.

After everything has been assembled, put it in a box. 50 swing door locks to a box, 100 roller door locks to a box. Tape it closed, put on a signed QA sticker, write the amount on the box and take it to stores.