Knowby SUPAWOOD
Knowby
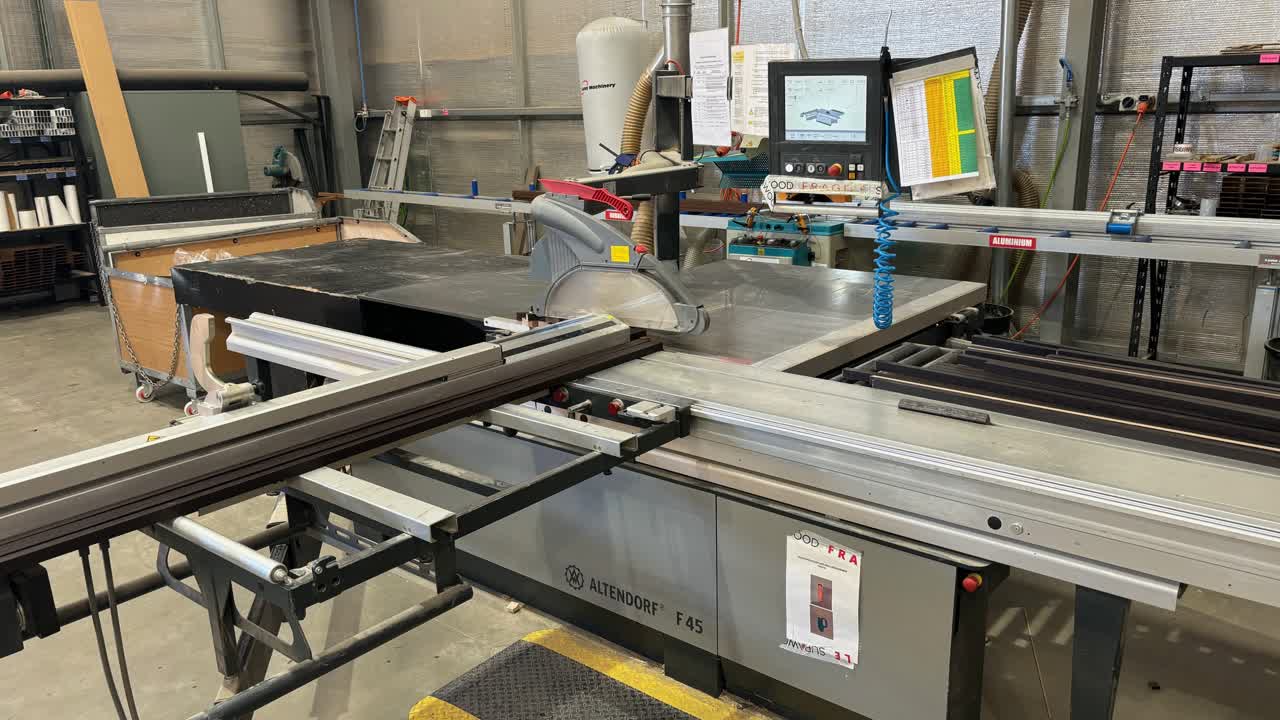
SWI 005 - Panel Saw
Applies to the use and operation of the Panel saw. To ensure it is operated safely and maintained in good working order.
1
Step 1 of 10
<p>Responsible supervisor &amp; PPE required</p>

Responsible supervisor & PPE required

2
Step 2 of 10
<p>Tools &amp; equipment, Pre operational Safety Checks &amp; Safe Operational use</p>

Tools & equipment, Pre operational Safety Checks & Safe Operational use

3
Step 3 of 10
<p>Housekeeping, Inspection &amp; Maintenance, Training &amp; Ptential Hazards</p>

Housekeeping, Inspection & Maintenance, Training & Ptential Hazards

4
Step 4 of 10
<p>Emergency stops - know where they are</p>
<ul>
<li>One at knee height</li>
<li>One below the touch screen</li>
</ul>

Emergency stops - know where they are

  • One at knee height
  • One below the touch screen
5
Step 5 of 10
<p>Pre start checks for safe use</p>
<ul>
<li>Ensure area is clear of debri with no trip hazards.</li>
<li>Ensure all gaurds are in place &amp; working correctly</li>
<li>Ensure push stick is readily available &amp; in good working order</li>
<li>Wear appropriate PPE</li>
<li>Correct blade is on machine (ripping or crosscut)</li>
</ul>

Pre start checks for safe use

  • Ensure area is clear of debri with no trip hazards.
  • Ensure all gaurds are in place & working correctly
  • Ensure push stick is readily available & in good working order
  • Wear appropriate PPE
  • Correct blade is on machine (ripping or crosscut)
6
Step 6 of 10
<p>Setting fences for cutting</p>
<ul>
<li>Choose most appropriate fence for cutting process required</li>
<li>Touch screen in the highlighted section to change fence position</li>
</ul>

Setting fences for cutting

  • Choose most appropriate fence for cutting process required
  • Touch screen in the highlighted section to change fence position
7
Step 7 of 10
<p>Type measurement into touch screen &amp; press the start button. This will locate the fence to your required depth. Note that for measurments under 200mm you are required to hold the start button until measurement is finalised.</p>

Type measurement into touch screen & press the start button. This will locate the fence to your required depth. Note that for measurments under 200mm you are required to hold the start button until measurement is finalised.

8
Step 8 of 10
<p>Start the saw blade using the far left button &amp; let the saw reach operation speed before making cuts</p>

Start the saw blade using the far left button & let the saw reach operation speed before making cuts

9
Step 9 of 10
<p>Body positioning when cutting. Note that you should never be directly in front or behind the blade. &quot;Kick back&quot; can occur which can result in the material being ejected from the saw very quickly.
Do not place hands within 100mm of saw blade, push stick must be usedfor small pieces.</p>

Body positioning when cutting. Note that you should never be directly in front or behind the blade. "Kick back" can occur which can result in the material being ejected from the saw very quickly. Do not place hands within 100mm of saw blade, push stick must be usedfor small pieces.

10
Step 10 of 10
<p>Turn off saw when cutting is completed &amp; remove all offcuts or rubbish from the bed to ensure next operator starts safely.</p>

Turn off saw when cutting is completed & remove all offcuts or rubbish from the bed to ensure next operator starts safely.