
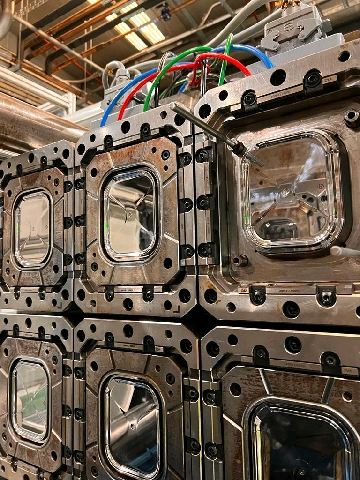
Ensure that the work area is safe with no hazards including trip/slip, cuts, manual handling etc Wear the correct PPE in accordance with your task including safety footwear, hearing protection, glasses/goggles, gloves etc
Lock out the machine if required too based on the task you are completing – refer to the machine “LOTO Matrix” if unsure Ensure the work area is clean/sanitised after the work is completed If unsure of any of the steps/safety requirements,please discuss with your Supervisor
Remove the stripper ring:
Undo any 2 bolts diagonally and place the guide pins. Unscrew the remaining 2 bolts and gently remove the stripper ring from the machine.
Once the stripper ring is removed, take it to the tool shop or a workbench for inspection/cleaning.
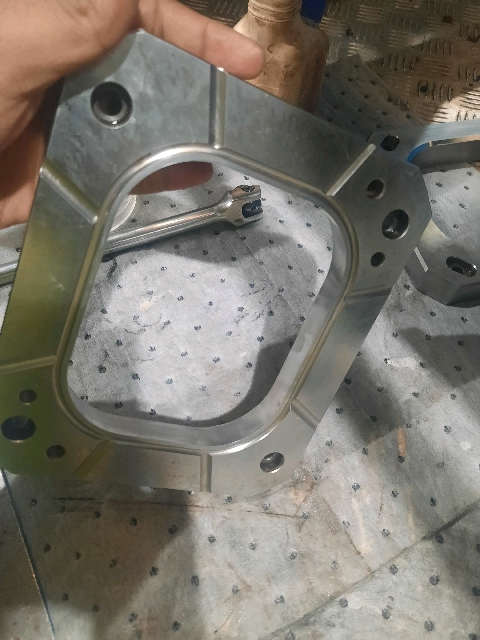
WARNING: The internal edges of the stripper plates are very sharp and can get damaged very easily. Please handle with care while working with them.
Clean both sides, bores and sleeves of the stripper plate using a cleaning agent, microfibre cloth and acetone.
Clean the core in the same way the stripper plate was cleaned, using microfiber cloth and acetone.
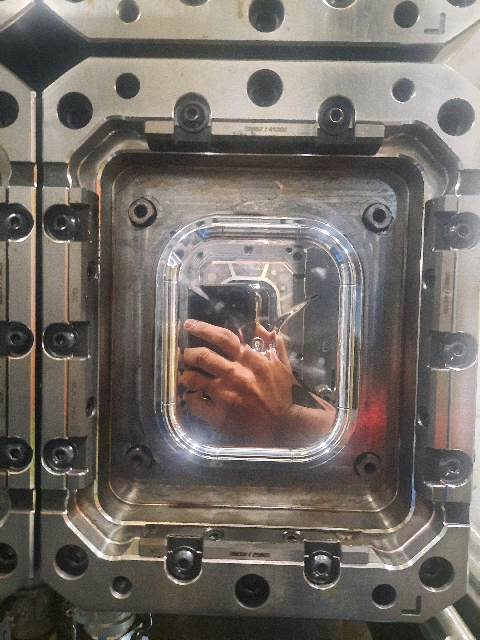
Once the plate and the core is cleaned, Make sure that all the 4 ejectors are aligned at the same angle in the Core.
After confirming that the ejectors are aligned, place the 2 guide pins back in diagonally and slide in the stripper ring gently. This is to help guide the stripper plate back into the place and to avoid any damages.
NOTE: If all the 4 ejectors are not aligned at the correct angle, the stripper ring will not be secured as shown.
Once all the ejectors are aligned, the stripper ring fits perfectly without any wobbling/movements.
Screw the bolts back in and inspect for any errors.