
Tools required
No2 Phillips screwdriver
Masking tape
Marking pen
3mm Allen key
8mm spanner
Drill
3mm drill bit
7.5mm drill bit
5mm Rivnut gun
Debuting tool
Drill stop

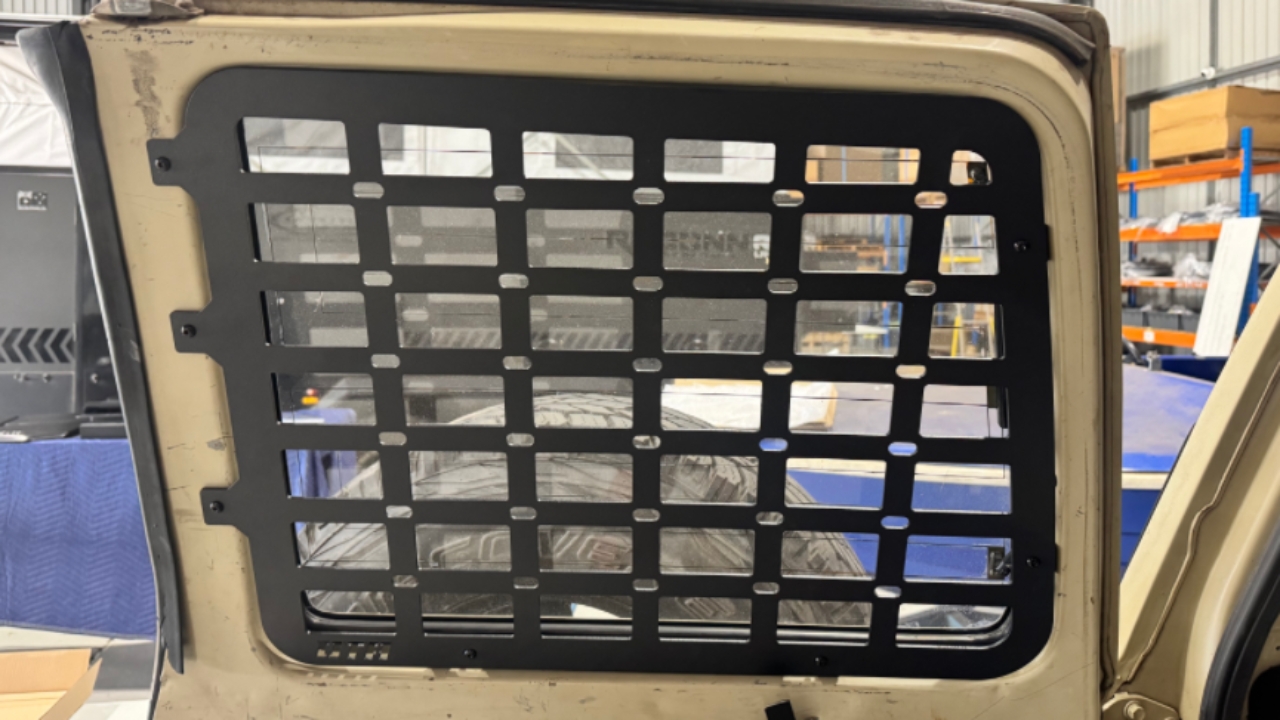
Step One
Open Box & Confirm Kit Parts
Left Door Molle Panel
Mounting Bracket

Step Two
Mask door and remove screw from LH door

Step Three
Fit mounting brackets as shown with 5mm button head bolts and nuts

Step Four
Mount plate with button head screw where screw was removed in earlier step

Step Five
Mark all mounts for drilling

Step Six
Remove plate and check that all the marks are evident.
Drill 3 mm pilot hole and then 7.5mm hole. Recommend using a drill stop so that you don’t damage the wires to the semester or other panels.

Step Seven
Debur holes apply rust protection and fit rivnuts

Step Eight
Remove mounting brackets from plate and mount to the door

Step Nine
Mount plate to door.
Tip. Put small amount of masking tape on end of 8mm spanner to hold nut to enable ease of fitting