
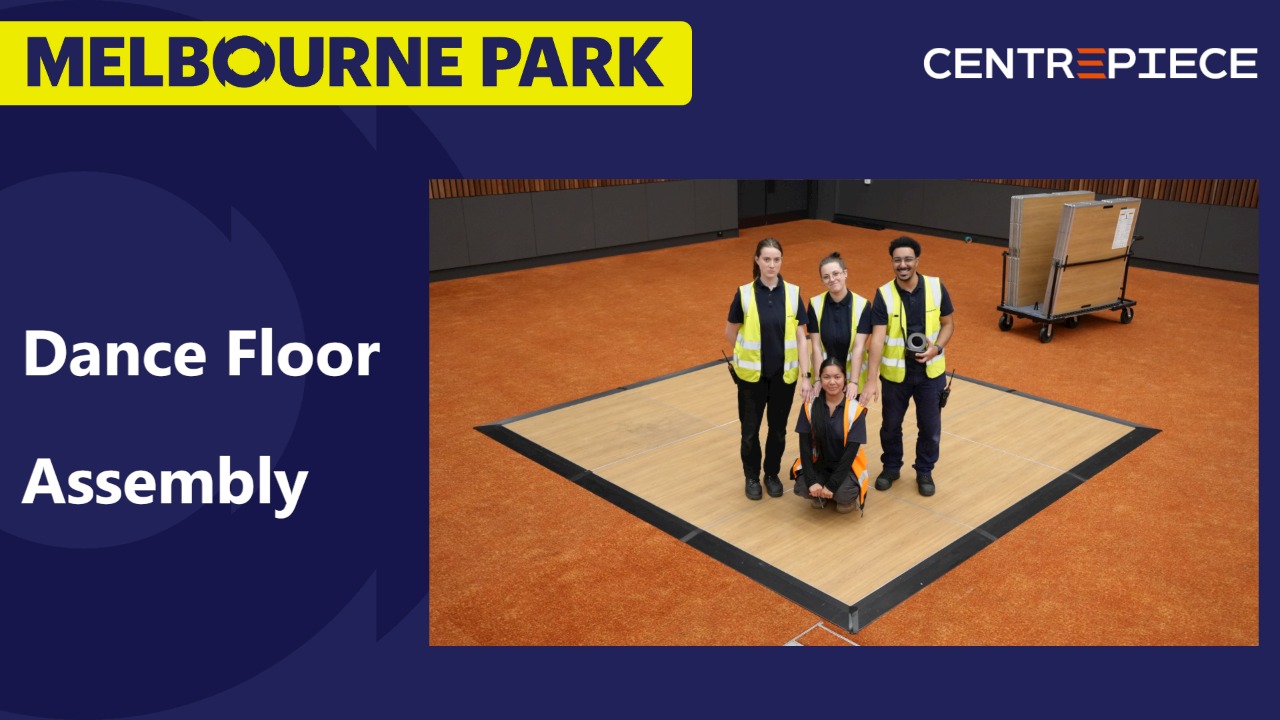
Setup
Requirements
2 people (minimum)
3 people (recommended)
Equipment
Dance Floor Panel and Edge Stillage
Panel Locking Tool
Black Gaffer Tape
PPE
Steel Cap Boots
Hi-Vis Vest
Position Dance Floor Stillage(s)
Roll the stillage into place next to the work space

Pro Tip: Edge Types
Each dance floor panel has both male and female edges.
Make sure every stage piece is oriented the same way.

Pro Tip: Floor Plan
Look at the floor plan and determine whether their is an odd or even number of panels parallel to the stage.
This changes where the starting panel is placed.
Starting Panel (Odd Floor Plan)
If the floor plan has an odd number of panels for the width, grab one floor panel and drop it near the centre location of the stage.
Starting Panels (Even Floor Plan)
If the floor plan has an even number of panels for the width, grab two floor panels and drop them on either side of the centre location of the stage.
Line Up Starting Piece(s)
If the floor plan is odd, line up the first panel's centre with the centre of the stage*
If the floor plan is even, line up the panel gap with the centre of the stage*
*The stage centre is shown using green tape in the video
Pro Tip: Locking Mechanism
The female sides of the floor and edge pieces have locking mechanisms that connect to the adjoining panel.
Locking One Sided Panels
Stand with one foot on each panel and use the locking tool to lock the panels together.
Every panel that is added to the dance floor should be locked immediately after it is placed.
Locking Two Sided Panels
For panels that join on two sides, make sure you lock both sides.
Pro Tip: Alternate Panel Sides
Be sure to alternate which side the floor panels are grabbed from the stillage.
Grabbing from the same side may cause the stillage to tip.
Pro Tip: Carefully Add Panels
As you add additional panels, be careful to avoid moving the already placed panels.
Place Floor Panels
Place all the floor panels one row at a time in a zig zag pattern.
Make sure you lock all joining edges.

Pro Tip: Edge Pieces
Edge pieces are either straight or corner, and male or female.
Attaching Straight Edge
Grab a straight edge piece that complements the dance floor panel piece (e.g. female to male, or male to female).
Line up the straight edge and lock it in place using the locking tool.
Attaching Corner Edge
The corner edge pieces are designed to slot together
Position and lock one corner piece at a time.
Attach All Edges
Go around the dance floor placing and locking all edges.
Gaffer Tape Seams
Use black gaffer tape to cover all the edge seams.
