

TOOLS REQUIRED:
Impact Driver
T45 Torx Bit
6mm Allen key bit
4mm Allen key bit
10mm Socket
13mm Socket
10mm Spanner
Using a T45 Torx bit, remove the 2 bolts on the tailgate latch.
Place the lock strike bracket against the tub and secure these by hand, before fully tightening using a Torx T45 bit.
Repeat for the opposite side.
Place the M8 spacer on over the thread in the front wall of the tub on each side.
Place the front hinge plate onto the tub lining up the hole over the spacers installed earlier.
Secure this by winding in an M8x35 button head bolt with a spring and flat washer by hand.
Tighten the button head bolts on each side until this has pulled the hinge plate down fully onto the crush tubes.
Repeat for opposite side
Hook the side bracket between the plastic capping and the tub and slide forward into the threads.
Repeat for opposite side
Secure the side plate to the hinge frame using 2 x M8 Nyloc Nuts
Repeat for opposite side
Place the CT5 clamping tab behind the lip of the tub and install an M8x30 button head bolt and spring washer.
Repeat for the front clamping tab.
Repeat on the opposite side.
Fully secure all 4 clamping tab brackets with an impact driver.
Place an M8x30 Button head, Spring washer and medium washer through the hinge plate and side frame and secure nylock nut.
Lift the lid into position, slot the hinges into place.
Pull back on the lid until until you hear the locator pins at the front click into place on each side.
With someone holding the lid open, secure the lid in place using the M8 Tri-Knob, spring washer and medium washer through the hinge plate.
Repeat for opposite side.
Supporting the lid on both sides, connect the gas struts by first pressing the thick end of the gas strut onto the ball stud on the lid, then attaching the quick release clip onto the ball stud on the mounting frame.
Complete this on both sides.
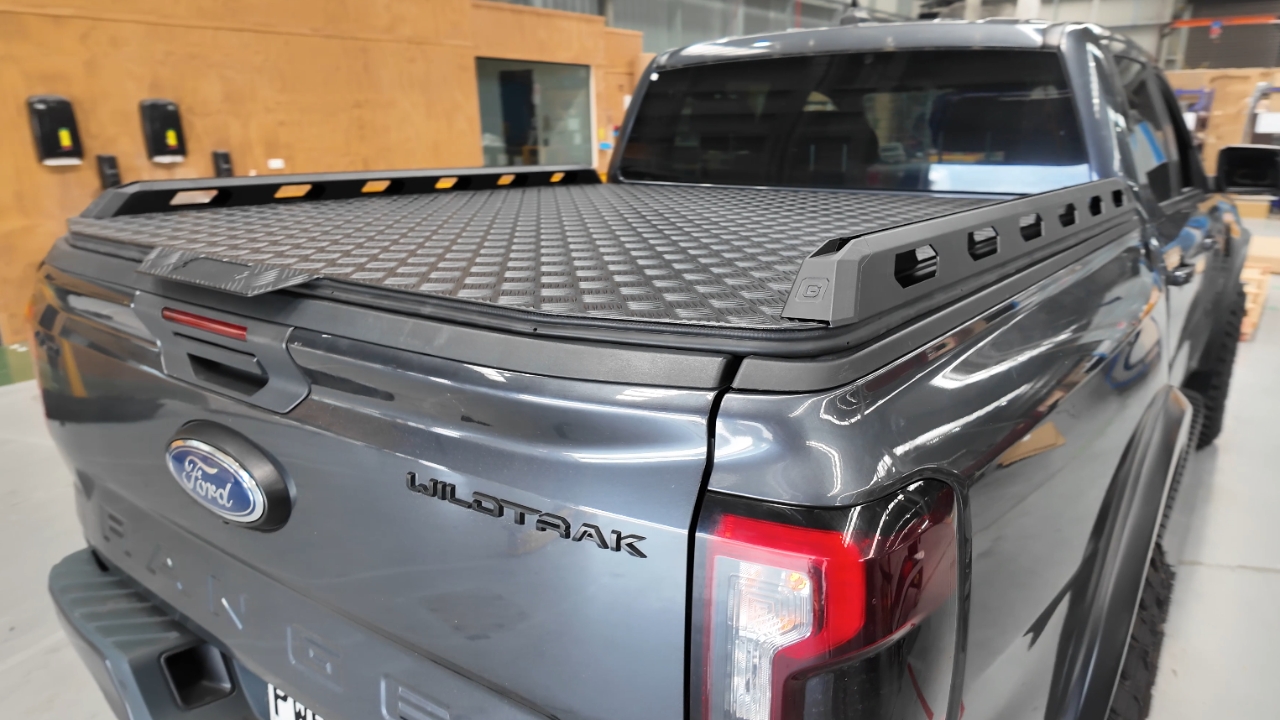
The lid is now installed ready to go!
Lift the tailgate and lower the lid to ensure this latches correctly.
To open your lid, simply open the tailgate and lift the lid.
If the latches require adjusting, this can be done by adjusting the lock strike brackets up or down, or moving the latches forward or back as shown on the following steps.
To raise or lower the lock strike bracket, loosen the 2 x tailgate latch bolts using a T45 Torx bit, slide the bracket up or down as required, and resecure the 2 bolts.
To adjust the latch forward or back, loosen the 2 bolts on the latch using a 4mm allen key and 10mm spanner, slide the latch forward or back as required and retighten.
To lock and secure the lid, this can be done using the manual key lock in the tailgate, or via the vehicle key fob if your vehicle has a central locking integrated into the tailgate.