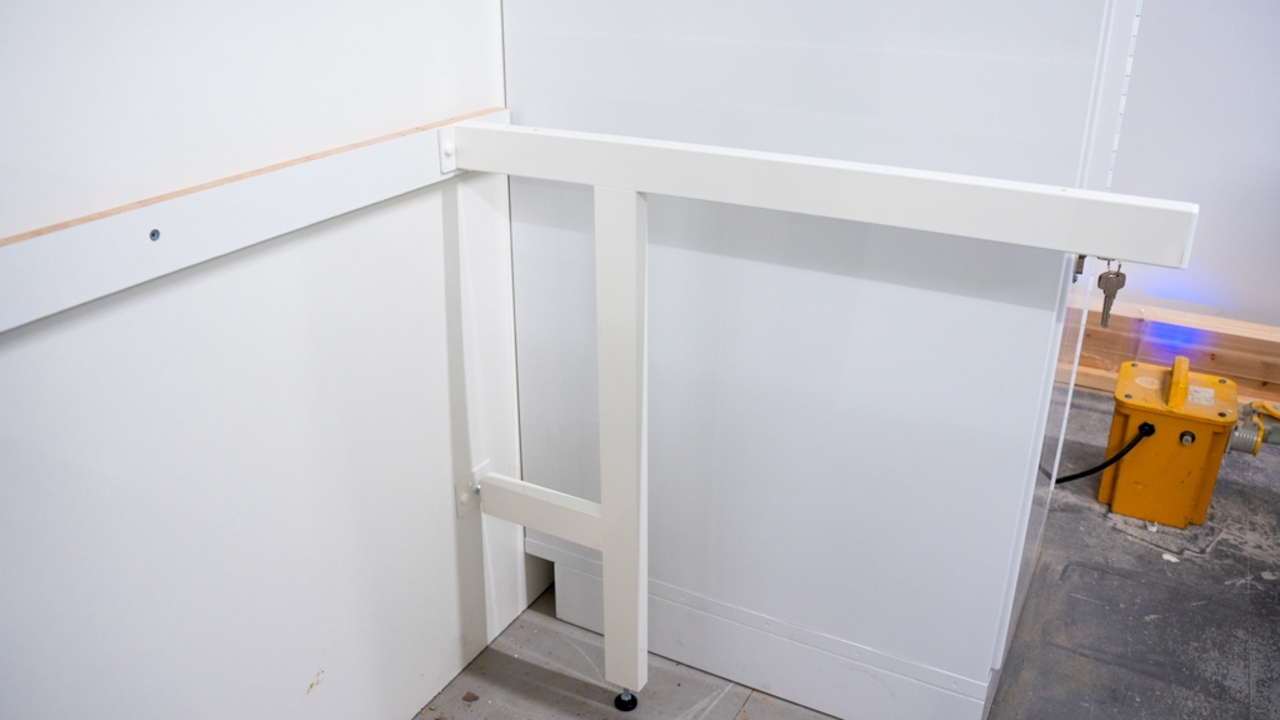
Identify legs required using the room-by-room (including quantities and dimensions).
Refer to the label on the leg.
Check the architects C-sheet (and Hygenius room layout if provided) to ensure it matches the quantity and leg positions.
Important points to note:
- Ensure the drawing is the latest approved revision.
- Scaling of drawing may be required.
- You may have to adjust the leg positions to ensure the joints are supported

Identify wall construction (I.e. brick, ply-lined, timber stud, metal stud) and select the correct fixings.
Typically, 5 x 70mm screws can be used.

Install the wall batten at correct heights as per C-sheet.
Ensure it is level by using
a Spirit or Laser level.
Now
work out the cantilever positions as per the room by room stated quantities to a maximum of 1000mm centres.

Adjust
the leg to bring it level with the top of the batten.

Mark cantilever holes on the top plate onto batten using a pencil.
Then, remove batten and pre-drill the marked holes.

Place
the cap on the screw then fix the batten into the pre-drilled hole.

Level the leg horizontally and vertically using a Spirit level.
Adjust the bottom plate to wall.

Place
the cap on the screw then fix to the wall.

The installation is now complete!