
Accept the BOQ request from the Case Queue - BOQs & open the request. Ensure all necessary details are filled out & notify the rep if any further details are required.

Download the drawings from the BOQ request or locate them in the Project Information folder as directed on the BOQ request. They can be saved into your downloads while you work on the mark-ups.
If the drawings are attached to the case, click on show all attachments at the bottom of the case to ensure you are working from all relevant drawings as some are hidden behind the last few files.
Combine the drawings in Bluebeam and from the BOQ request or from the rates previously quoted on the m2 rates, identify the areas requiring our product on the plans by searching the documents.

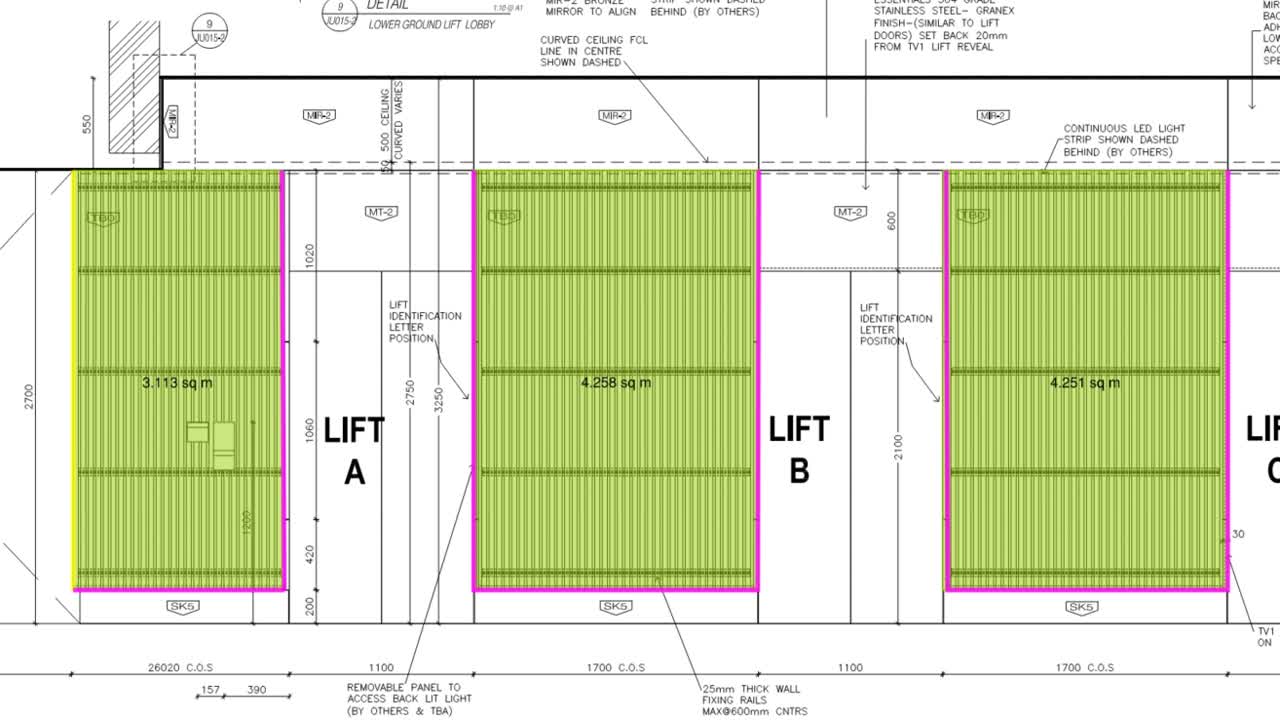
Mark up the elevations where required along with the floor plans to act as a location plan & to ensure you don't double up your mark-ups. Wherever possible, mark-up in boxes broken up by the length of the product to allow the portal to make accurate allowances of material.

Once all the areas for the code have been accounted for, start adding in trims - e.g. corner profiles where there are external corners, L profiles to cap of the bottoms of the battens/boards. Double check you have allowed for all required trims by looking through the BOQ codes.
Link to BOQ codes: https://wfarch.sharepoint.com/:x:/s/EstimatingTeam/EcbgVl1aQJJFlk01AYX6fccBDGk43lga_Dfz-CdLPRCJIw?e=wO1VQB

Insert a text box with a snapshot of the specification from P&S for this code. The more detail the better.
Repeat the above steps for all other codes (if there is more than 1) and save the mark-ups in the Project Information Folder, 02 Estimating and name ITE_MUPS_"EST NUMBER". You can now start prepping the portal. There is a following Knowbe called "Completing the Itemised portal".