
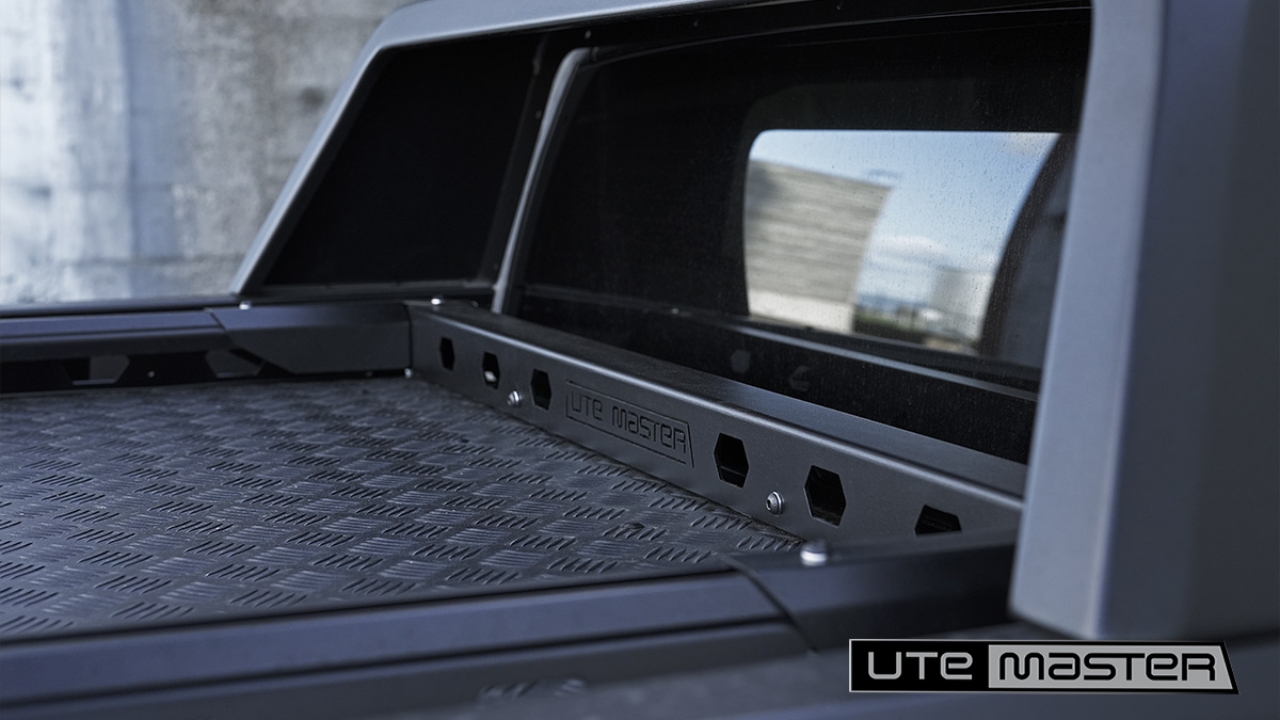

Remove existing left and right destroyer feet from the front of the lid.
Sit your base rail on the front of the lid as shown.
Sit top rail over the base rail as shown. Ensure Utemaster Logo and silver backing plate are facing the rear.
Position feet on both left and right sides as shown.
Align holes with the thread of the destroyer rail.

Hand tighten a bolt through the top rail and destroyer rail to temporarily hold the rail in place.
Repeat on the other side.
Manually adjust the base rail underneath to ensure top rail holes line up with the threads of the base rail.
Carefully remove the bolts from the feet without shifting the loadstop base.
Carefully remove the top rail without shifting the loadstop base.
Mark out the holes in the base as shown, using the base rail as your guide.

Drill the marked holes using a 8.5 mm drill bit.

Follow on from step 5 of your loadstop fitting instructions to complete installation.