
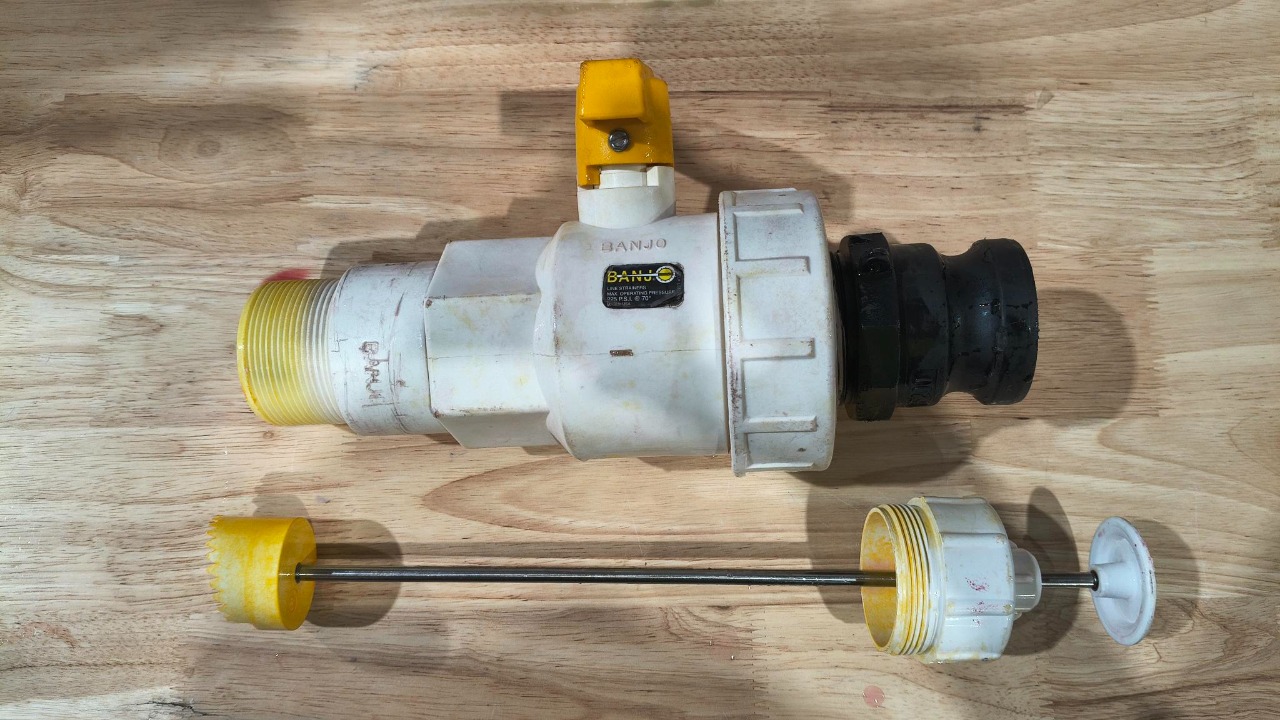

Ensure all pieces have been cleaned properly prior to assembly.
Note: the black cam lock adaptor will not be fitted until after the piercing plunger has been removed.
Fit first ball seal in place
Place ball stop in valve, ensure groove is lined up.
Valve handle needs to be closed.
Place second ball seal into seat on gate keeper.
Place gate keeper into housing. This will need to be aligned correctly with grooves on the valve housing.
Hold horizontal to ensure the seal does not fall out.
Visually check to ensure the seal is mounted correctly and hasn't fallen out of the seat.
Place large O ring inside outer locking ring and then screw onto Valve assembly.
Tighten locking ring by hand.
Open valve and ensure the ring seals are fitted correctly and there is an open path through valve.
Screw on piercing end to end of valve. Ensure Valve is open and depress plunger to check smooth action through valve.
Retract plunger, black cam lock adaptor can now be fitted for decanting.
Valve is now assembled and ready to be fitted to palletcon.
