Knowby
How To Slice Bread
Ready to up your bread-slicing game? Welcome to the Knowby that all other Knowbys wish they were—yes, we're talking the "best thing since sliced bread" level of awesome! Unveil the secrets to slicing a loaf like a pro, because mastering this art is the real "yeast" you can do! 🍞✨
1
<p>You will need: A bread knife, this is a long, straight knife with a serrated edge and quite a stiff blade.  A chopping board.  A loaf of bread to slice.</p>

You will need: A bread knife, this is a long, straight knife with a serrated edge and quite a stiff blade. A chopping board. A loaf of bread to slice.

2
<p>Place the loaf of bread on a chopping board, ensuring it is stable and won't move around.  Hold your bread knife with a firm but comfortable grip, making sure the serrated edge is facing downwards. Align the knife above the loaf where you want to make your first cut.</p>

Place the loaf of bread on a chopping board, ensuring it is stable and won't move around. Hold your bread knife with a firm but comfortable grip, making sure the serrated edge is facing downwards. Align the knife above the loaf where you want to make your first cut.

3

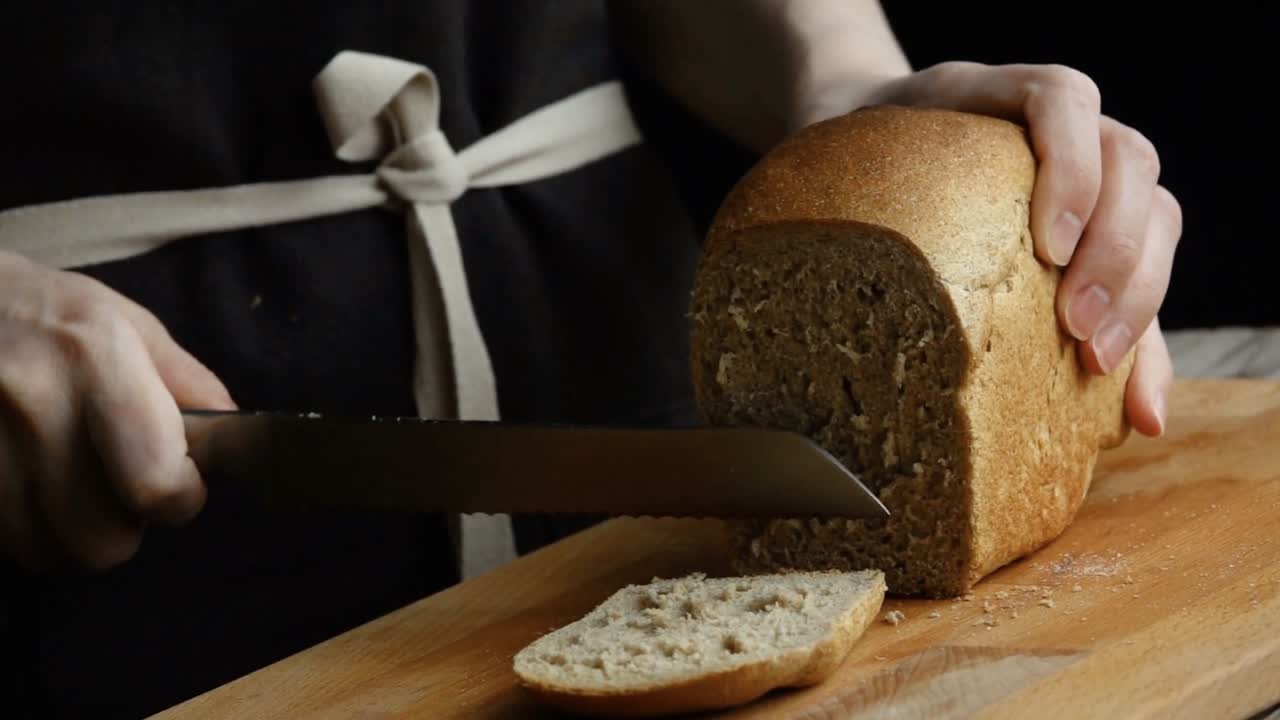
Begin cutting by gently applying downward pressure while moving the knife back and forth in a sawing motion. The key is not to push too hard; let the serrated edge do the work for you. Continue to move the knife back and forth, allowing the serrations to cut through the bread.

4

Repeat these steps for each subsequent slice, remembering to keep the knife vertical and parallel to the last cut. Tips: Don't rush; take your time to make each slice. It may help to keep your other hand on top of the loaf to stabilise it while you cut.