
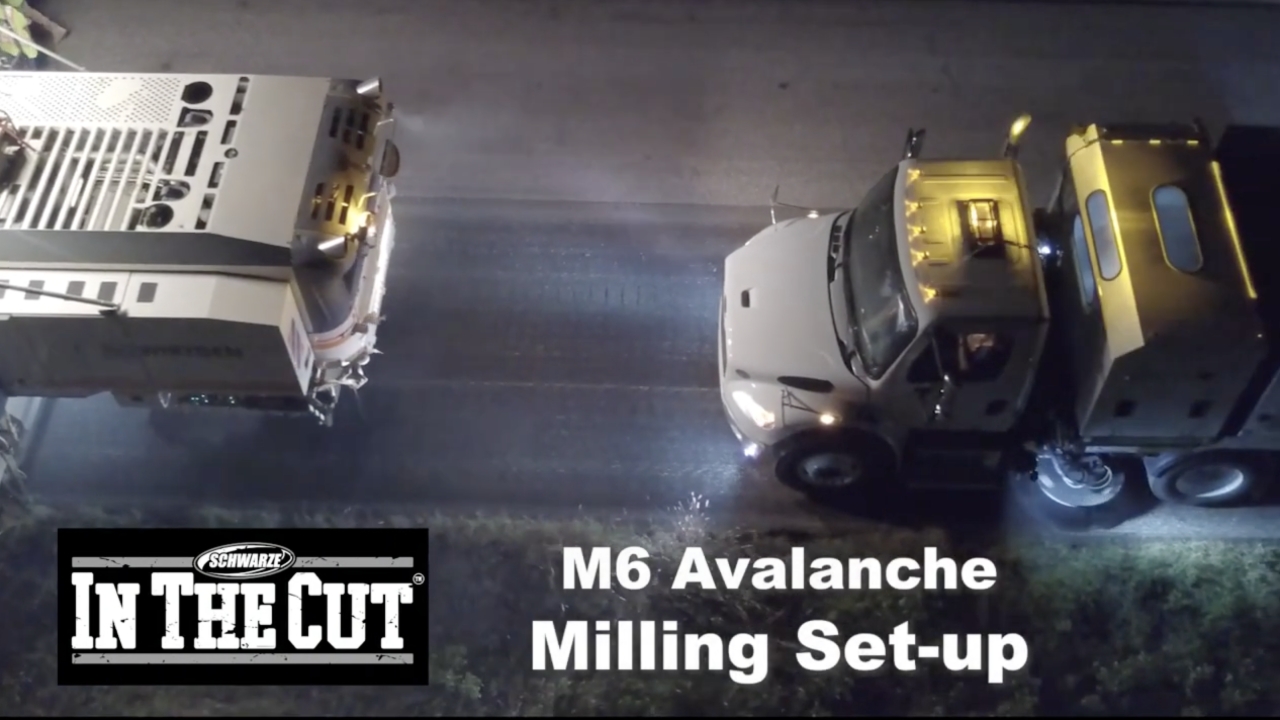
Operator Guide Street Sweeper
M6 Avalanche
M6 Avalanche
1
Step 1 of 57First of all, we're going to engage our PTO button. So we've engaged our PTO and our transmission, and now our control panel is live.
2
Step 2 of 57It's in standby, so my buttons are actually locked. I can't turn them on.
The CAN bus system is already telling me what I need to turn on.
It's lighting up red, so it's pretty easy to operate.
3
Step 3 of 57For first time users, there's a reference card that comes attached that will tell you how to set this machine up as far as the broom pressures and broom speeds.
4
Step 4 of 57But what today we're going to do is I'm going to walk you through how we set it up for milling contractor.
5
Step 5 of 57So once I've got it in, I'm ready to go sweep. I hit my standby button.
6
Step 6 of 57I release it. I'm ready to sweep. So what I'm going to do, I'm going to set up my presets, which I've already set, and I'm going to tell you how I've set them set up in reason one.
7
Step 7 of 57So number one, when I hit number one, if you'll notice what's going to light up in green is what's going to come on.
8
Step 8 of 57So I'm going to hit preset one and hit sweep. So if you look at my CAN bus screen up here, you'll notice my gutter broom is set up.
9
Step 9 of 57It's geode out at 44%. It's about 80% of rotation, and I've got it at 18 PSIs.
10
Step 10 of 57My rear broom is at about 70% RPM, and I've got it at about 20, 21, 22 PSIs.
11
Step 11 of 57And then my conveyor is running at about 80% of its RPM. And I've got this set up now for right, and I've got it geode this way.
12
Step 12 of 57So my actual gutter broom is overlapping my rear broom, so I won't get a dust trail.
13
Step 13 of 57So what I've got it set up now, number one is set up for right cut. So when the milling machine makes its cut, you're going to want to sweep that right side and get behind the mill.
14
Step 14 of 57The left side, they'll be on the next cut. So if I've made my right pass down my right cut, and now I need to come and sweep my left cut, the nice thing about this truck, once you've had it set up, it's as easy as going from one to two.
15
Step 15 of 57So I press number two. It's now going to light up my left side, and I hit sweep.
16
Step 16 of 57Right broom pulls in. Left broom deploys, same setting. I've got this one set at 38%, 68% PSI.
17
Step 17 of 57I've got it set at about 19 PSIs. Everything else remains the same.
18
Step 18 of 57Now I'm sweeping on the left side of the truck. Same thing, I've got it set up where my broom is geode in, where it overlaps my rear broom, so I don't get a trail.
19
Step 19 of 57Everything is getting covered. And now I'm doing a left hand cut. So once I've actually done a left and a right cut, let's say I need to come to the middle, and I've got it set up for like a seven foot one, seven foot two mill.
20
Step 20 of 57So for a smaller mill, I can actually do both cuts at the same time. And what I've done in this, you can do it manually by just dropping a broom, or you can save them like I've done in this.
21
Step 21 of 57I've already set it up. Now I'm going to hit number three. Number three, when it hits sweep, is going to deploy both of my gutter brooms.
22
Step 22 of 57And if you'll notice, they're both set up about identical. Both of them are running about 40% geo, 80% rotation, somewhere around 18, 19 PSIs.
23
Step 23 of 57My rear brooms are set the same. And I've got them geoed in, so I'm actually again, I'm sweeping about an eight foot path.
24
Step 24 of 57So I'm covering both cuts behind that mill and getting a good sweep.
25
Step 25 of 57Now a few other settings you'll find convenient for a milling sweep is you may want to do just a windrow debris.
26
Step 26 of 57So you may be taking a right on broom, and you may be windrowing that debris.
27
Step 27 of 57So for windrows, we actually set it up where we can come in and do windrows.
28
Step 28 of 57So once you've gone and you've made your first pass, you've done your left cut, you've done your right cut.
29
Step 29 of 57And let's say you want to come back and just do a wide over sweep and hit the whole area that's been milled.
30
Step 30 of 57So what we've done in this case, we've actually set up a sweeping mode to do a wide sweep. So once I get back in, I release my standby.
31
Step 31 of 57And number four, I hit sweep.
32
Step 32 of 57Now I'm actually set up where my brooms are out 100%. I've got my brooms all the way out.
33
Step 33 of 57So I'm getting a roughly 10 foot sweep path. I'm getting everything I can do to just kind of get the fines in that I may have missed before.
34
Step 34 of 57And now once I've done that, I can come back and set up a right foot or left foot on the next cut.
35
Step 35 of 57Another very, very convenient function, a lot of people like to take a right on broom and they like to windrow the millings between the cuts.
36
Step 36 of 57So if you've got it set up, I do number five for what I call windrow debris. So if you go to number five in the presets, if you'll notice what changes in that, I'm actually geoing my brooms in all the way.
37
Step 37 of 57So both of my gutter brooms actually move in behind my wheels and are up under my cab.
38
Step 38 of 57And now what I'll do, I'll actually tilt those brooms so they'll be tilted to the inside to the outside so I can actually run over that windrow debris.
39
Step 39 of 57I'm using my brooms to keep it windrow tight. I'm using my rear broom to pick up that windrow or that levied material.
40
Step 40 of 57Now once I've got through with that and I want to come back and hit it fine, I've got one setting on number six where just using my rear broom because I don't want to scatter anything from left to right with my gutter brooms, so I use number six, I hit sweep, and now I've retracted my gutter brooms.
41
Step 41 of 57I'm simply using my rear broom to finish that windrow debris. That way I'm not scattering anything left to right but also with my gutter brooms.
42
Step 42 of 57Another convenient setting a lot of people like to set up on this is actually, I don't have room, I've got six settings, but one is for cleaning.
43
Step 43 of 57So a cleaning mode is really easy and it's where you can actually come in and you can set your brooms down.
44
Step 44 of 57And if you want to set it up for cleaning, you can actually come in with your brooms out all the way and then you can adjust your down pressures where there's barely not touching the ground so your brooms are just rotating.
45
Step 45 of 57So I can come off with my pressure, I'm going to raise my pressure up to about 34 pounds on my rear broom.
46
Step 46 of 57I'm going to do the same on my gutter brooms.
47
Step 47 of 57Now my brooms are really not even touching the ground.
48
Step 48 of 57I just want them to spin, I'm going to slow their speed down a little bit. So what I'm doing here, I'm slowing everything down.
49
Step 49 of 57I've got it running but I've got it where it's not actually touching the ground.
50
Step 50 of 57And this is so when I wash my after I can get all the millings, all the dirt, all the gravel out of my brooms.
51
Step 51 of 57They're not touching the ground, I'm not wearing my brooms but I've got them rotating just so I can get them good and clean.
52
Step 52 of 57If you want to save that as a setting, it's as simple as holding down number six, call it my cleaning mode.
53
Step 53 of 57Once I hold that button down, lights are going to change colors.
54
Step 54 of 57Once they've changed colors, that's now six hits number six, my cleaning mode. Again, that's just a little helpful hint if you've got a setting you want for cleaning, you can do that.
55
Step 55 of 57Once I've got through cleaning, I'm ready to go to the cabin.
56
Step 56 of 57Hit standby, hold everything up, turn my PTO off and I drive back to the yard.
57
Step 57 of 57We're finished working for today.