
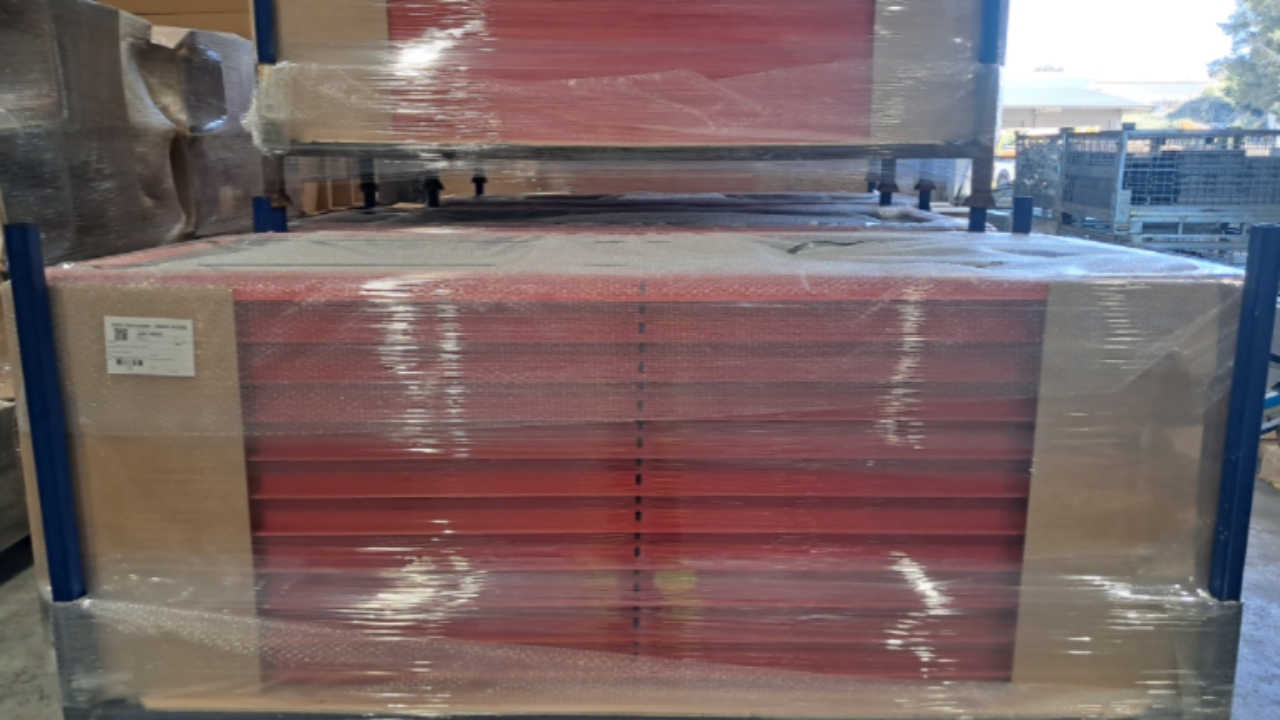

Get your stillage.

Place a sheet of 9m ply wood on top of the stillage as a base to protect the product.

Put bubble wrap on top to help cushion the product.

Place the first door down, face up. Ensure there is a gap between the door and the stillage leg.
Check for damages, such as scratches, dents and paint issues.
Gently maneuver the doors into a new stack.
Face-up, face down, repeat. All the lock holes should be on the same side; the fins will also be on the same side.

Have the doors in-line with each other.

Stack the doors in stacks of 22, no higher.

Place cardboard corners on each corner, make sure the cardboard corner is slightly short then the product.
This is to help secure the product.

Place bubble wrap on top of the product.
This helps protect it.

Strap the product length ways.
Make sure to use smaller cardboard corners to ensure the strap doesn't damage the product.
Make sure the strap is firm but not overly tight as it will bend and dent the door.

Time to wrap the product.
Take the end of the plastic wrap and tie it around a leg of the stillage.
Wrap the product.
Ensure the wrap is tight as it helps secure the product.

Add your stillage legs and put your sticker on (the left side) and the product is ready to go.