
Knowby
How to Fix Fast Indicator Flash Inside Vehicle
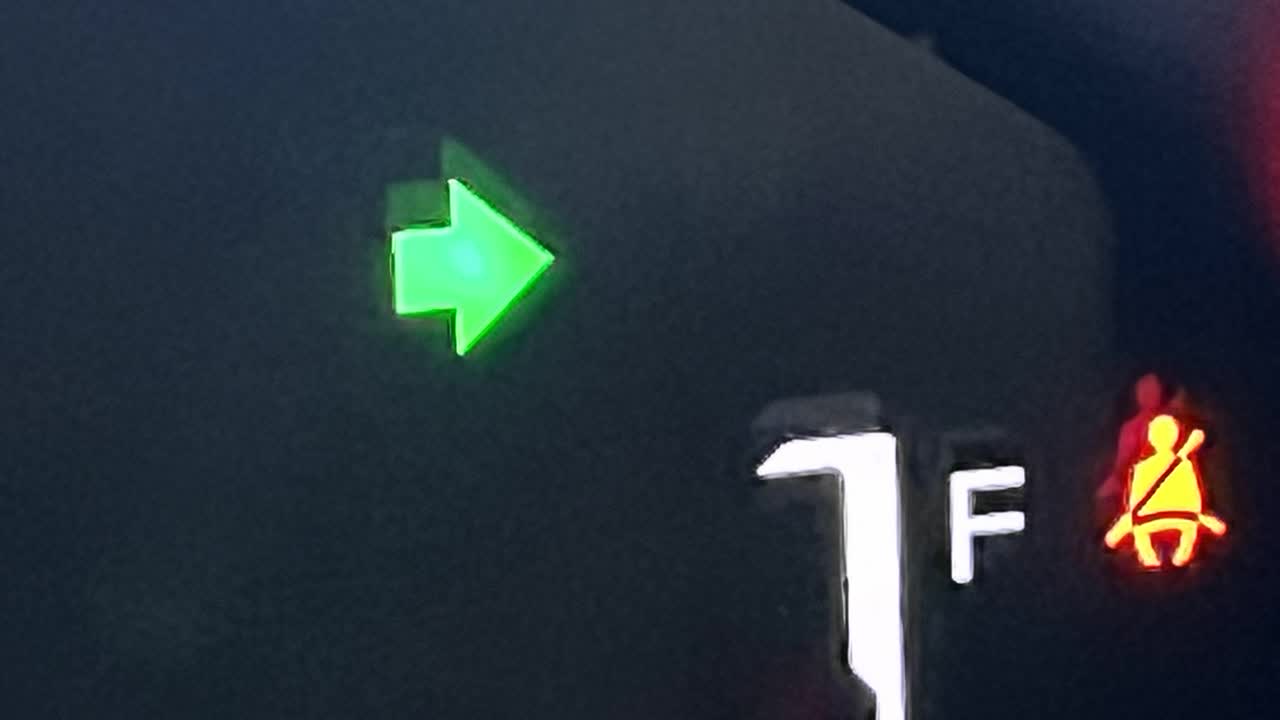
Follow this when external (front and back) lights are flashing at normal speed, but inside the cabin is flashing double speed. This issue is known to affect the Wildtrak variant, and any otherwith LED tail lights in Tub.
1
Step 1 of 19

The issue is like this - super fast flashing.

2
Step 2 of 19

Identify the driver-side plug, where it plugs into the vehicle harness. On the left side is the supplied Tray/Canopy Harness. On the right side is the vehicle tail light harness.

3
Step 3 of 19
<p>Strip back the plastic sheath on both sides of the connection</p>

Strip back the plastic sheath on both sides of the connection

4
Step 4 of 19
<p>On the vehicle side of the plug, identify the wire shown. It is on the bottom row (note the orientation of the plug), and the 2nd wire from the right.
Colour = Blue with a pink/Brown stripe</p>

On the vehicle side of the plug, identify the wire shown. It is on the bottom row (note the orientation of the plug), and the 2nd wire from the right. Colour = Blue with a pink/Brown stripe

5
Step 5 of 19
<p>Trim this wire as shown. Colour = Blue with a pink/Brown stripe</p>

Trim this wire as shown. Colour = Blue with a pink/Brown stripe

6
Step 6 of 19
<p>On the Tray/Canopy side, strip back the yellow (indicator) wire as shown.</p>

On the Tray/Canopy side, strip back the yellow (indicator) wire as shown.

7
Step 7 of 19
<p>Prepare a small wire approximately 150 mm long</p>

Prepare a small wire approximately 150 mm long

8
Step 8 of 19
<p>Join as shown.</p>

Join as shown.

9
Step 9 of 19

We will now complete the passenger side, then test the complete system. Then finally, we will solder and insulate the connections.

10
Step 10 of 19
<p>Go to the passenger side and identify the plug. On the left side showns the vehicle plug, the right side is the Tray/Canopy side.
Strip back the plastic sheaths to expose the wires as shown</p>

Go to the passenger side and identify the plug. On the left side showns the vehicle plug, the right side is the Tray/Canopy side. Strip back the plastic sheaths to expose the wires as shown

11
Step 11 of 19
<p>On the vehicle side of the plug, identify this wire. It is on the bottom row (note the orientation of plug). It is the 2nd wire from the right. Colour = Green with a blue stripe.</p>

On the vehicle side of the plug, identify this wire. It is on the bottom row (note the orientation of plug). It is the 2nd wire from the right. Colour = Green with a blue stripe.

12
Step 12 of 19
<p>Trim this wire. Colour = Green with a blue stripe.</p>

Trim this wire. Colour = Green with a blue stripe.

13
Step 13 of 19
<p>Prepare a small wire approximately 150 mm long</p>

Prepare a small wire approximately 150 mm long

14
Step 14 of 19
<p>The prepared ends should look like this</p>

The prepared ends should look like this

15
Step 15 of 19
<p>Add the connecting wire like this</p>

Add the connecting wire like this

16
Step 16 of 19

Test in vehicle. The indicator arrows should now blink at normal speed. The fast blink problem is now solved.

17
Step 17 of 19
<p>Solder all connections</p>

Solder all connections

18
Step 18 of 19
<p>Insulate all connections</p>

Insulate all connections

19
Step 19 of 19

Done!