
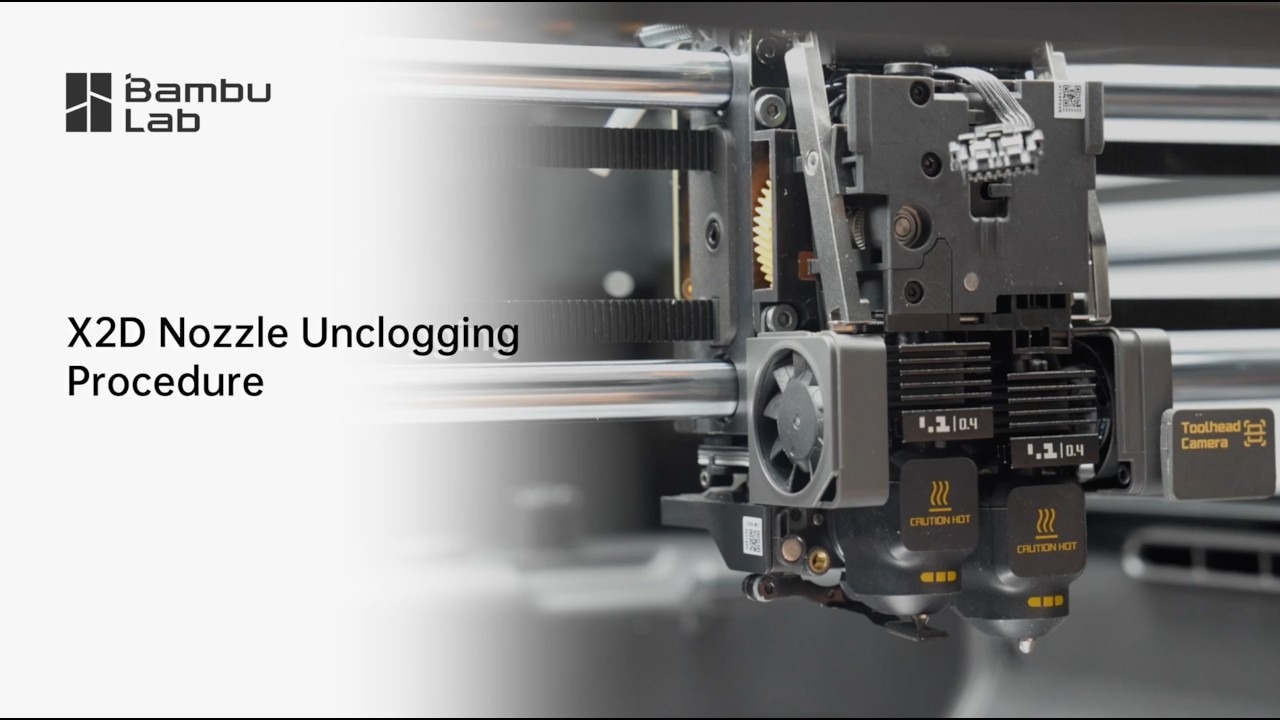
Bambu Lab X2D Nozzle Unclog Procedures
X2D nozzle unclogging procedure. Use proper personal protective equipment around hot nozzles and ensure good ventilation in your work area.
X2D nozzle unclogging procedure. Use proper personal protective equipment around hot nozzles and ensure good ventilation in your work area.
1
Step 1 of 22X2D nozzle unclogging procedure. Use proper personal protective equipment around hot nozzles and ensure good ventilation in your work area.
2
Step 2 of 22Unclogging with a cleaning needle. Set the hot and temperature a bit hotter than normal.
3
Step 3 of 22For PLA, we'll set it to 250 degrees. For this procedure, it is very important to wear heat protective gloves, as hot molten filament can spray unexpectedly from the nozzle, causing burns to expose skin.
4
Step 4 of 22Never place your face or other body parts near a heated nozzle. Once the nozzle reaches temperature, insert the cleaning needle into the nozzle and move it up and down.
5
Step 5 of 22Press the extrude button once or twice and observe if filament extrudes from the nozzle.
6
Step 6 of 22Auxiliary hotend cold pole.
7
Step 7 of 22On the screen of your X2D, navigate to Settings, Toolbox, Nozzle Cold Pole Maintenance.
8
Step 8 of 22Choose the right nozzle, select the appropriate filament settings, and press Start.
9
Step 9 of 22Remove the auxiliary extruder's inlet PTFE tube when prompted.
10
Step 10 of 22Press Finish, Continue.
11
Step 11 of 22Manually feed a sufficient length of filament into the auxiliary extruder inlet until the extruder grips it.
12
Step 12 of 22Once prompted, manually pull the filament back out.
13
Step 13 of 22Check the filament tip for proper shape and for any charred residue. If there is noticeable residue, use diagonal cutters to trim the dirty end and repeat the cold pole process until the filament tip is clean.
14
Step 14 of 22Main Hotend Cold Pole. On your X2D screen, navigate to Settings, Toolbox, Nozzle Cold Pole Maintenance.
15
Step 15 of 22Choose the left nozzle, select the appropriate filament settings, and press Start.
16
Step 16 of 22When prompted, remove the top glass and pull off the tool head front cover and lay it out of the way.
17
Step 17 of 22Remove the gray PTFE tube to the left hotend by pressing on the PTFE pneumatic connector, and press Finish, Continue.
18
Step 18 of 22When prompted by the system, manually insert filament into the left filament inlet.
19
Step 19 of 22The printer will automatically grip the filament, heat the nozzle, and begin purging.
20
Step 20 of 22When prompted, manually and slowly pull the filament back out, and press Finish, Continue.
21
Step 21 of 22Check the filament tip for proper shape and for any charred residue. If there is noticeable residue, use diagonal cutters to trim the dirty end and repeat the cold pole process until the filament tip is clean.
22
Step 22 of 22When finished, reinstall the PTFE tube, replace the front cover, and replace the top glass.