
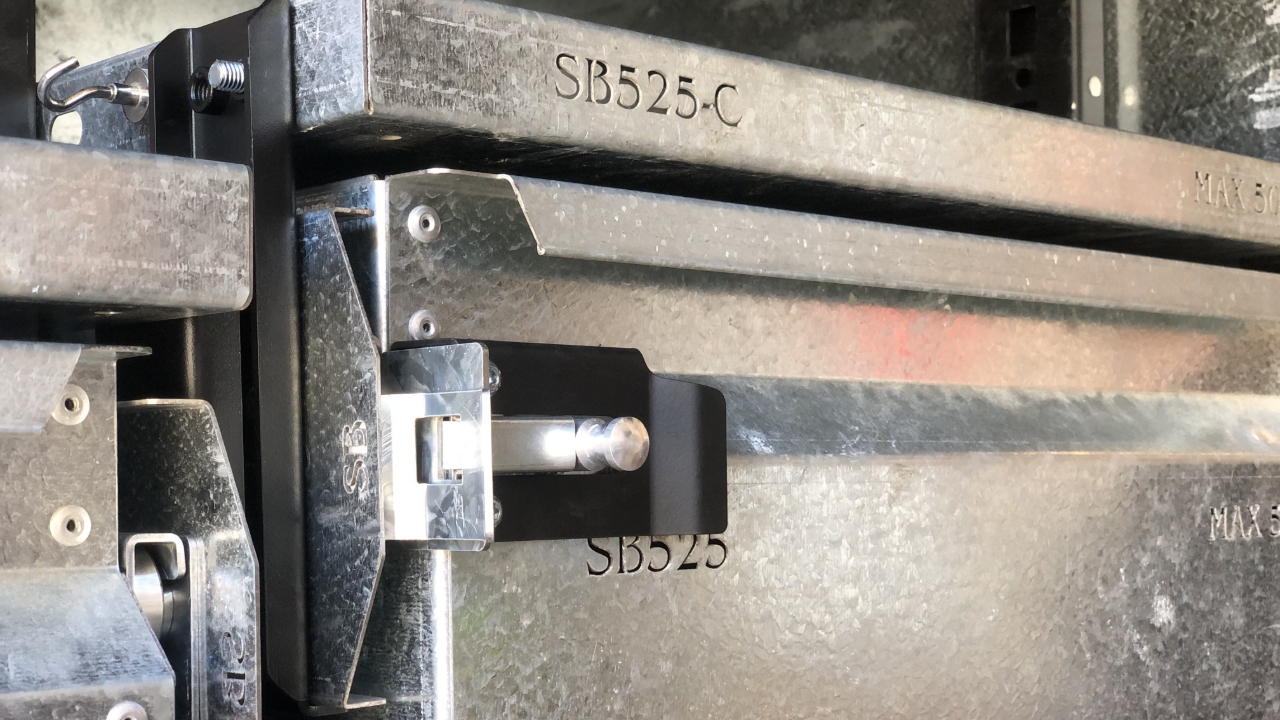
Please carefully watch and read through the whole knowby before starting the installation process.
The inner slide with the square hole at the front mounts to the left side of the drawer body and the other to the right side of the body.
Once the installation of the slides are complete they will sit together like this.
Begin by removing your drawer body from the drawer mounts.
Undo all of the M6 nuts and bolts holding the inner slide to the drawer body.
Take the new drawer slide that mounts on the right hand side of the drawer body and fasten it using M6 nylocs.
Remove the old drawer slide from the left side of the drawer and fasten the new slide using M6 nylocs.
Next you will need to x2 drill 6mm holes and x1 8mm hole in the shown areas on both sides of the drawer body.
Take the plastic buffer and fasten them to the inner drawer slide like so using M6x12 button heads and M6 nuts with loctite.
Note that there is a left and right side buffer with the hex holes sticker outwards towards the mounts.
Complete this step on the other side of the drawer slide.
Next, fasten the bearing to the inner slide using M8x16 buttons heads and loctite.
Note that there is a keyway that the bearing boss sits in.
Complete this step to both sides.
Once the drawer body is complete, remove the left hand drawer mount from the canopy.
Remove the old slide from the mount.
Take the left hand side outer slide and fasten it to the mount using M6 nylocs.
Slide the plastic stopper through the slide like so with the nuts sitting in the hex holes of the stopper.
Fasten the stopper to the slide using M6x12 button heads with nuts and loctite.
Drill an 8mm hole in the shown location.
Fasten the bearing using M8x16 button head and loctite.
Bolt the mount back in to the canopy.
The mount shown in this clip is a 'wall mount' as it mounts to the wall of the canopy. This means that no further modifications need to be made.
Remove the right hand side mount from the canopy.
Remove the old drawer slide.
Take the outer right hand slide and fasten it to the mount using M6 nylocs.
Once the mount is fastened, again you will want to drill an 8mm hole in the shown location.
This type of mount is known as a post mount as it mounts to the post in the canopy.
The post mounts will require a strengthener that bolts through the bearing and the hole you have just drilled.
Once again, insert the rubber stopper in the slide and fasten using M6x12 button heads and nuts with loctite.
Re-install the mount to the canopy.
Your mounts should be looking like this.
If you have stacked drawers with post mounts you will need to install the x2 strengtheners next to each other.
Put the strengthener in place a mark with a 6mm drill bit where you will need to drill.
Drill these marks out with a 8mm drill bit.
Once the holes are drilled, fasten the strengthener to the post mounts using M8x16 button heads and loctite
Your stacked post mounts should be looking like so.
To re-install the drawers, you need to remove the shelf.
Begin re-installing the drawers.
If your drawer has post mounts on either side, the mounts should be looking like this with a strengthener one each mount.
Remove the shelf and install the drawer.
Its possible for the bearing to hit the top of the slide as shown.
You will be provided with thin and thick washers.
Remove the drawer mounts from the canopy and place washers in between the wall/post and the mount.
Re-install the mounts.
Try the drawer again and it should fit.
The bearing should sit in the slide like so.
Re install the shelf to the post re-using the M8x16 button heads as
Mount the shelf to the strengthener using M8x16 button heads with a heavy washer and loctite.
Take the latch and handle and fasten together like so using M6x16 and nyloc.
Drill out the shown rivet on the front of the drawer body.
Place the latch on the front of the drawer ensuring that it sits square and centred.
Mark out the other hole using a 6mm drill bit and drill through.
Fasten the latch to the drawer using M6x16 button head and nyloc.
Drill the x2 holes at the top of the latch using a 6mm drill bit.
Fasten x2 M6x16 button heads and nylocs to the top of the latch.
Your drawer slide installation is now complete.