
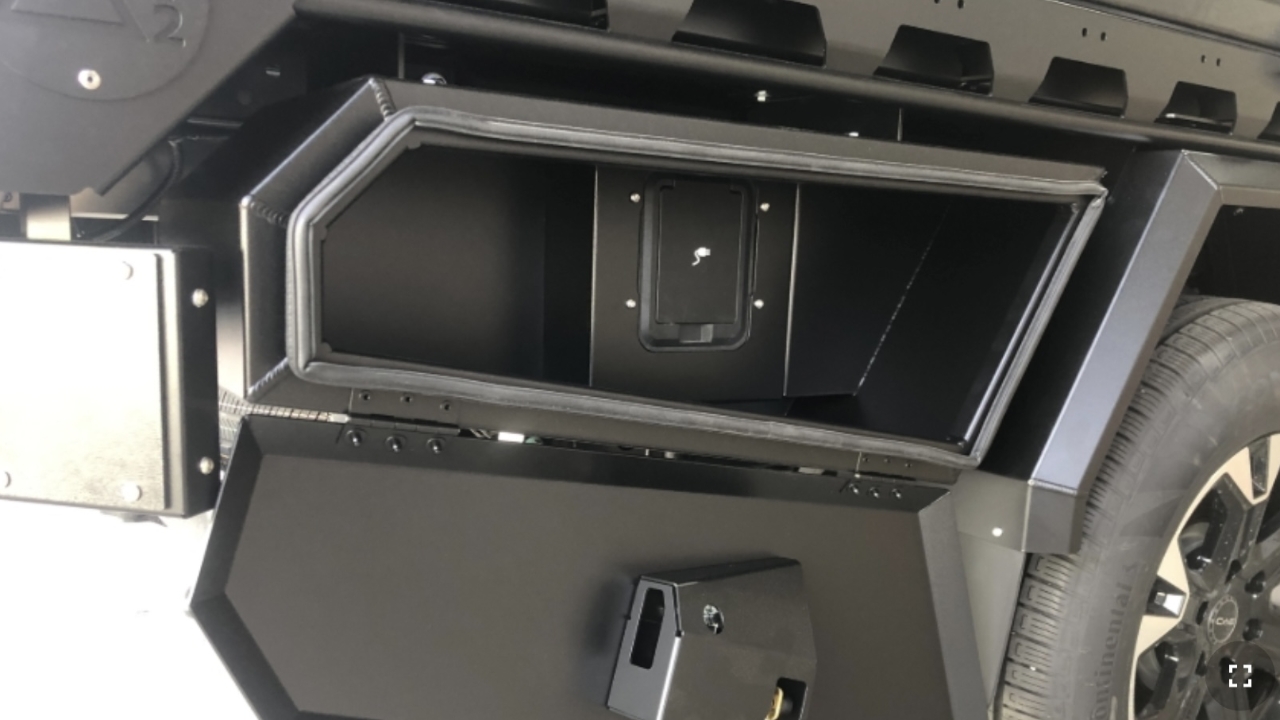
Take the earth cable lug connected to the plug sockets and line up with the chassis like so.
Drill through the middle with a pilot hole, then a 6mm hole.
Tap through the hole with a M6 size tap and grind the paint back.
Fasten the earth to the chassis using a M6x20 button head with a spring & flat washer.
Coat with black zinc.
Rivnut the x4 hex holes in the back of the drivers undermount toolbox with stainless M6 hex rivnuts.
Fasten your toolbox to the tray using zinc M8x25 hex heads, a washer on each side and nylocs. Make sure the hex heads are facing down towards the toolbox.
Take your BSM face plate and place it in position to make sure the gap between the BSM mount and toolbox is even to the gap between the guard and toolbox.
Cut a rubber plug in half and slide on to the back of the drivers toolbox like so.
Feed the plug socket box through the back of the drivers toolbox.
Fasten the socket box using x4 M6x20 button heads
Slide the other half of the body plug on to the cover plate.
Fasten the back cover plate on using x4 M6x16 button heads.
Now fasten the plug socket loom to the tray using cable ties.
Ensure the loom is secured away from any hot or moving parts.
For the passengers side toolbox, follow the same procedures as the drivers side when it comes to positioning the undermount correctly and fastening it to the tray.