

Personal Protective Equipment (PPE). Gloves and Safety Glasses. If you don’t already have a pair of gloves or safety glasses, please see the store person.

QA Sheet. You will find a QA sheet at the machine, if there is no QA sheet there, see the team leader or production. A QA sheet will need to be completed at the start, throughout and, at the end of the day.
Tools required: Forklift, Crane. [You must be signed off to operate either one of these.]
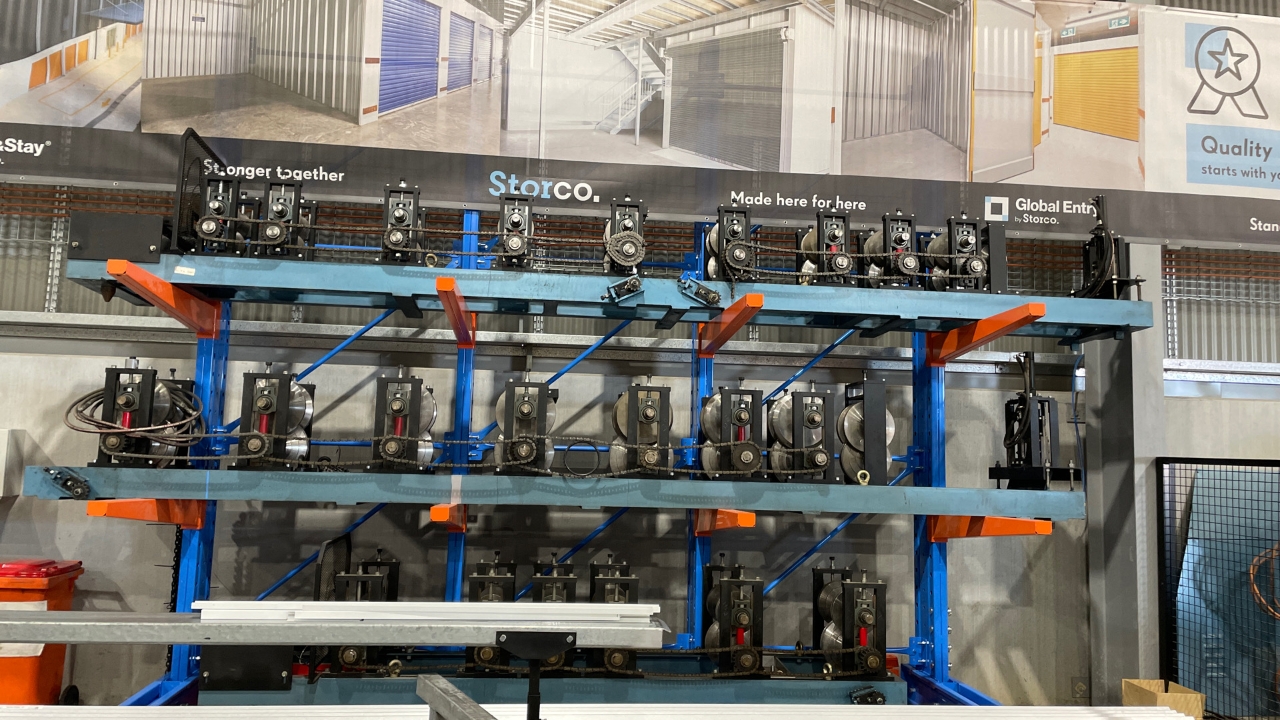
There are three different size cassettes for the Top Hat machine: 40mm, 64mm and 120mm.

Make sure the chain links are easily accessible.

Loosen the chain tensioners.

Remove the spring clip.

Take off the chain link plate.
Remove the pin link, separating the chain.
![<p>Loosen the chain tensioners and move away [re-tighten].</p>](https://knowby.show/media/storco/knowbys/181d9330-5835-4519-a8f2-303d76d8431d/steps/6189b154-4e33-4746-8cc3-6a9b57497524/hd720.jpg)
Loosen the chain tensioners and move away [re-tighten].

Put a 4meter sling on cage, ensure its not twisted.

Using the crane, carefully lift the cages off the machine.

Carefully move the cages away from the machine.

Place down gently and repeat for all cages.

Undo 6 bolts, 3 on each side for the 40mm and 64mm. The 120mm has 10 bolts, 5 each side.

Remove the encoder wheel and set it to the side.


Undo the 'whisker'.

Undo the Guillotine sensor cables.

Keep note of the tags telling you which is the top and the bottom.

Unplug the hydraulics.

Disconnect ALL the lubricant lines.

Attach the chain slings to crane.

Attach the chains to the lift points on the cassette.

Before lifting the cassette, make sure EVERYTHING is disconnected. This is crucial because if you lift it up and something is attached, it will break.

Make sure the chains are on the inside to ensure there is no damage when lifting.

Make sure crane is centred.

Lift up slightly.
![<p>Place wooden glutts on the ground. [this is to ensure you dont lower the casette onto the cone and tip the cassette.]</p>](https://knowby.show/media/storco/knowbys/181d9330-5835-4519-a8f2-303d76d8431d/steps/8e9ea104-2ab0-48fa-8fa5-b935245d7e11/hd720.jpg)
Place wooden glutts on the ground. [this is to ensure you dont lower the casette onto the cone and tip the cassette.]
![<p>When putting the cassette down, <strong>make sure the cone on the bottom of the cassette doesn’t touch the ground</strong>. [you will have to turn the glutts on their side [see next pic]]</p>](https://knowby.show/media/storco/knowbys/181d9330-5835-4519-a8f2-303d76d8431d/steps/200f77ad-977f-4735-a5c6-62b9abf132a4/hd720.jpg)
When putting the cassette down, make sure the cone on the bottom of the cassette doesn’t touch the ground. [you will have to turn the glutts on their side [see next pic]]

Place the wood up on its side, on either side of the cone.

Using a forklift, bring down the size cassette you need, make sure the tines are within the forklift lift points.

Attach the chain slings to the lift points and carefully lift over towards the machine.

Position the cassette above the locating holes.
Slowly and carefully lower the cassette.

Lower the crane and remove the chain slings.

Lift the cages and bring them over to the machine. Repeat for all cages.
Slowly and carefully bring the cages down into place. Repeat for all cages

Once the cages are on, remove the sling.

Put all the bolts back in and tighten them.

Re-connect all lubricant lines.

Re-attach the whisker.

Attach your Guillotine sensor cables. Make sure the one with the top label is at the top and the one with the bottom label is at the bottom and make sure to tighten them.


Plug in the hydraulics.

Re-attach the Pin link.

Put the pin link plate and spring clip on.

Ensure the spring clip is on tight.

If the chain is to tight, use a chain tensioner to help you.

Move the tensioners back into place and tighten them into their spots.


Re-attach the Encoder wheel.
Double check EVERYTHING, make sure everything thing is tight and in its place.